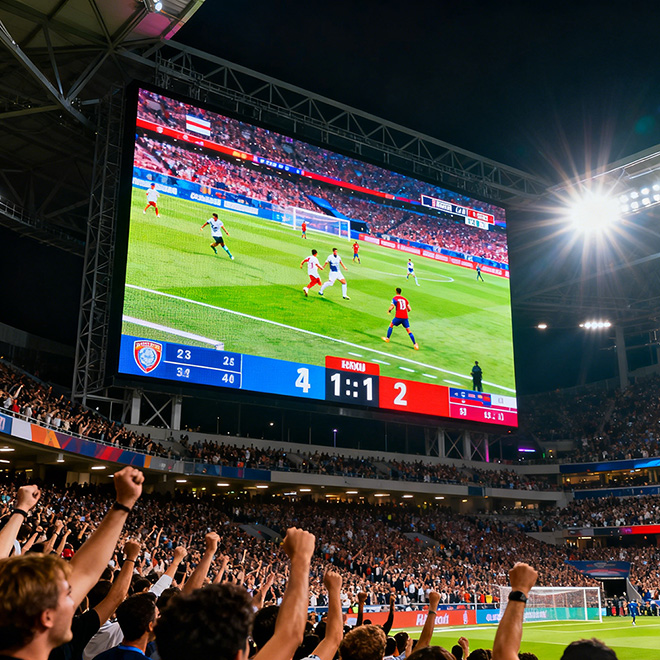
CUSTOM TEARDROP-SHAPED LED DISPLAY
Water Drop LED Display
Create a sculptural LED centerpiece with a rounded body and tapered tip. This custom shape suits atriums, exhibitions, retail flagships and experiential spaces where a standard rectangular wall would not deliver the intended silhouette. Define the viewing routes, active surface and mounting concept before selecting the LED platform.
Discuss Your Display Concept →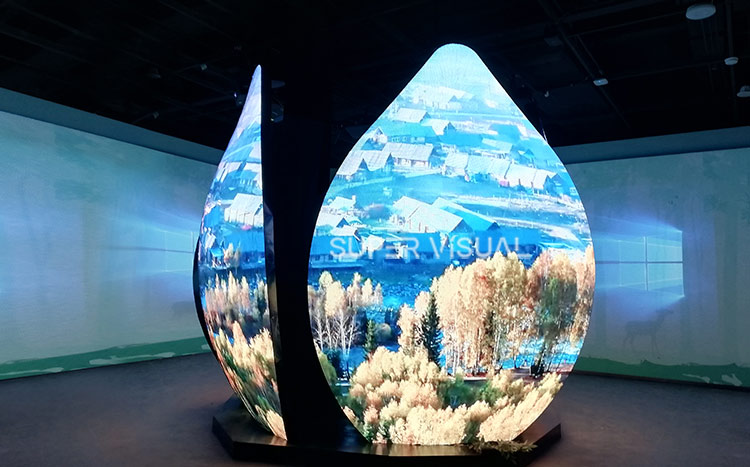
Product fit
When a Water Drop LED Display Is the Right Choice
Choose a teardrop form when the outline itself is part of the experience: visitors should recognize the sculpture from multiple directions, while video, animation or branded content follows a changing curved surface. This is a bespoke geometry-led installation, so the concept drawing and intended viewing positions guide module layout, support and content mapping.
For a continuous rounded body without a narrowing tip, compare the Ball Sphere LED Screen. If the primary requirement is a curved wall or overhead surface, the Cone Shape, Triangle and Ceiling display options below may be a closer fit.
Geometry & fabrication
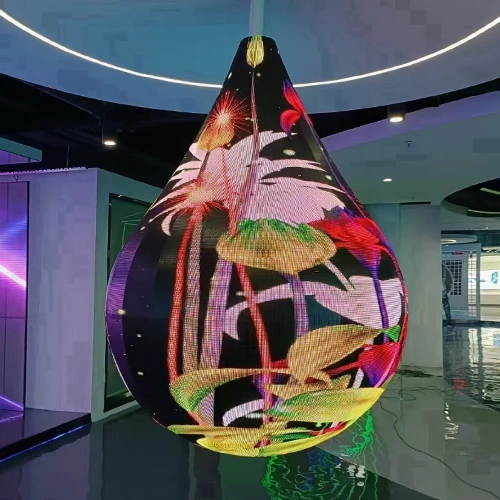
Six Shape Inputs That Drive the Design
Overall drop height
Sets the finished envelope. Separate the overall object height from the active LED area, tip termination, mounting clearance and any decorative trim on the controlled drawing.
Maximum body diameter
Defines the widest profile and influences wrap length, viewing distance, support proportions and how the active surface closes around the form.
Tip radius
Controls the tightest part of the taper. Confirm it against the selected module and cabinet approach before the tip detail is frozen.
Body-to-tip transition
Describes how the rounded body narrows into the tip. Provide a profile, control points or section views so fabrication and content teams work from the same transition.
Suspension/base interface
Shows whether the sculpture hangs from a building interface or stands on a base. Confirm connection location, cable route, installation access and responsible site approvals.
Compound-curve segment count
Breaks the changing curvature into buildable segments. Define segment boundaries, orientation, seam positions and access strategy instead of leaving them to a visual render.
RFQ checklist
Information to Share for a Useful Quote
| Project input | What to specify | Why it matters |
|---|---|---|
| Overall height and widest profile | Finished envelope; active LED boundary; tip and base clearances shown separately. | Confirms site fit and prevents the display size being confused with its visible pixel area. |
| Tip radius and taper profile | Dimensioned elevation or CAD section showing body-to-tip transition and the narrowest point. | Lets the team check module segmentation and resolve the tip before detailing. |
| Viewing and content plan | Primary and secondary viewing routes, typical viewing distance, media orientation and any required content zones. | Connects pixel pitch and mapping decisions to how visitors actually encounter the sculpture. |
| Mounting and site interface | Suspended or floor-supported concept, host structure details, cable entry, access route and site constraints. | Identifies coordination and installation questions early; final site engineering remains project-specific. |
| Environment and operating schedule | Indoor/outdoor location, exposure, ambient light, operating hours and maintenance expectations. | Helps select the appropriate product platform and protection requirements without assuming one universal specification. |
| Delivery and service constraints | Largest transportable section, lifting/door restrictions, assembly sequence, access side and spare-parts expectations. | Avoids designing a screen that is difficult to deliver, assemble or maintain at the actual venue. |
This is a project brief, not a claim of fixed Highcolor specifications. Pitch, brightness, protection, module construction, control configuration and dimensions depend on the approved design and selected product platform.
Content mapping
Map Content to the Real Active Surface
A teardrop is not a rectangular canvas wrapped around a form. Supply a panel or pixel map that marks the active LED area, segment boundaries, seams, tip and any inactive zones; the content team can then compose movement and typography for the actual surface.
Plan how animation travels from the rounded body toward the tip, where a visual should begin or end, and what remains legible from each approach. Review the map with the controller configuration before producing final media.
Installation planning
Coordinate Support, Assembly and Service Access
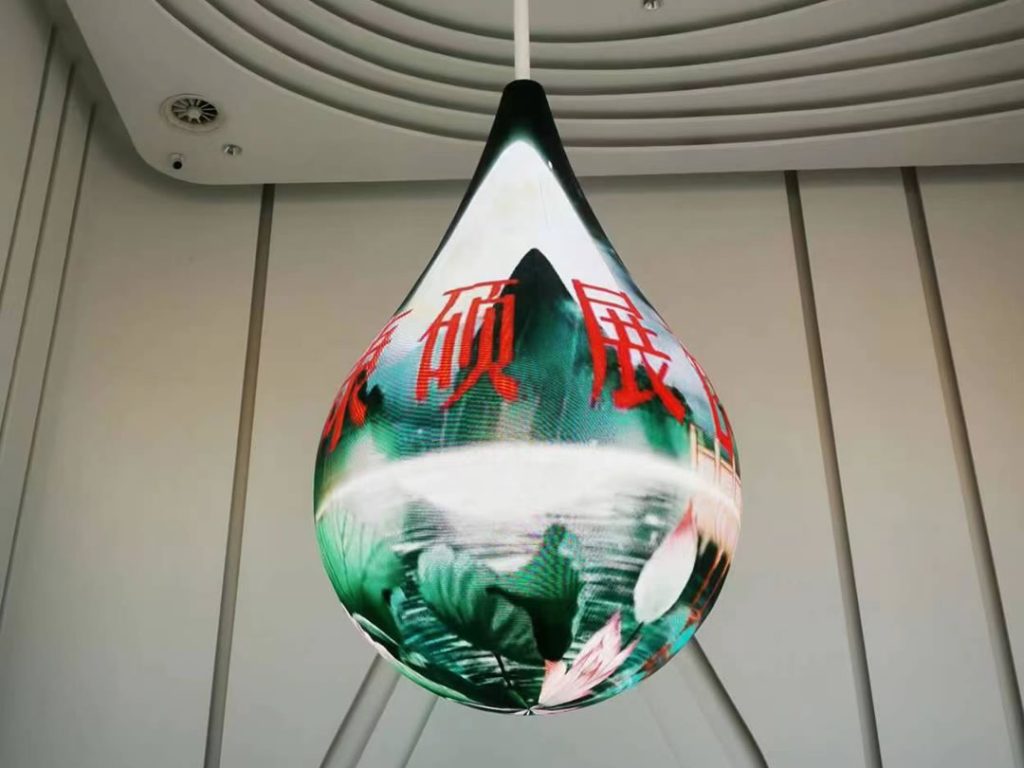
Decide early whether the sculpture is suspended or carried by a freestanding base. The layout should identify the interface, cable path, assembly references, lift and access constraints, and how technicians reach components after installation. Have the responsible project professionals review site-specific structural and electrical requirements before release.
For suspended installations, coordinate the attachment concept with the venue and its appointed structural team. For a base-supported form, plan footprint, stability review, floor interface and concealed services. In either case, agree which seams and panels must remain accessible for service.
Budget drivers
What Affects the Cost of a Custom Water Drop LED Display?
The quotation depends on both the LED system and the one-off sculpture around it. A dimensioned shape, viewing plan and installation brief let suppliers separate screen area from the work needed for curvature, support, delivery and commissioning.
Active LED area & pitch
Pixel pitch and the mapped active area affect the display platform and total LED quantity. Share the closest viewing position and content type so the resolution decision has context.
Taper & compound curvature
Tight tip transitions, multiple curve directions and fine segmentation can require more detailed mechanical coordination and finishing than a simple curved surface.
Support & finish
Suspension or a sculptural base, exposed or concealed interfaces, surface finish and venue-specific integration all change the build scope.
Delivery & commissioning
Transportable section size, lifting access, on-site assembly, controller mapping, content testing and service provisions affect the complete project budget.
Production release
Four Reviews Before the Water Drop LED Display Goes to Production
Use these release gates to catch the most expensive misunderstandings: each discipline should be working from one approved version of the geometry, installation interface and pixel map.
Freeze the outer form
Approve a dimensioned elevation and sections that identify the finished envelope, active display boundary, tip profile and all non-screen trim. Record the drawing revision used for quotation and fabrication.
Confirm the site interface
Mark the support concept, connection or base interface, cable entry, assembly sequence and service clearances. Assign site-specific structural and electrical reviews to the responsible project teams.
Approve the pixel map
Check that mapped content follows the active LED surface, segment orientation, seams and non-display zones. Confirm the controller arrangement and a media test plan before final content production.
Plan installation and service
Confirm transport limits, lifting and access routes, on-site alignment references, commissioning responsibilities, maintenance access and the handover materials expected by the venue.
Buyer questions
Water Drop LED Display FAQs
Can a Water Drop LED Display be made in different sizes?
The form is normally developed around a project drawing and site. Share the finished height, widest profile, tip shape, active display area and mounting concept so the team can assess a suitable design. Exact size and construction are confirmed for the selected platform.
How do I choose pixel pitch for a teardrop-shaped screen?
Start with the closest and typical viewing distances, the type of content and the required image detail. Because the surface is curved, the pixel map and viewing routes should be reviewed together with the chosen pitch; there is no single pitch that suits every installation.
Can the display hang from a ceiling or stand on a base?
Both mounting concepts may be considered during project design. The venue interface, installation sequence, cable routing, service access and site-specific structural review need to be agreed before production drawings are released.
How should content be prepared for the non-rectangular surface?
Use the approved pixel or panel map rather than a standard video ratio. Mark the active area, segment orientation, seams and inactive zones, then test motion and text across the full mapped canvas before producing final media.
Can this screen be used outdoors?
Outdoor use must be specified at the enquiry stage. Exposure, ambient light, operating conditions, protection requirements, mounting and maintenance affect platform selection, so confirm the exact environment and applicable requirements for the project.
What information should I send to request a quotation?
Send a dimensioned drawing or CAD model, reference views, viewing distances, indoor or outdoor conditions, intended media, mounting concept, site constraints, delivery access and service expectations. These details allow a more useful engineering review and quotation.
Explore related shapes
Compare Other Creative LED Display Forms
A tapered form that narrows along its height. Compare the full cone profile when a continuous pointed silhouette matters more than a rounded body with a distinct tip.
A three-sided display form defined by corners and edges. Compare when the required visual identity is angular rather than smoothly tapered.
An overhead display integrated into or suspended below a ceiling. Compare when overhead viewing and building coordination are the primary design drivers.
Plan Your Water Drop LED Display Around the Site
Share the concept drawing, key dimensions, closest viewing distance, content plan, installation environment and mounting idea. We can review the geometry and confirm which product and engineering details need to be resolved for quotation.
Request a Project Review →