CONE-SHAPED LED DISPLAY · PROJECT ENGINEERING
Cone Shape LED Screen for Tapered 3D Installations
A conical LED surface changes circumference from base to top, so the supporting geometry, panel segmentation, pixel map and content canvas must be engineered together. Start with the approved dimensions, viewing positions, active display area, service access and installation envelope before finalizing the display platform.
Send Drawing & Dimensions →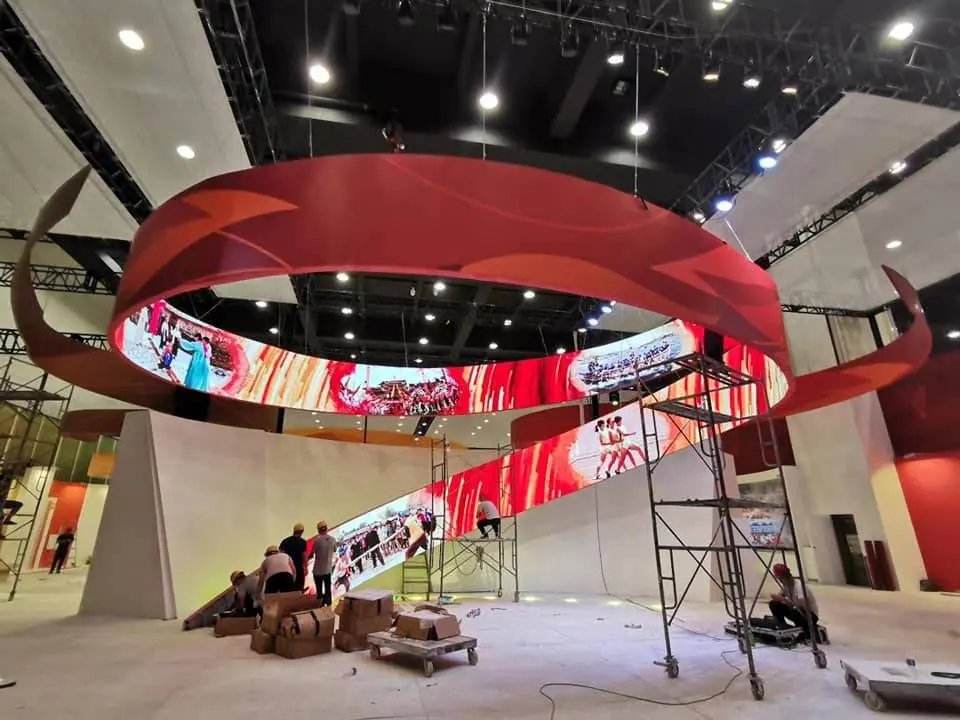
Project definition
A cone-shaped surface needs its own geometry and pixel map
A cylinder keeps the same circumference along its height; a cone does not. That taper affects segment widths, panel alignment, structural references and how a rectangular media canvas is mapped onto the active surface. Confirm the geometry and intended viewing direction before fixing modules or content.
For a constant-diameter wrap, compare Column LED Screen or LED Pillar. A tapered cone requires top and base dimensions and a defined transition between them.
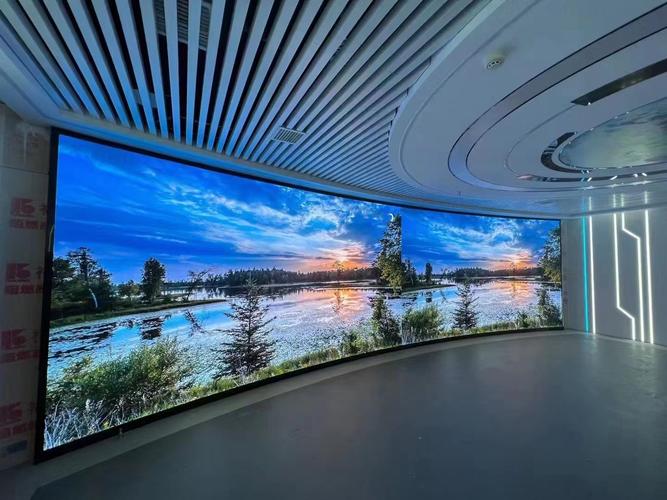
Geometry engineering
Dimensions that define a buildable conical display
Base diameter
Set the lower circular datum and the finished host structure reference; this establishes the bottom perimeter and screen envelope.
Top diameter
The top perimeter determines the upper active width and, together with the base diameter and height, defines the taper.
Cone height
Specify the finished vertical distance between the base and top datums, separating trim or structural clearance from active display area.
Slant height
Record the distance along the sloped surface as a cross-check for panel layout and fabrication; do not infer it from a perspective rendering.
Taper angle
Use the drawing to define the taper and reference orientation. Confirm how the angle is measured and which surface datum it relates to.
Circumference change per zone
Break the active surface into labeled zones and define how perimeter and panel width change between them, including seam positions and service joints.
Drawing specification
Dimensioned inputs to provide before quotation
| Geometry input | Project value | Why engineering needs it |
|---|---|---|
| Base diameter | To be confirmed on the approved drawing | Defines the lower perimeter and screen envelope. |
| Top diameter | To be confirmed on the approved drawing | Defines the upper perimeter and the degree of taper. |
| Cone height | To be confirmed on the approved drawing | Sets the vertical envelope between base and top datums. |
| Slant height | To be confirmed on the approved drawing | Checks the sloped surface length for fabrication and layout. |
| Taper angle | To be confirmed on the approved drawing | Provides an alignment reference; confirm the drawing convention. |
| Circumference change per zone | To be confirmed by zone on the approved drawing | Defines segment widths, seam locations and the transition of the active surface. |
These are geometry inputs, not product performance claims. Pixel pitch, brightness, protection, module construction, viewing distance and control capability depend on the selected display platform and project environment.
Surface mapping & content
Map the active pixels onto the tapered surface
The controller map should follow the approved active display area, zone boundaries, seam locations and any non-display trim. Validate the transition between upper and lower circumferences before content is authored.
Provide the content team with the installed orientation, pixel dimensions and safe areas. Test key graphics at the top, base and each segment joint so logos, text and motion do not break across seams.
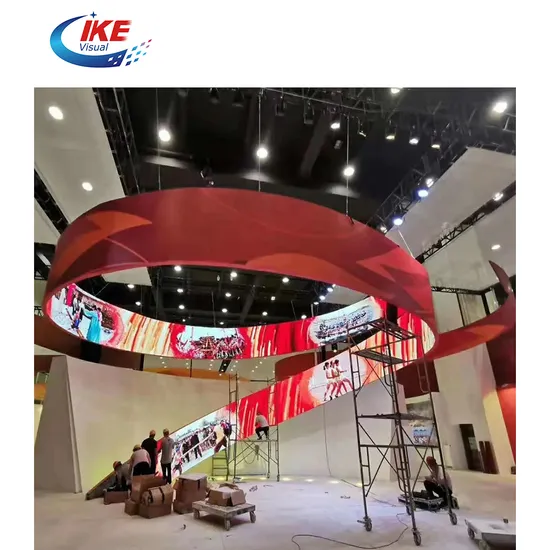
Support and service planning
Coordinate the frame, segment joints and maintenance route
The support structure should establish the cone’s shape and carry the installation loads; LED modules should not be used to correct frame errors. Define datums, segment order, fixing points, cable paths and clearances in the coordinated drawing.
Decide how technicians reach power, data and serviceable components after decorative finishes are installed. If access is limited, identify removable zones and the replacement path before the structure is released.
Cost factors
What affects the cost of a cone-shaped LED screen?
A conical display adds project-specific design and fabrication work. Cost depends on the taper, active surface area, segmentation strategy, structural interface and mapping/commissioning scope, as well as the chosen LED platform. Compare quotations against the same approved drawing and responsibility list.
Taper & surface area
The base-to-top change and sloped area determine the display envelope and influence segment layout.
Segmentation & seams
More zones, tight transitions or visible seam constraints can increase design, fabrication and alignment work.
Frame & top closure
The supporting frame, upper termination, trim and site interface affect materials and installation scope.
Pixel mapping & commissioning
Non-rectangular pixel maps require coordinated content dimensions, controller setup and on-site validation.
Production drawing review
Review geometry, active area and service details before fabrication
Use one coordinated drawing set for the fabricator, LED supplier, installer and content team. Record the revision, datums and areas that are outside the active display so each party works from the same geometry.
Base diameter
Confirm the lower diameter at the finished mounting datum and identify whether the measurement refers to the frame, outer finish or active LED surface.
Top diameter
Check the top diameter against the intended taper and top termination. Confirm its elevation and relation to the base datum; revisions here change perimeter and segment layout.
Cone height
State the finished height and distinguish the active LED zone from top/bottom trim, clearance and structural edges.
Slant height
Use slant height as a surface-layout and fabrication check. Make clear whether the value is measured along the outside finish or active LED plane.
Taper angle
Document the taper reference and orientation, then check it against the top diameter, base diameter and height to catch drawing inconsistencies.
Circumference change per zone
List the zone boundaries, perimeter or segment width at each level, joint locations and how neighboring pieces close around the circumference.
Common engineering questions
Cone Shape LED Screen FAQs
How is a cone-shaped LED screen different from a column wrap?
A column wrap generally keeps a constant circumference along its height. A cone changes circumference from the base to the top, which affects the frame, segment widths, seams and pixel mapping. If the project is cylindrical, compare a column display instead.
What dimensions are needed for an initial cone LED screen review?
Provide base diameter, top diameter, cone height, slant height if available, the active display area and any trim or structural clearance. Add an elevation or 3D model with the measurement datums identified.
Can standard LED modules form a tapered cone?
The feasible module and segmentation approach depends on the selected product platform, taper and required surface continuity. The engineering drawing should define zone widths, joints, fixing references and any custom fabrication before product selection is finalized.
How should content be made for a cone-shaped LED screen?
Use the approved pixel map and installed orientation rather than stretching a standard rectangular video. Test important text, logos and motion at the top, base and segment joints, and confirm the final canvas with the controller and content teams.
What affects the price of a cone-shaped LED display?
Key variables include active area, taper, number and width of segments, seam and closure details, frame and site interface, LED platform, control mapping, commissioning and installation scope. Compare proposals using the same drawing revision.
What should be checked before fabrication?
Confirm the drawing datums, top and base dimensions, finished height, slant surface, active area, segment boundaries, fixing points, cable routes, service access and drawing revision. Coordinate the final set with the display, structure, installation and content teams.
Related display shapes
Choose a shape based on the geometry and viewer experience
A sculptural LED installation made from a central trunk and branching or canopy elements; its support and media zones differ from a continuous tapered surface.
A display that wraps around a passage or tunnel, creating a continuous viewing path with different sightlines and content mapping needs.
A display that turns across an architectural corner; its key design issue is the image transition between planes rather than a changing circumference.
Request a quote from the approved drawing
Send a dimensioned plan or 3D model with base and top diameters, cone height, active area, segment zones, viewing distance, installation conditions, support interface, content concept and service-access requirements.
Request Engineering Review →