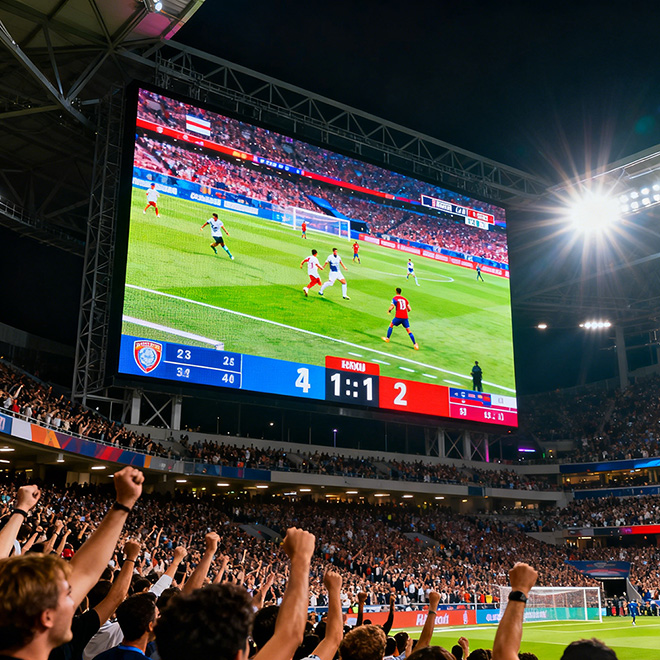
CUSTOM CORNER LED DISPLAY · PROJECT-SPECIFIC GEOMETRY
Corner LED Screen
A Corner LED Screen turns an LED canvas around a measured inside or outside corner. The angle may be defined by the building, retail environment or exhibit structure, so both faces, the transition radius or seam, support datum and intended viewing path must be resolved together.
Send Drawing & Dimensions →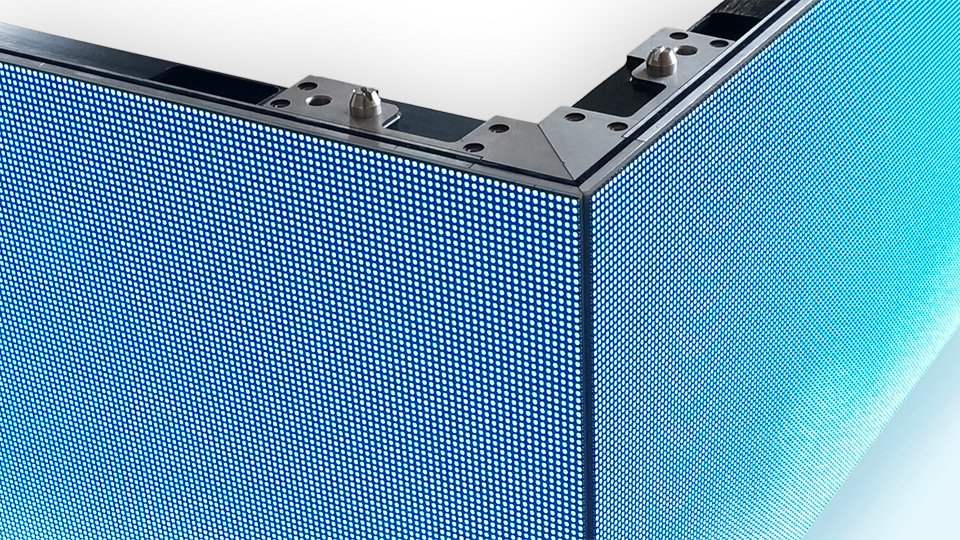
Definition
Choose the Corner Construction From the Measured Geometry
Corner displays can use a hard transition, where two display planes meet at a defined angle, or a softer transition built from several angled segments. Curved or changing profiles require their own measured layout. Select the approach based on the corner shape, display scale, viewing distance, content behavior and product platform—not on appearance alone.
Use Right Angle LED Display when the installation is specifically a fixed 90° turn. Choose Cube LED Display for a freestanding multi-face object instead of a display that follows a wall corner.
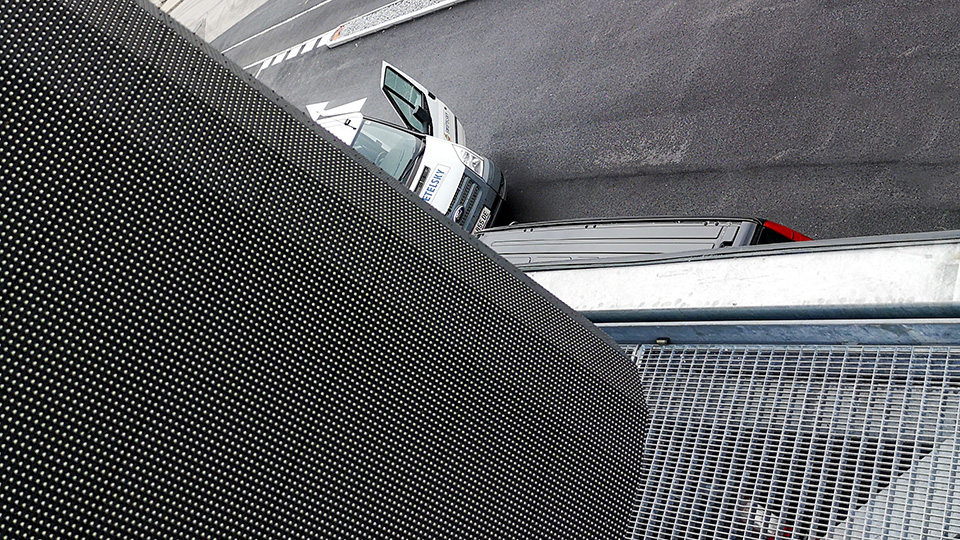
GEOMETRY & CORNER OPTIONS
What Determines a Corner LED Screen Layout
Measured inside or outside angle
Dimension the actual corner and establish one shared datum. Include any out-of-square condition; nominal building angles may differ from site measurements.
Hard or soft transition
A hard corner uses two faces meeting at a defined edge; a soft corner uses short, angled segments to make the visual transition less abrupt. Product geometry and screen scale set what is feasible.
Face widths and display height
Measure each plane independently and mark active pixels separately from trim, masking and service gaps. Unequal faces often need different content-safe zones.
Transition seam or radius
Specify how the edge should look and whether media must cross it. A tight seam, visible gap and segmented transition have different mechanical and pixel-map consequences.
Viewing path and sightlines
Map where people approach, pause and move past the corner. The near-side view can reveal seams or perspective distortion that are not obvious in a straight-on rendering.
Support, power and service access
Plan frame datums, cable routes and how each plane will be reached for inspection or module replacement after adjacent finishes are complete.
PROJECT DRAWING CHECKLIST
What to Send for a Corner LED Screen Review
| Project input | Value / drawing reference | Why it matters |
|---|---|---|
| Measured corner angle and datum | Site measure / approved geometry | Sets how the display planes meet and provides a common reference for support and cabinet alignment. |
| Face A and Face B dimensions | Elevation with active areas | Defines individual cabinet runs, pixel canvas and any differences between the two sides. |
| Corner type and transition detail | Hard edge / segmented / curved concept | Determines the assembly approach, seam expectations and whether each transition is supported by the chosen platform. |
| Viewing positions and content intent | Approach paths / closest viewers | Informs pitch comparison, face-specific messaging and whether content should visually cross the turn. |
| Support plane and finish clearance | Section / mounting interface | Coordinates frame depth, tolerances, cable routes and adjacent architectural finishes. |
| Power, control and service route | Utility points / access method | Ensures both planes can be commissioned and serviced without blocking the finished installation. |
This checklist supports project enquiry and coordination; it is not a Highcolor performance specification. Confirm the available corner geometry, pitch, brightness, protection, cabinet construction and service method for the selected product platform and installation.
CONTENT MAPPING
Map Each Face and the Transition Separately
Create a pixel map that identifies every display plane, the transition segments, active edges, seams and masked areas. Keep the mechanical layout and controller canvas on the same revision so content is authored to the installed pixel geometry.
Content can flow across a corner, change at the vertex or use a separate message on each face. Test it from the real approach paths: perspective may stretch imagery near the turn, and critical text or logos often need to stay within a single face.
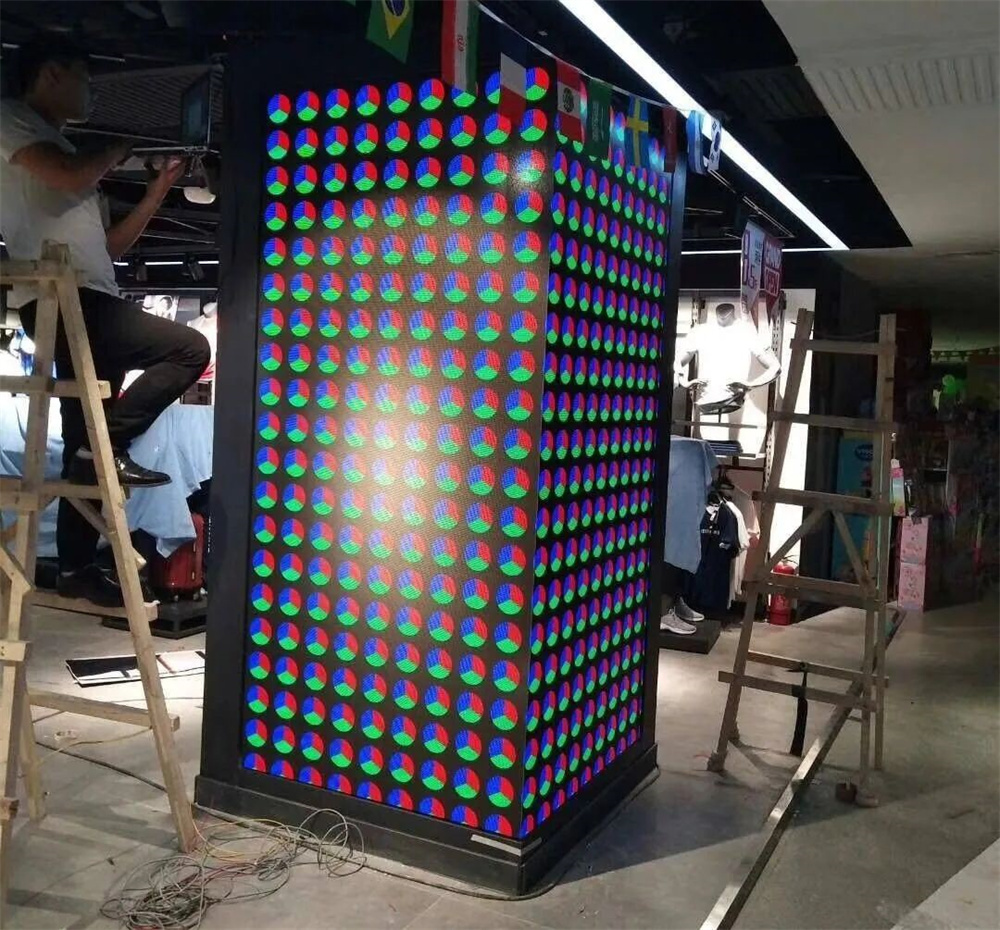
INSTALLATION & MAINTENANCE
Coordinate the Frame, Corner Detail and Service Route
Establish a shared frame datum and verify the angle, plumb, flatness and face alignment before hanging cabinets. Detail how the inside or outside edge is finished, where cables pass and how installation tolerances are adjusted without loading the LED modules.
Choose front or rear service for each plane based on actual clearances. The vertex and any short return can become difficult to reach, so confirm inspection and replacement access before the support and surrounding finishes are finalized.
COST PLANNING
What Affects the Cost of a Corner LED Screen?
Costs depend on the active display area and selected pitch, but corner work also adds geometry and interface decisions. Hard or segmented transitions, non-square site conditions, support fabrication, finish requirements and access for installation and service should be scoped separately.
Angle and transition construction
A fixed hard edge, a multi-segment soft transition or a curved profile can require different cabinet geometry and fabrication.
Face area and pitch
Screen height, unequal face widths and viewing distance influence the display package and total active pixels.
Site measurement and support frame
Out-of-square walls, stand-off, tolerances and finish interfaces affect the frame and installation coordination.
Access and commissioning
Lifting, service clearances, controller mapping and test content for multiple planes contribute to the completed project scope.
PRE-PRODUCTION REVIEW
Review the Corner From Site Measure to Content Map
Use the same measured geometry across the architectural drawing, frame fabrication, cabinet layout and controller map. Resolve these six checks before releasing the system for production.
Corner angle and reference datum
Record the measured inside or outside angle and identify the exact datum used to set it. Note any irregularity along the height or length so the frame is not designed from a nominal plan angle alone.
Face boundaries and active pixels
Dimension each face and separate the cabinet envelope from the active image area, trims and masked edges. Confirm that these values match the pixel map and content canvas.
Transition build and seam expectation
Show whether the display uses a hard meeting edge, a segmented soft transition or a curved interface. Define acceptable visual seams and review the selected platform's actual detail.
Viewing positions and content behavior
Review content from each approach direction. Identify which elements may cross the vertex and keep critical text, faces or brand marks within safe areas where perspective remains controlled.
Structure, tolerance and finish
Coordinate fixing points, frame depth, plumb and adjustment tolerance with adjacent wall or cladding. Confirm how the display edge meets the finished architecture.
Inspection and module replacement
Mark front or rear access, removal direction, cable service points and clearances at the vertex. Check that those routes remain available after final construction.
FAQ
Corner LED Screen: Common Project Questions
How is a corner LED screen different from a right-angle LED screen?
Right Angle LED Display refers to a fixed 90° turn. A corner LED screen may need a project-specific angle, an out-of-square interface, or a segmented transition that changes along the surface. Confirm the measured geometry before choosing which design route fits.
What is the difference between a hard corner and a soft corner?
A hard corner brings two display planes together at a defined edge, which can leave a small non-emitting seam depending on the cabinet construction. A soft corner uses multiple angled segments to make the visual turn less abrupt. The display size, available products, viewing distance and content determine which is practical.
Can an LED screen follow a curved or irregular corner?
Some projects can use short angled segments or suitable flexible modules, but the achievable profile depends on the product platform and mechanical support. Provide measured sections or a full-scale profile so the supplier can confirm the minimum geometry and pixel layout before specifying it.
Can one image continue across the corner?
It can be mapped across multiple planes when the cabinet layout and controller configuration support it. Perspective and the physical transition can distort imagery at the vertex, so test the content from the intended approach paths and keep critical text within a readable face where needed.
What drawings are needed for a corner LED screen quote?
Provide a measured plan, elevation and section with face widths, height, included angle, mounting plane, transition detail, viewing positions, service clearances, and power and data points. Mark active display area separately from trims, seams and masked zones.
When should I choose a cube display instead?
A corner screen follows two planes of a wall or architectural edge. A cube display is a freestanding or suspended multi-face object, often with four or more active sides. The mounting arrangement and content canvas are different, so select based on the actual form and viewing access.
RELATED DISPLAY SHAPES
Compare Corner, Right-Angle and Multi-Face Displays
A dedicated fixed 90° corner configuration. Use it when both faces meet at a defined right angle and the system is designed around that geometry.
A freestanding four-sided display wrapped around a column, with four planar faces rather than two planes following a wall corner.
A made-to-drawing display for irregular profiles, unusual support interfaces or geometry beyond the selected corner-display platform.
Start With the Measured Corner and Intended View
Share a site-measured plan and elevation, each face width, display height, corner detail, viewing paths, mounting section, power and data points, and the required maintenance route. Include a content mock-up if imagery or branding must cross the transition.
Review My Corner Layout →