90° CORNER LED DISPLAY · TWO-FACE PIXEL MAPPING
Right Angle LED Display
A Right Angle LED Display turns an LED canvas across two faces at a defined 90-degree corner. It can create one continuous visual surface around an architectural edge, retail column or exhibit stand—but only when face dimensions, cabinet geometry, corner seam and content map are designed together.
Send Drawing & Dimensions →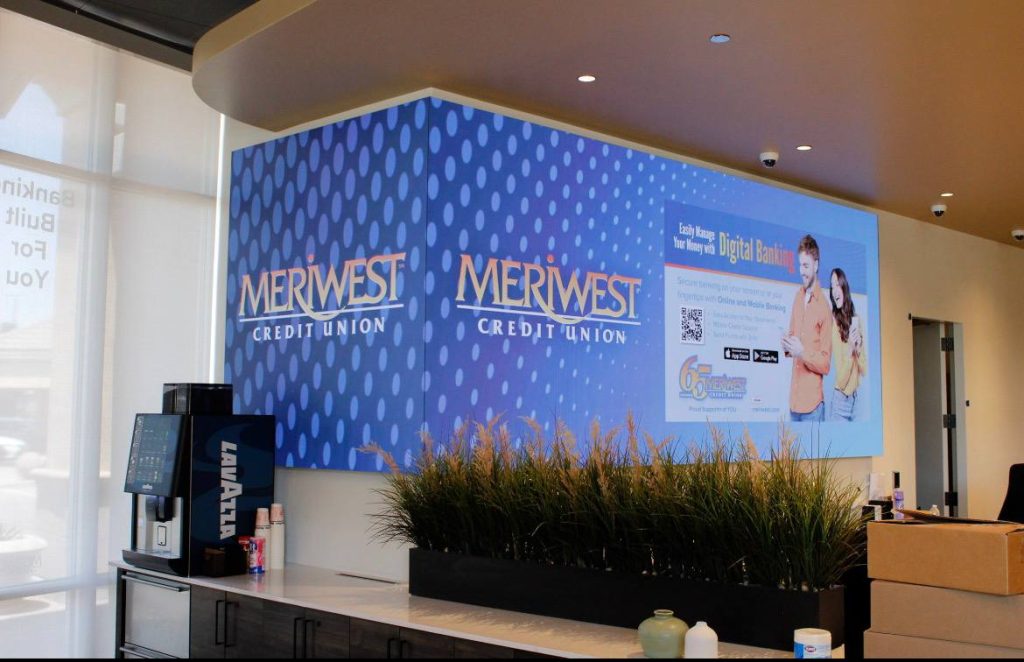
Definition
Design Both Faces and the Corner as One Display
A right-angle installation is more than two flat screens mounted next to each other. The included angle, each face width, cabinet grid, viewing positions and the physical edge treatment determine whether imagery reads continuously around the turn. Establish these details on a measured drawing before choosing the display configuration.
For a corner whose included angle is not 90 degrees, or where the angle changes along the display, evaluate Corner LED Screen instead and specify the measured geometry.
GEOMETRY & VIEWING
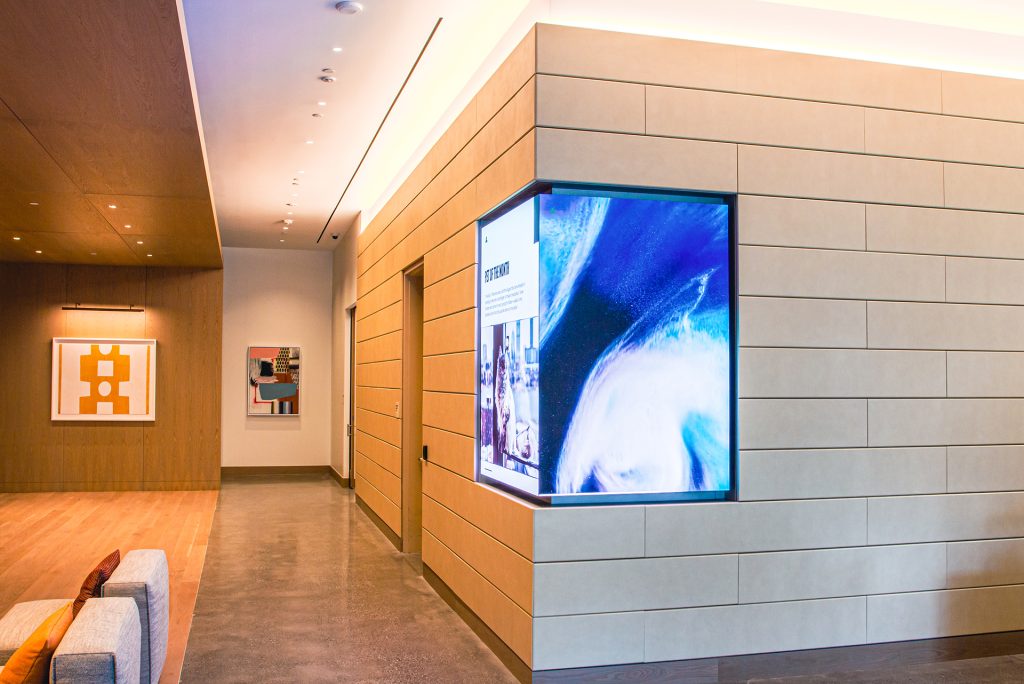
Six Decisions That Define the 90-Degree LED Corner
Included angle and corner datum
Show the finished corner angle, vertex position and reference datum. Small errors can accumulate along long cabinet runs and make the return face drift.
Face A and Face B dimensions
Record each active face separately, including borders and non-display gaps. The two runs may have different lengths, cabinet counts and viewing priorities.
Cabinet grid and return depth
Check cabinet width, depth and joint positions against the corner detail. Resolve whether the edge uses purpose-built corner geometry, a visible seam or a controlled gap.
Pixel continuity at the edge
Agree which pixels are active at the turn and how the content canvas crosses the seam. A mechanical corner does not automatically create a seamless image.
Viewing positions and pitch
Consider viewers approaching both faces and standing near the vertex. Select pitch and content detail from actual distances and sightlines.
Service direction and access
Plan how modules, power supplies and receiving cards can be reached on each face after surrounding finishes and furnishings are installed.
PROJECT DRAWING CHECKLIST
Inputs Needed to Specify a Right Angle LED Display
| Project input | Value / drawing reference | Why it matters |
|---|---|---|
| Included angle and vertex datum | Measured angle / approved design | Fixes the reference geometry for both cabinet runs and the corner support interface. |
| Active width of Face A | Elevation / measured dimensions | Sets the pixel count and cabinet sequence for the first display face. |
| Active width of Face B | Elevation / measured dimensions | Sets the return-face cabinet run and informs the combined canvas dimensions. |
| Corner construction and visible seam | Section detail / product interface | Clarifies whether the transition is a finished seam, exposed edge or product-specific corner assembly. |
| Cabinet depth and support plane | Wall / frame section and clearances | Confirms physical depth, fixing plane and clearance for wiring and future access. |
| Viewing distances and content | Approach paths / key viewer positions | Connects pitch and content decisions to actual approach routes on both sides. |
Use this as an RFQ coordination checklist, not as a Highcolor performance specification. Confirm the selected product's cabinet geometry, pitch, brightness, protection, edge finish, service method and control capacity against the approved design.
CONTENT MAPPING
Treat the Corner as a Canvas Boundary
Map the physical LED pixels for Face A, the corner transition and Face B as one controlled layout. Include cabinet seams, inactive edge pixels, masks and any non-display trim so content is prepared for the real canvas.
A single wide video may not look continuous when it wraps around a sharp turn. Decide whether the content should flow across the vertex, use a separate message on each face, or keep critical text and logos within a safe zone on one face. Test the final processor map from both primary viewing directions.
FABRICATION & ACCESS
Resolve the Corner Detail Before Fabrication
Coordinate a stable support datum, the angle between faces, fixing tolerances and the chosen corner treatment. Confirm cabinet orientation, installation sequence, cable paths and how the finish meets the display edge. The support structure—not the LED modules—should establish the designed angle.
Front or rear service must be assessed separately for each face. Maintain the space and removal path needed to replace modules and reach power or control components after the corner is built.
COST PLANNING
What Affects the Cost of a Right Angle LED Display?
The corner itself adds coordination beyond a flat wall. Pricing depends on the total active area and pitch, how the two faces meet, the required support and finish, site access, and the control and commissioning scope. A measured section and elevation make estimates more reliable.
Two-face area and resolution
Face widths, screen height and selected pitch determine the active display area, cabinet quantity and pixel canvas.
Corner build and edge finish
A purpose-built transition, return depth, seam visibility and alignment tolerances affect fabrication and finishing.
Support and installation precision
The frame, measured datum, installation sequence and adjustment range determine how accurately both faces meet.
Access, control and commissioning
Working clearances, service method, processor capacity, mapping, testing and content preparation are part of the complete project scope.
PRE-PRODUCTION REVIEW
Review the Angle, Cabinet Grid and Pixel Map Together
Before release, align the mechanical drawing, display layout and control map. The six checks below focus on the failure points that are unique to a right-angle canvas.
Angle and vertex reference
Dimension the finished included angle and define the vertex datum. State the measurement tolerance and the surface from which it is taken so the frame and both cabinet runs use the same reference.
Face dimensions and active area
Show Face A and Face B overall dimensions separately, then mark active pixels, edge masks, trim and any non-display gap. This prevents the enclosure size from being confused with the content canvas.
Cabinet orientation and seam
Identify the cabinet direction on each face and detail how the corner is finished. Check alignment, pixel pitch continuity and visible seam expectations using the selected product—not a generic rendering.
Pixel map and content safe zones
Verify the processor canvas against the cabinet layout and specify whether content spans the turn. Keep fine text, faces and logos away from areas where the viewing angle or seam can distort them.
Viewing positions and sightlines
Mark the main approach paths and closest viewer on both sides. Use those positions to assess pitch, brightness balance and how the corner transition reads while moving past it.
Service route for each face
Show access clearances and the removal path for modules on both planes. Confirm that adjacent walls, displays or furniture will not block routine inspection and replacement.
FAQ
Right Angle LED Display: Common Questions
What should be included in a right-angle LED display drawing?
Show a measured elevation and section with the included angle, vertex datum, Face A and Face B dimensions, screen height, cabinet direction, active area, corner finish, mounting interface and access clearances. Add the intended viewing positions and note whether content must cross the corner.
Will content appear continuous around a 90-degree corner?
Not automatically. Continuity depends on the selected cabinet and corner construction, pixel layout, physical seam, viewing direction and controller mapping. Confirm the actual transition using the proposed product layout and test content before fabrication.
How do I select pixel pitch for the two faces?
List the closest and typical viewers on both sides, likely viewing angles and the content detail required. Compare pitch options against those conditions; a single rule based only on screen height or total width can miss close viewers approaching the vertex.
Can two screens simply be mounted at a right angle?
Two independent flat screens may meet mechanically, but their cabinet grid, edge finish, color and brightness behavior, synchronization and content map still need coordination. If a continuous image is required, confirm that the chosen construction supports the intended transition.
What maintenance access is needed at the corner?
Define front or rear service for each face, module removal direction, clearance at the vertex and access to power and control components. Check the plan against surrounding walls, displays, furniture and the final installation sequence.
What affects the cost of a right-angle LED display?
Typical cost drivers include total active area and pitch, the corner transition and edge finish, support structure and alignment tolerances, installation access, controller capacity and content commissioning. A dimensioned drawing is needed for a useful project estimate.
RELATED DISPLAY SHAPES
Compare Right-Angle, Variable-Corner and Custom Displays
A flexible-angle or changing-profile corner solution where the measured geometry must drive the support and display layout.
A made-to-drawing solution for non-standard objects, support interfaces or geometry outside a defined 90° corner.
A motorized display that changes position during operation; motion, clearance and control requirements drive its engineering.
Plan a Right Angle LED Display From a Measured Drawing
Share an elevation and section showing both face widths, screen height, included angle, cabinet direction, corner detail, viewing positions, mounting interface and service clearances. Include a content example if imagery must cross the corner.
Review My Corner Layout →