01 / VIEW-THROUGH
Openness at the site
Review the selected product, its frame and the glazing. Ask what the stated transparency value measures and how it changes with viewing direction.

Highcolor · Displays for open architectural spaces
Bring digital content to storefronts, glass walls and architectural spaces while keeping a view through the installation. Plan the display construction, visual openness and image detail together.
Share the glass layout, viewing positions and exposure conditions. Highcolor will review the configuration for your project.
01 / Define what the glass should do
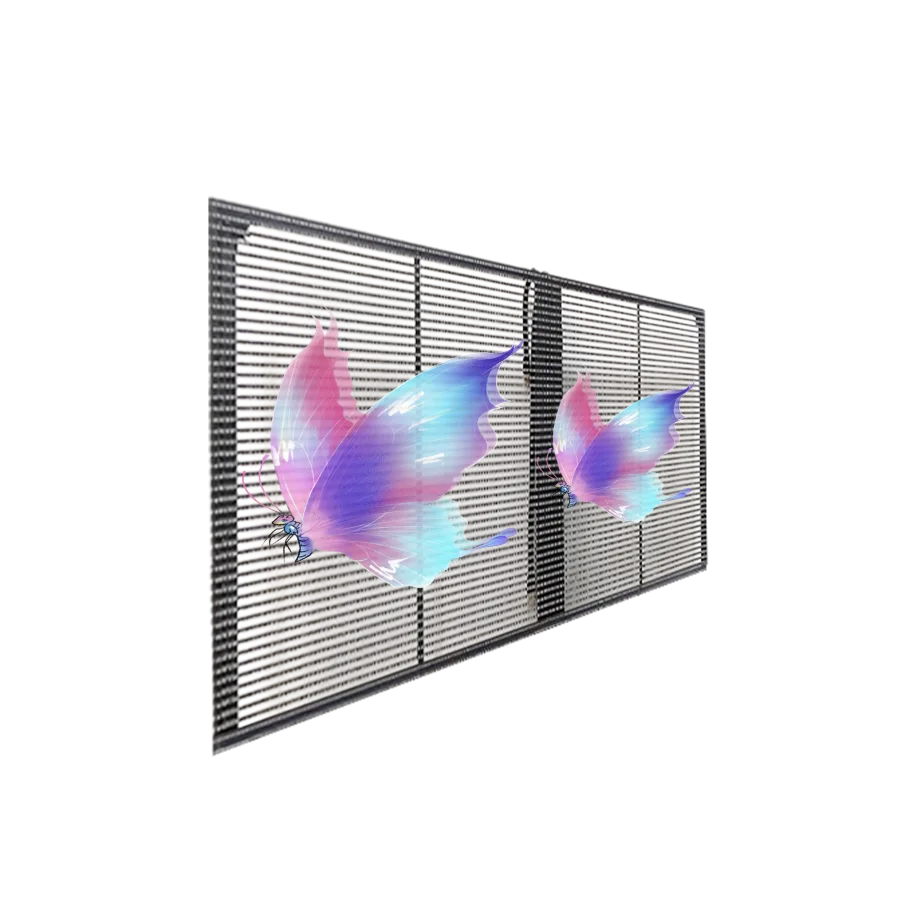
A transparent display combines illuminated pixels with spaces or a substrate that allow a view through. The surroundings remain part of the visual result.
01 / VIEW-THROUGH
Review the selected product, its frame and the glazing. Ask what the stated transparency value measures and how it changes with viewing direction.
02 / VISIBILITY
Check direct sun, reflections and the scene behind the display. Assess day and night content with suitable brightness and dimming settings.
03 / DETAIL
Confirm horizontal and vertical pitch. Match the complete pixel matrix to the nearest viewers, message size and content format.
04 / INTEGRATION
Locate supports, power/control equipment and cables. Confirm how panels, film sections and electronics can be cleaned or replaced.
02 / Compare the construction routes
Use the project’s geometry and mounting conditions to narrow the construction. Confirm the available Highcolor series and configuration during selection.
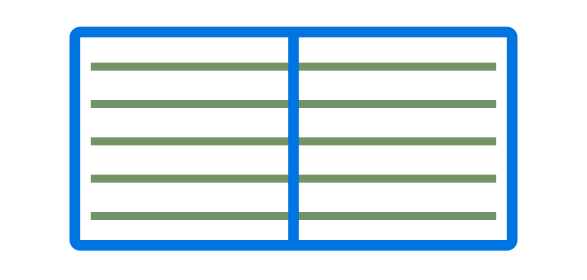
Spaced LED bars or open modules within a defined panel system. Review joints, borders, supports and the required service side.
Confirm: panel layout and mounting loads.
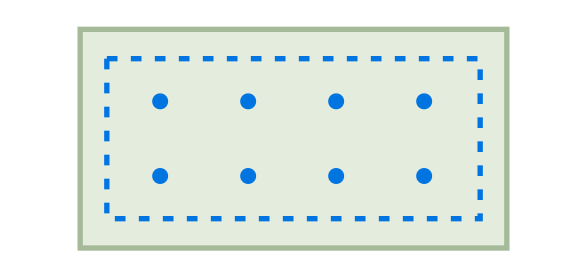
LED elements on a film construction attached to suitable glazing. Check the glass, adhesive, connection edges and replacement method.
Confirm: substrate and installation compatibility.
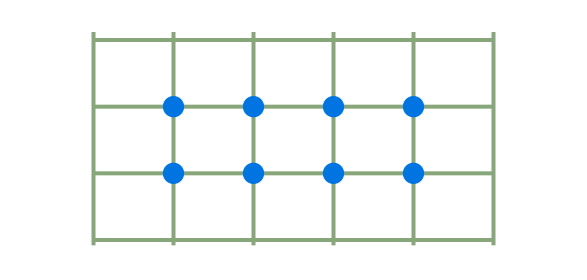
An open structure for larger visual surfaces or scenic applications. Exposure, rigging, wind and viewing distance need their own review.
Confirm: environment and structural design.
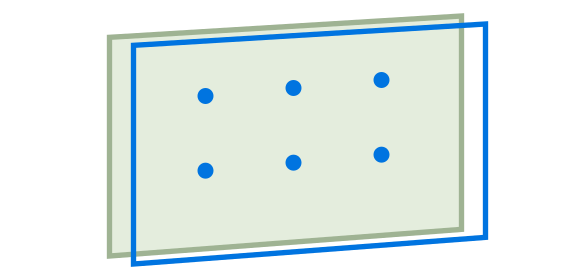
A display integrated into a specified glass assembly. Review the glazing system, connections and building interface as a complete design.
Confirm: glazing and assembly responsibilities.
Construction comes before installation claims. A framed panel does not use the same attachment method as adhesive film. A high-brightness display behind glass is not automatically a weather-rated outdoor system.
03 / Shape the brief around the location
The same display can look very different against a bright shop interior, a shaded atrium or an exterior facade.

Map glass panes, mullions and doors. Define the closest viewing distance, daytime reflections and which merchandise or interior views should remain visible.
Explore retail applications →
Define the active area, mounting height, exposure and service route. Include facade interfaces, structural review and local project requirements in the scope.
Review your architectural display →Consider the background scene, visitor approach and information legibility. Keep display equipment, cleaning access and public circulation in the drawing.
Repeated assembly requires a suitable cabinet, rigging, retention and transport plan. Review rental display requirements →
04 / Review the whole assembly
Viewing from outside, mounting inside and maintaining from behind are separate conditions. Put each one on the installation drawing.
Review coatings, tint, reflections, direct sun and the scene beyond the screen. Confirm any glass contact or adhesive compatibility for the selected construction.
Request the system weight and mounting loads. Check panel joints, support interfaces, ventilation and cables. Building or glazing attachments need approval within the project design.
Define access to display sections, power supplies, receiving components and connections. Agree cleaning procedures and how a damaged section is removed without obstructing access routes.
Behind-glass panel example
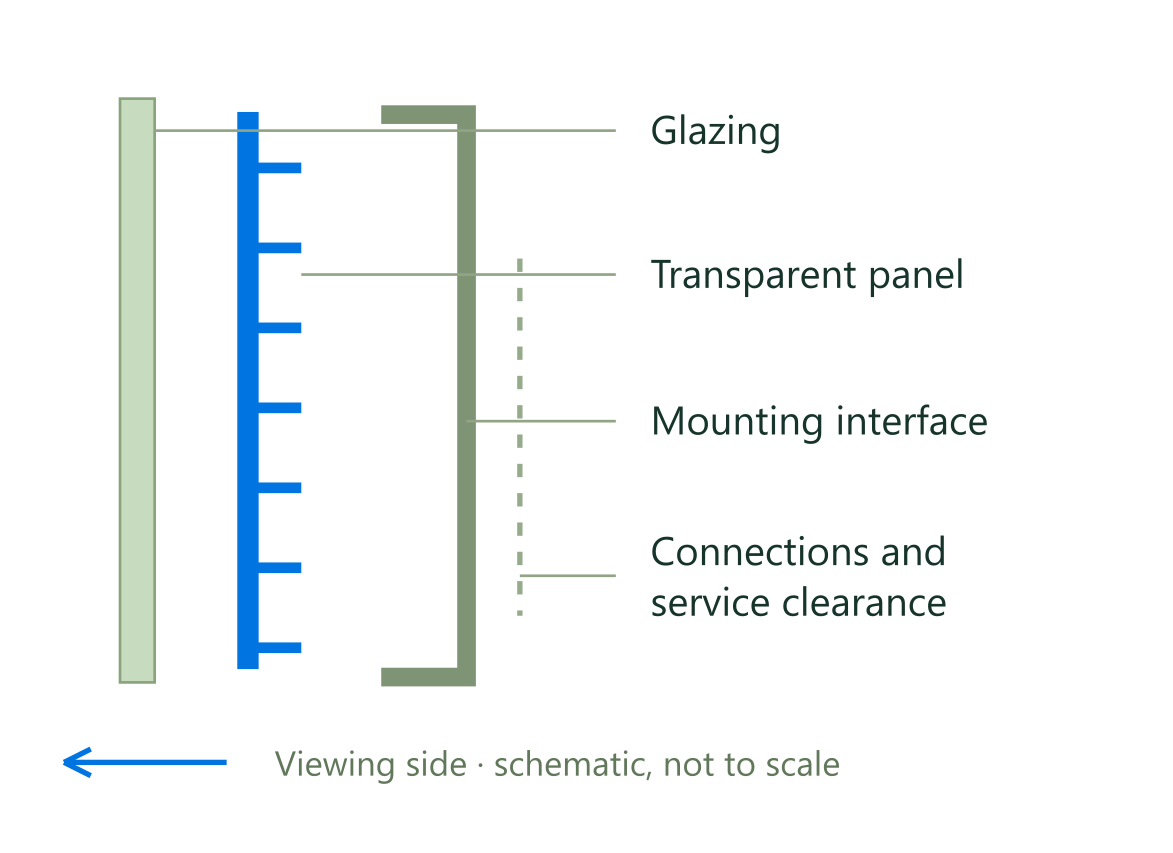
One panel arrangement only. Film, integrated glass and mesh systems require their own mounting and service drawings.
Separate visibility from weather exposure. Confirm the chosen assembly’s protection and temperature limits. Daylight brightness alone does not establish outdoor suitability.
05 / Ask for a model-specific proposal
Use this checklist to request a complete selection. Exact values depend on the series, pixel layout and installation.
| Parameter | Specify | Check before ordering |
|---|---|---|
| Display construction | Panel, adhesive film, mesh or an integrated glass assembly. | Confirm the product series and drawing; installation methods are not interchangeable. |
| Transparency & view-through | Value for the selected assembled product, with its measurement method. | Distinguish open area from optical transmission. Include borders, support, glass and viewing direction in the review. |
| Pixel layout & native matrix | Horizontal and vertical pitch, module pixels and complete screen resolution. | Some layouts have different spacing on each axis. Verify dimensions against whole panels and their documented matrices. |
| Brightness & dimming | Rated brightness at a stated setting, plus adjustment and scheduling options. | Review sunlight, glazing, the scene behind the display and night-time use on site. |
| Size, mass & installed depth | Active dimensions, panel joints, system weight and mounting loads. | Include the frame, power/control equipment, cables, ventilation and service clearance. |
| Environmental conditions | Exposure side, exact protection rating, temperature and UV limits. | A screen viewed from outdoors may still be installed indoors. Confirm the complete assembly for actual exposure. |
| Power & control | Maximum and average power with test conditions; processing, inputs and content management. | Agree power distribution, cable routing, scheduling and any monitoring requirements. |
| Service & supporting evidence | Front/rear component access, replacement method, spares and support terms. | Request the datasheet, layout, section and service drawings, and applicable model-specific documents. |
No single transparency, brightness, protection or weight figure covers every transparent construction. Confirm the selected model and revision in the supplied documents.
06 / Design content for the background
Prepare representative artwork before final selection. Test message size, light levels and the view through using the intended glass and background.
Start with clear text, distinct shapes and generous open areas. Test a dark-background composition that leaves much of the display unlit, then check how the actual scene affects readability.
Large bright areas place more visual emphasis on the display. Check whether the result still meets the project’s view-through goal and whether day and night versions are needed.
Composition examples only; they do not simulate optical transmission, brightness or the performance of a particular product.
07 / Check horizontal and vertical detail
Transparent formats may use different pitch on each axis. Enter your active area and a candidate pitch pair to estimate the sample grid.
The default 4 × 8 mm pitch is a user-editable planning example, not a Highcolor model specification. Dimensions refer to active display area.
—
3.00 × 2.00 m · pitch H 4.00 × V 8.00 mm
This estimate does not select a product, predict transparency or produce a buildable panel layout. Final dimensions and content mapping must use whole panels and their documented native matrices.
Add the estimate to your brief08 / Compare the complete project scope
01 / DISPLAY
Construction, panel dimensions, native pixels, transparency definition, brightness and environmental limits.
02 / SITE
Glass and supports, mounting loads, access, service clearance, engineering and installation responsibilities.
03 / SYSTEM
Power supplies, control/processing, content management, signal routing, scheduling and commissioning.
04 / LIFECYCLE
Freight scope, spares, replacement procedure, written warranty terms and maintenance responsibilities.
A screen-area figure cannot describe every installation.
09 / Before the selection is final
Bring the architecture, light and content into the same brief.
Not necessarily. A quoted value may describe geometric open area or a measured optical property. Ask which method is used for the selected model and what the measurement includes. Review the assembled display, frame and glazing rather than comparing percentages without a common definition.
Confirm both horizontal and vertical pitch, then review the actual module matrix and complete screen resolution. Test the smallest important text and content at the nearest viewing position. A single pitch number or screen size does not establish readable content.
No universal attachment method applies. Adhesive film needs suitable glazing and a documented installation method. Framed panels, mesh and integrated glass assemblies have different support and interface requirements. Confirm the glass condition, loads, connections and service method for the chosen system.
It may be viewed from outside while remaining installed indoors. Outdoor rain, UV, temperature and wind exposure require an appropriate complete assembly. Confirm where the screen is mounted and the exact environment its protection rating covers.
The background scene remains part of the view and affects the perceived result. Review contrast and readability on site with representative content. Distinct objects, suitable text size and tested day/night settings often make a more useful starting point than assuming an opaque background.
Send active dimensions, pane/mullion drawings or site photos, viewing distance, glass and exposure details, mounting and access conditions, content requirements and destination. Request the exact series, documented matrix, brightness/transparency definitions, layout and the complete installation and support scope.
10 / Begin with the site
Share your project with Highcolor. Request a transparent display configuration supported by a model datasheet, layout and installation scope.