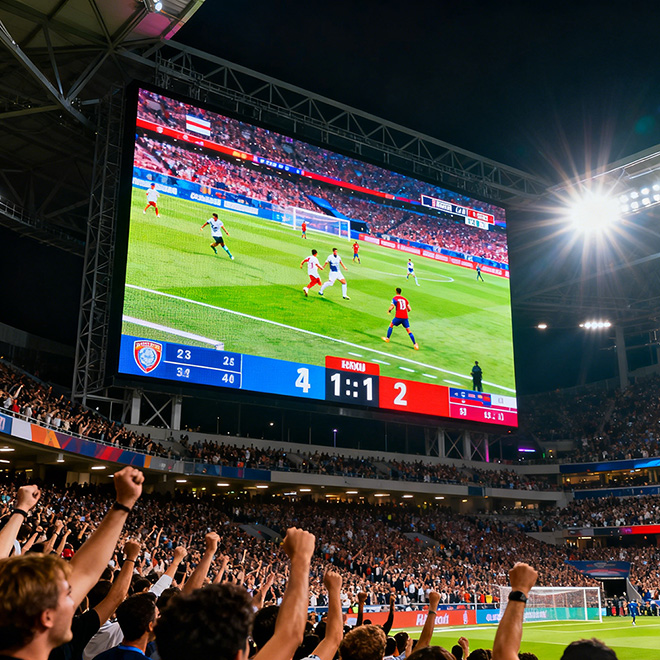
IMMERSIVE LED ENVIRONMENTS
Tunnel LED Display
Tunnel LED Display creates a continuous visual environment along a passage, where the ceiling, side walls and entry sequence may all carry mapped content. The design starts with visitor flow, active surfaces, sightlines and maintenance access—not a standard rectangular screen size.
Plan Your Tunnel Display →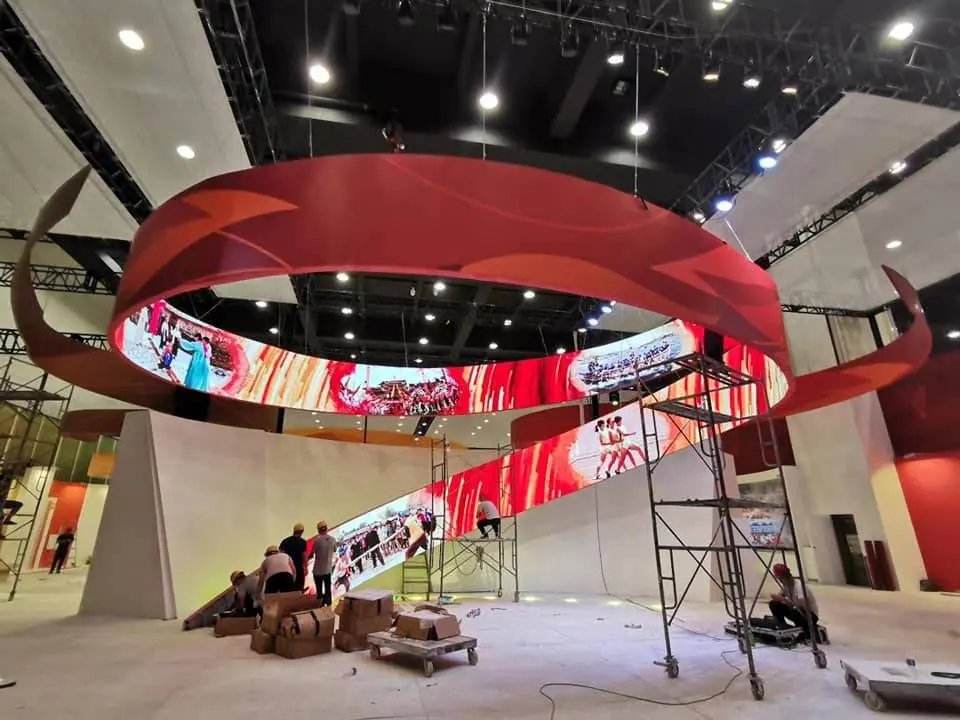
Project definition
Define the Immersive Passage Before Choosing Modules
A tunnel display differs from a portal because the LED surface continues along a route and viewers move through the experience. Decide which sides and overhead areas are active, how the passage begins and ends, and whether people travel in one or both directions.
For a short entrance frame that viewers pass through once rather than a continuous environment, compare the scope with Arch LED Display.
Engineering
Project decisions that shape an immersive passage
Visitor flow and clear passage
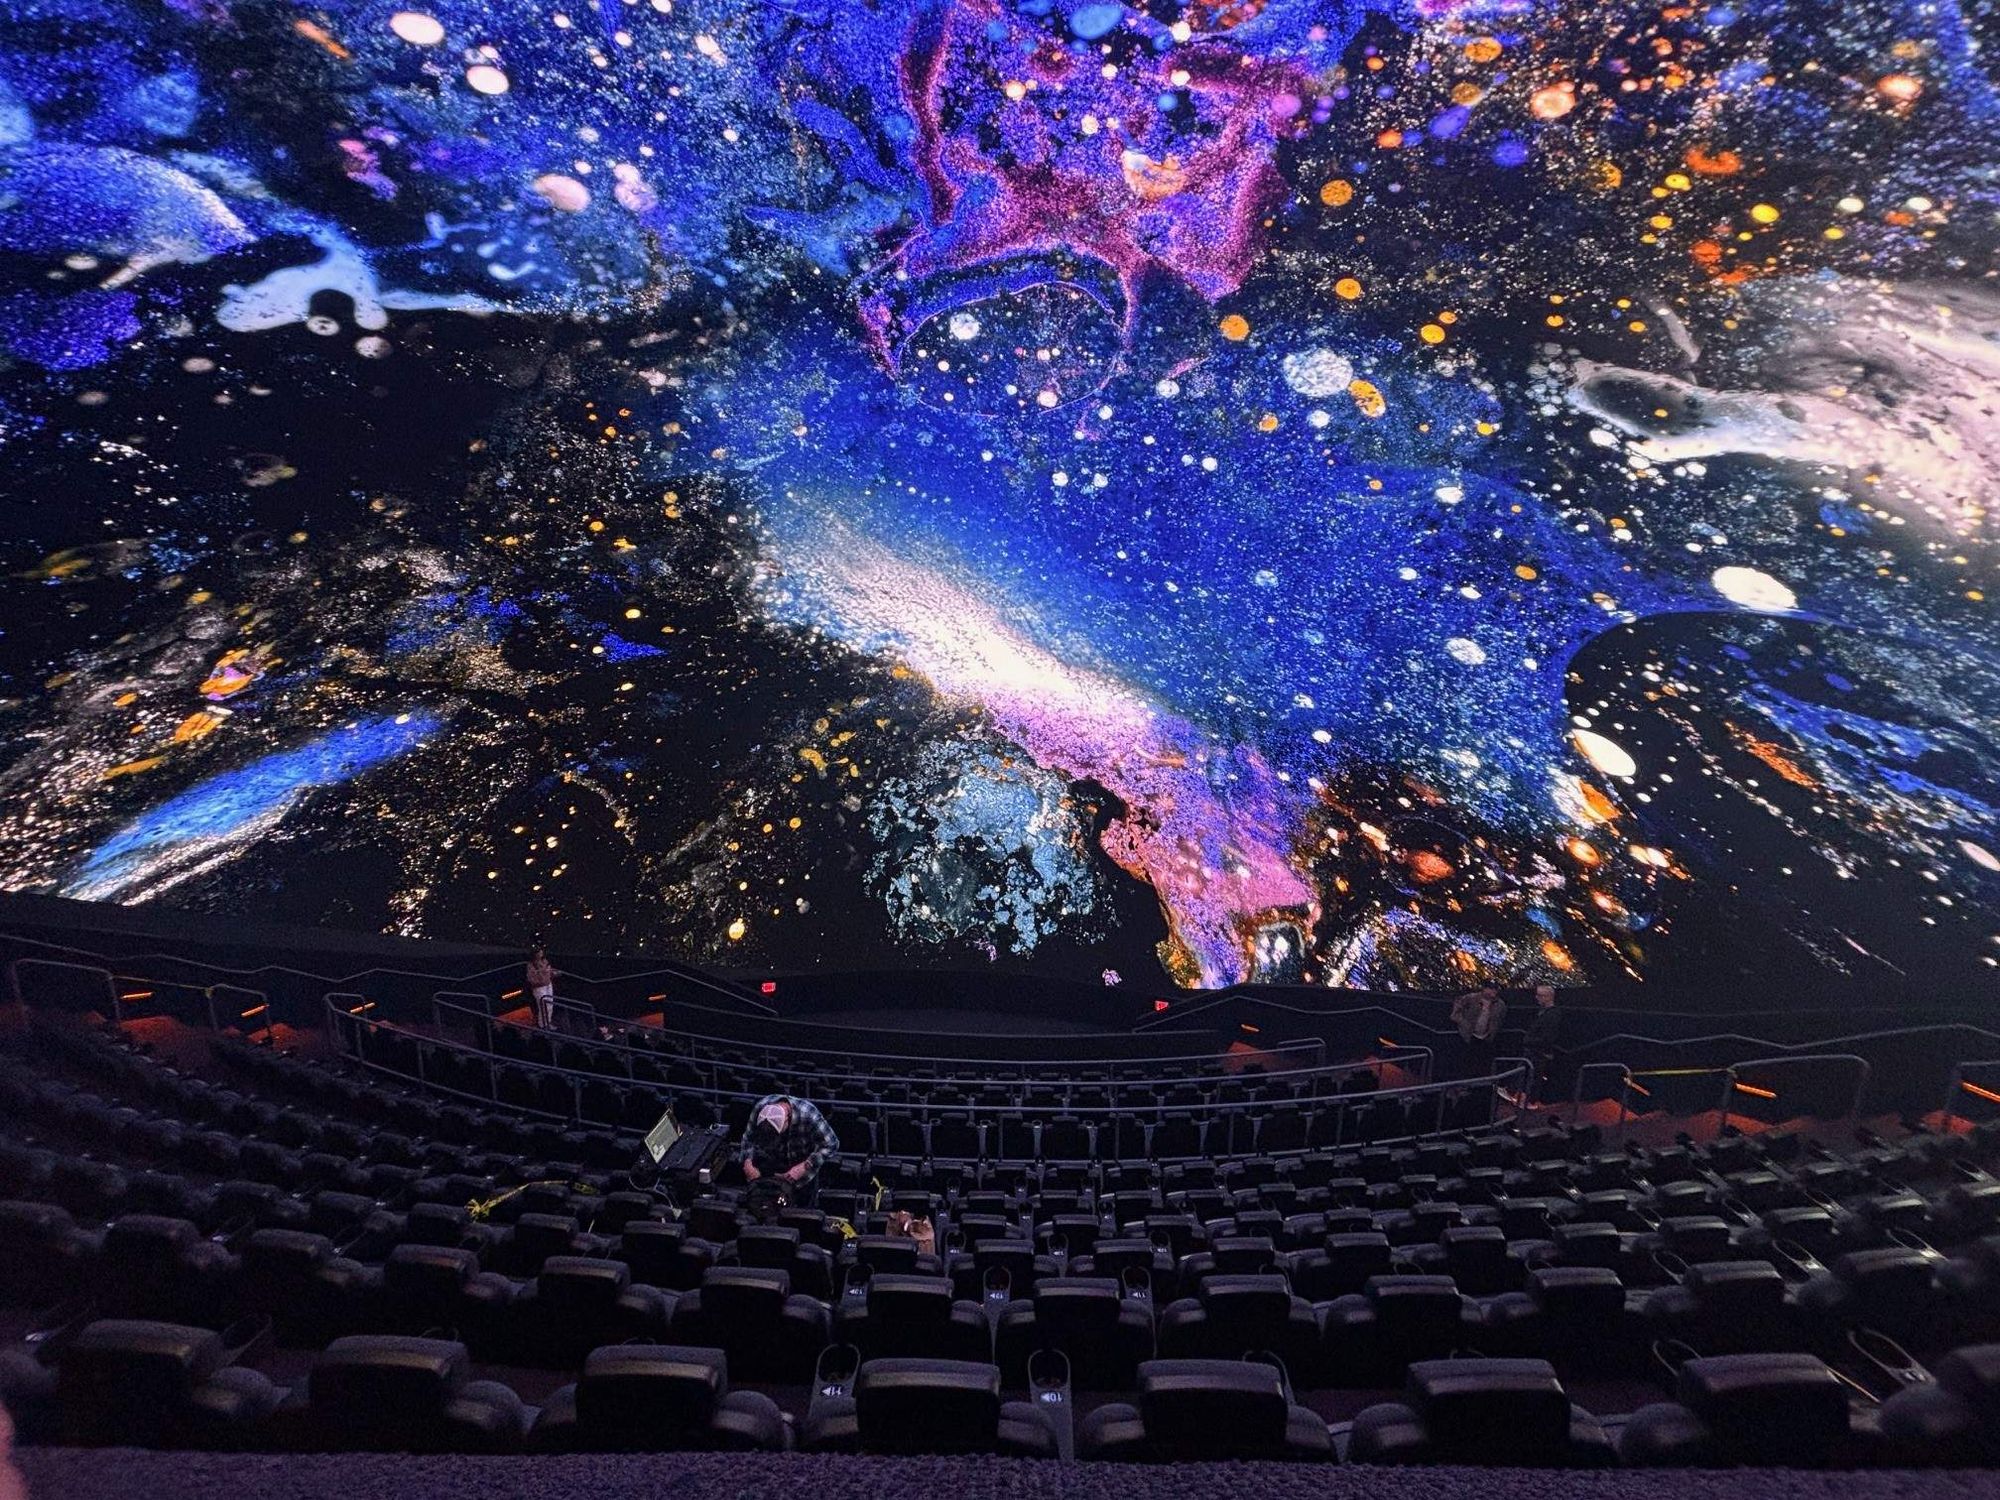
Set the usable width and height around the expected visitor route, accessibility needs and any emergency egress requirements. Keep the finished clear opening separate from trim and non-display borders.
Active surfaces
Decide whether the display covers one wall, both walls, the ceiling or selected transitions. The active-surface plan drives the screen area, support layout and content scope.
Route length and pacing
Map the complete visitor path, including entries, exits, stops and changes of direction. Content timing and scene transitions should follow the time people spend in each part of the passage.
Roof and wall transitions
Show whether the roof meets the sides as a curve, a set of facets or a square corner. This clarifies cabinet segmentation, joint positions and visual continuity.
Entry and exit sightlines
Identify what visitors see before entering and after leaving. Avoid placing key text where it is only readable from a single location or hidden by the approach angle.
Service access along the route
Plan access points and removal paths for each serviceable section. A continuous visual surface still needs practical breaks for inspection and replacement.
Specification
Tunnel LED Display drawing inputs
| Shape-specific engineering parameter | Value | Engineering use |
|---|---|---|
| Clear tunnel width | Project-defined / confirm by drawing | Required to engineer the immersive passage geometry before production. |
| Clear tunnel height | Project-defined / confirm by drawing | Required to engineer the immersive passage geometry before production. |
| Tunnel length | Project-defined / confirm by drawing | Required to engineer the immersive passage geometry before production. |
| Roof/side radius | Project-defined / confirm by drawing | Required to engineer the immersive passage geometry before production. |
| Entry/exit sightline | Project-defined / confirm by drawing | Required to engineer the immersive passage geometry before production. |
| Continuous canvas dimensions | Project-defined / confirm by drawing | Required to engineer the immersive passage geometry before production. |
These are RFQ/engineering fields, not claimed Highcolor performance specifications. Exact dimensions, pitch, brightness, protection and module construction must be confirmed for the selected product platform.
Content & mapping
Map the content canvas across the actual passage
The controller canvas should follow the real active surfaces along the route, including side walls, ceiling, transitions and inactive areas. Mark the beginning and end of each surface so one continuous scene can be mapped intentionally.
If a tunnel has separate panels or changes in viewing direction, plan the media layout around those breaks. Test a short moving pattern through the full path before producing the final content.
Check the full route before final content production
Confirm surface order, orientation, seams, inactive zones and viewing direction in the controller map. Preview movement from entry to exit so reversed sections, abrupt transitions and content placed across a seam are caught before installation.
Installation decision
Coordinate structure, access and commissioning across the route
A long continuous surface needs planned support, alignment references and installation sequencing. Coordinate the frame, fixing points, cable routes and joints with the host structure; do not rely on LED cabinets to correct a frame that is out of tolerance.
Identify how technicians reach each section after the tunnel is finished. Specify access panels, removal direction, safe working space and how the display is recommissioned after maintenance.
Build approach
Choose the tunnel build approach before scheduling site work
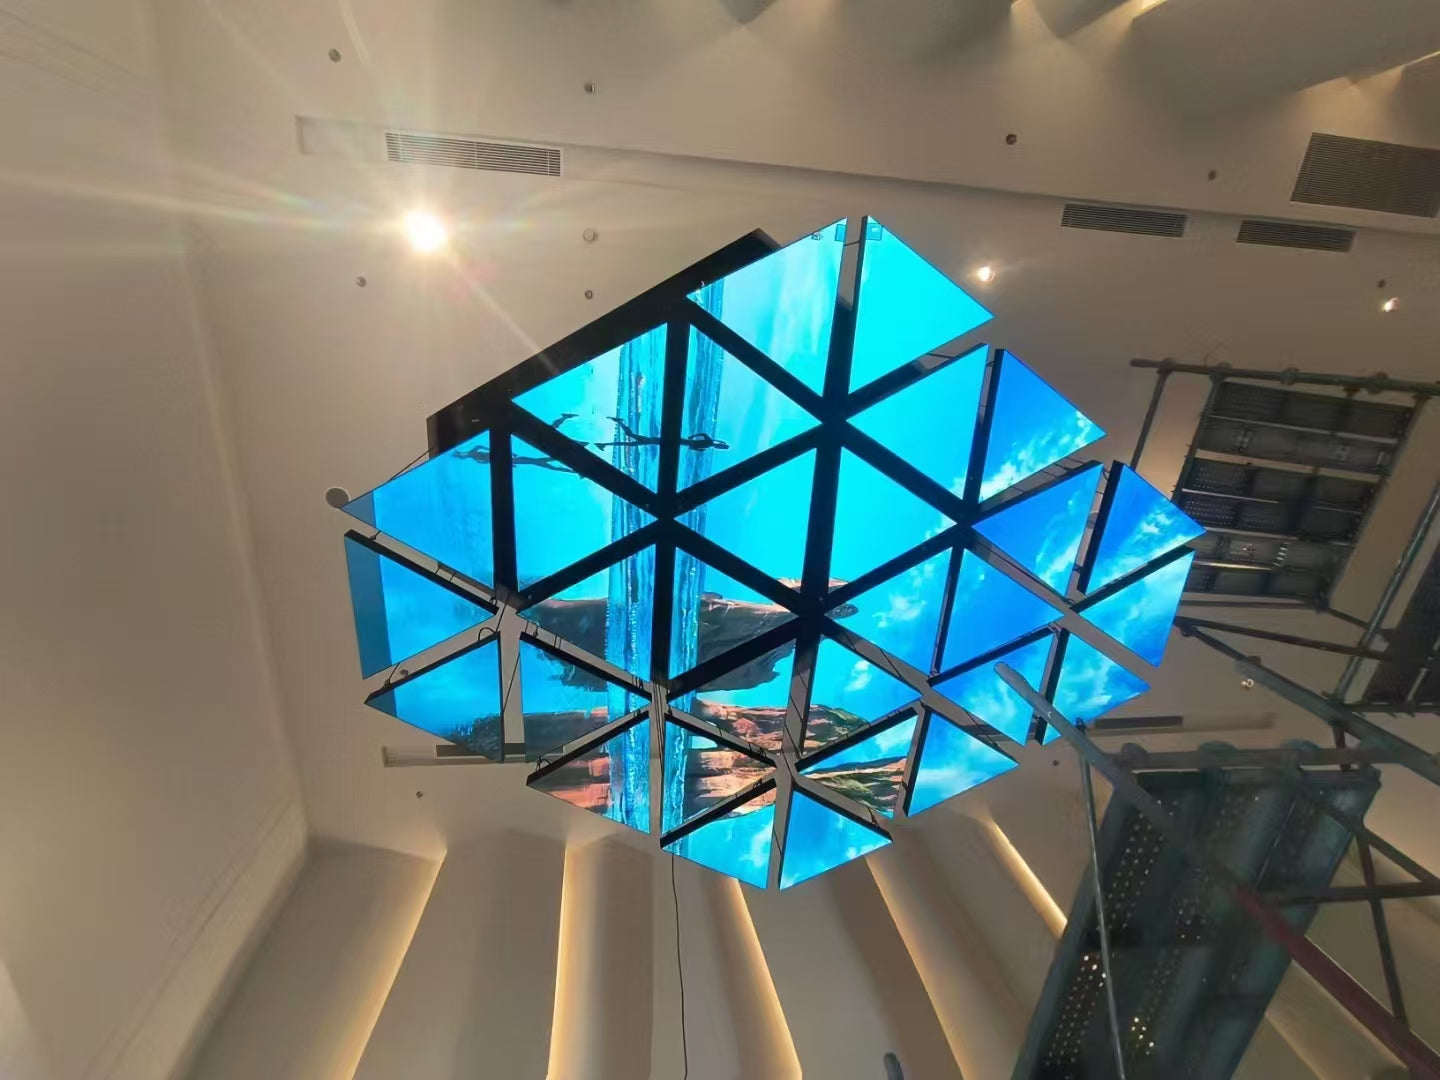
The right construction route depends on the room, geometry, transport path and time available on site. Decide which work happens in the factory and which happens at the venue before setting the installation schedule.
Site-built support frame
Useful when the tunnel follows an existing room or has nonstandard transitions. Confirm site measurements and structural interfaces first; available access and on-site work windows become key schedule inputs.
Factory-preassembled sections
Useful when repeatable sections can be built and checked before shipment. Agree module size, crating and connection references early so every section can move from unloading to its installation position.
Hybrid frame and display
Combine a project-specific support structure with repeatable LED sections. Define which interfaces are built locally and which arrive assembled, then align the shared datum and tolerance plan before production.
Cost drivers
What drives tunnel LED display project cost?
The main cost variables are total active screen area, the number of display surfaces, the route profile, site access and the required playback system. Compare quotations against one drawing and a clearly stated installation and commissioning scope.
Tunnel length and screen area
A longer route increases the active display area, support requirements, cable runs and installation time. Quote from the same measured path and surface coverage.
Number of active surfaces
A tunnel with one display wall has a different scope from one with both walls and a ceiling. List each active face, inactive zones and any transition sections separately.
Curves and surface transitions
Curved or faceted changes between walls and roof influence module segmentation, framing and finishing. Show the transition geometry on the drawing before comparing prices.
Playback and synchronization
A continuous experience may need coordinated media mapping across multiple faces and sections. Define controller scope, media resolution, playback sequence and commissioning tests in the quotation.
Drawing review
What to approve before fabrication
The dimension table defines the tunnel geometry. Before production, close the remaining coordination decisions across the visitor route, support, access, signal and content so the installation can be built and commissioned as one system.
Visitor route and clearances
Confirm entry and exit, travel direction, usable passage dimensions, stopping areas and sightlines. Mark finished clearances separately from display, trim and support so the screen plan does not reduce the intended route.
Active surfaces and boundaries
Show which sections of each wall and ceiling carry pixels. Mark seams, inactive panels, transitions, access doors and end caps so mechanical drawings and the content map describe the same canvas.
Frame, fixing and installation sequence
Coordinate support references, fixing positions, segment joints and cable routes with the host structure. Confirm the installation sequence and the project's structural responsibilities before fabrication.
Service and replacement path
Identify how each section is reached, removed and replaced after finishes are complete. Show access openings and technician working space along the whole route.
Signal path and playback plan
Document controller locations, signal routing, power interfaces and the playback sequence across the passage. Test content transitions at every surface boundary during commissioning.
Handover and acceptance
List the included mapping, content test, brightness/colour checks, operator training and documentation in the quotation. State who supplies site access, lifting equipment and local electrical or structural approvals.
FAQ
Tunnel LED Display: planning and purchasing FAQ
What drawing is needed to quote Tunnel LED Display?
Send a dimensioned sketch, CAD model or elevation showing clear tunnel width, clear tunnel height and the active LED area. A reference image alone is not enough for final engineering.
How should I choose pixel pitch for an LED tunnel?
Start with the closest and farthest viewing positions, the detail people need to see, and the content style. Compare sample content at the intended distances and ask the supplier to confirm a suitable pitch for the specific layout and budget.
How should pixel mapping be prepared for Tunnel LED Display?
Map the real active surface rather than forcing a standard 16:9 canvas. The controller map should follow the approved geometry, seams and inactive zones of this immersive passage project.
What service-access issue is specific to Tunnel LED Display?
Access must be planned around continuous canvas dimensions. Components that become trapped behind the finished geometry should be identified before the support structure is released.
What usually changes the cost of Tunnel LED Display?
The main variables are active screen area, the number of display surfaces, the route profile, site access and playback requirements. Compare quotations against the same drawing and confirm whether structure, installation, content mapping and commissioning are included.
Can the tunnel use LED on only the walls or only the ceiling?
Yes. Define the active surfaces on the project drawing—one or both walls, the ceiling, or selected transitions—and make sure the controller map and quotation use that same scope.
Should content mapping and playback be included in the quotation?
State who supplies the media, maps it to the tunnel surfaces, configures the playback system and tests transitions during commissioning. This avoids treating content and control as unpriced assumptions.
Related display formats
Compare Shapes With Different Engineering Intent
An led display forming an overhead arch or portal around a passage, with clear opening and curved/segmented soffit as primary constraints.
An overhead led surface integrated with a ceiling or suspended structure, where load, service access and upward viewing geometry dominate the design.
A continuous led wall following a concave, convex or s-shaped viewing surface.
Plan the screen around the visitor route
Share a dimensioned plan or model, active surfaces, visitor direction, entry and exit conditions, site photos, mounting details and service access. The quotation should state screen, structure, content mapping, playback and installation scope.
Request Engineering Review →