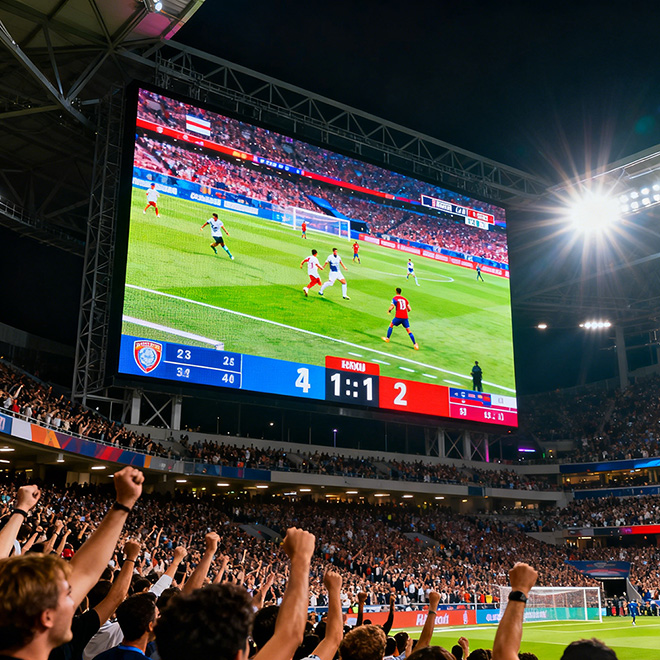
CUSTOM ARCHITECTURAL LED
Arch LED Display
A walk-through arch turns an entrance or passage into a mapped LED surface across its sides and soffit. The project is engineered around the clear opening, profile, support structure and service route—so the finished screen fits the architecture and remains maintainable.
Share Your Arch Drawing →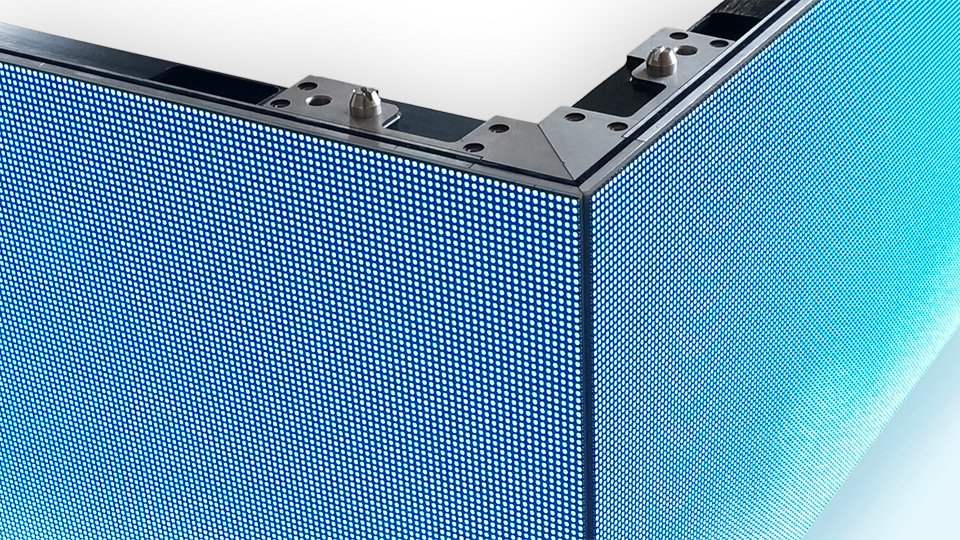
Project definition
Define the Walk-Through Arch Before Choosing Modules
A walk-through arch has an opening that people pass through and an LED surface that follows part of the portal. Establish whether pixels cover the inner sides, the overhead soffit, or both; this determines the mechanical breaks and content map.
If the display continues along a long enclosed passage, with viewers moving through a continuous ceiling-and-wall canvas, compare the scope with Tunnel LED Display.
Engineering
Design decisions that shape a walk-through arch
Viewer approach and clearance
Set the finished passage opening around expected foot traffic, accessibility needs and nearby architecture. Separate the clear walk-through area from trims and non-display borders on the drawing.
Choose the visible LED faces
Decide whether the display covers the inner sides, overhead soffit, outer returns or only selected surfaces. This sets the installation scope and the way people encounter the screen.
Select a profile strategy
Show whether the arch is a continuous curve, a series of facets or a hard-edged portal. The approved profile determines joint placement and how the screen transitions between planes.
Coordinate portal finishes
Account for the full depth of the LED assembly, support, wiring, edge trim and surrounding finish. A front elevation alone does not describe the finished portal.
Map the active canvas
Mark where pixels begin and end on every face, including seams and inactive zones. Share this layout with the controller and content teams before they build media.
Keep service access usable
Decide how cabinets or serviceable sections will be reached after installation. Check removal paths against permanent trim, ceilings and nearby equipment.
Specification
Drawing Inputs Required for Walk-Through Arch
| Shape-specific engineering parameter | Value | Engineering use |
|---|---|---|
| Clear opening width | Project-defined / confirm by drawing | Required to engineer the walk-through arch geometry before production. |
| Clear opening height | Project-defined / confirm by drawing | Required to engineer the walk-through arch geometry before production. |
| Arch radius/profile | Project-defined / confirm by drawing | Required to engineer the walk-through arch geometry before production. |
| Portal depth | Project-defined / confirm by drawing | Required to engineer the walk-through arch geometry before production. |
| Soffit LED coverage | Project-defined / confirm by drawing | Required to engineer the walk-through arch geometry before production. |
| Base/footing positions | Project-defined / confirm by drawing | Required to engineer the walk-through arch geometry before production. |
These are RFQ/engineering fields, not claimed Highcolor performance specifications. Exact dimensions, pitch, brightness, protection and module construction must be confirmed for the selected product platform.
Content & signal mapping
Build the pixel canvas around the real arch geometry
The controller map should describe each active LED surface, including left and right returns, overhead coverage, seams and inactive trim. Avoid stretching rectangular media across a portal when the physical layout has separate faces.
Before final content is rendered, test orientation and transitions on every face with a low-resolution mapping preview. This catches reversed sections and text crossing seams while changes are still inexpensive.
Pixel mapping decisions before content production
Record the active faces, orientation and seams in the controller map. Preview a short test pattern across the assembled surface before producing final media, so reversed sections and text crossing a seam are found early.
Installation decision
Plan the support frame and service route before fabrication
The support should establish the approved arch profile and carry the display through the planned installation sequence. Coordinate fixing points, cable paths, segment joints and tolerances with the host structure; LED modules should not be used to compensate for an out-of-square frame.
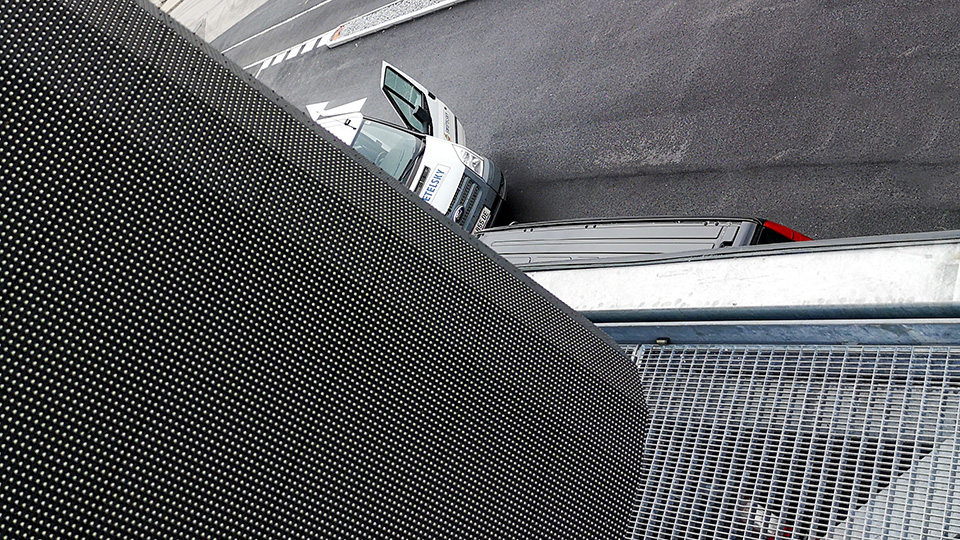
Identify how each cabinet or serviceable section can be reached after finishes are installed. Confirm whether access is from the rear, side or front, and keep the removal path clear of permanent trim and adjacent equipment.
Cost drivers
What changes the cost of an arch LED project?
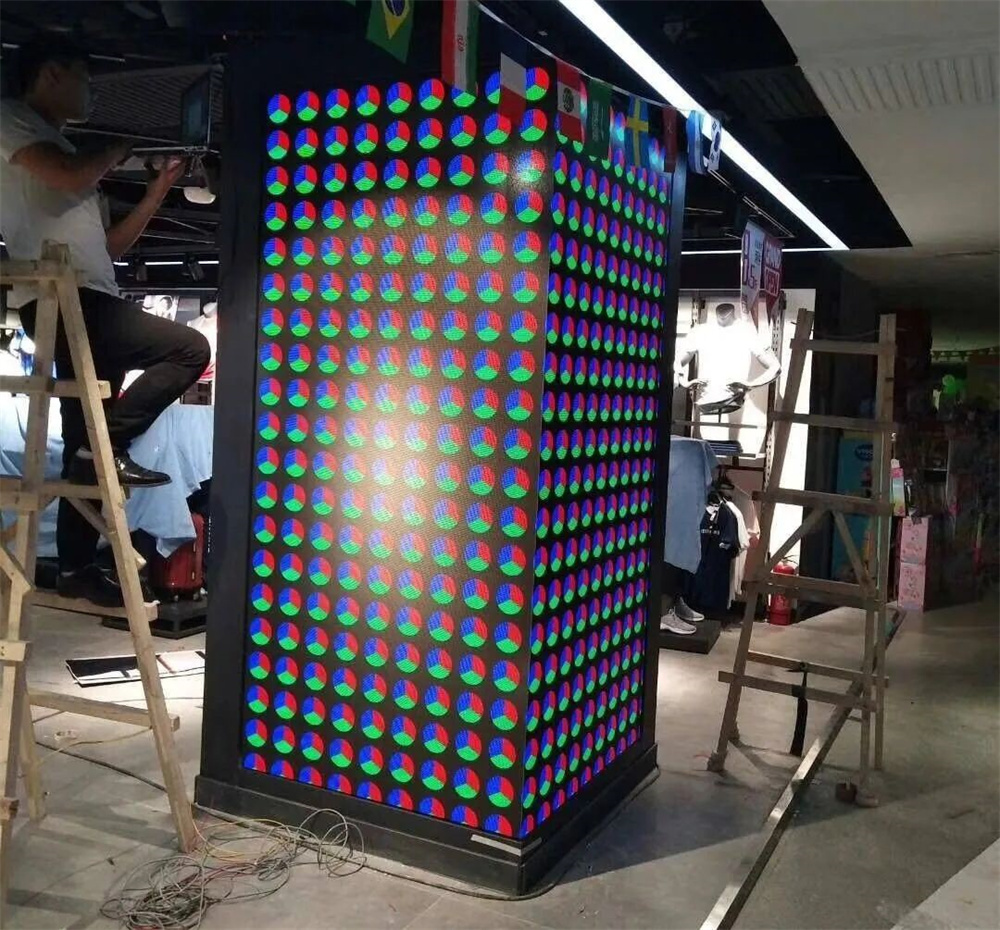
The quotation depends on the finished geometry, LED area, support design and site work. Ask suppliers to price the same dimensioned scope, then compare exclusions and installation responsibilities.
Clear span
A wider opening changes the overall screen area and how the support frame is segmented. Confirm the finished clear dimension and nearby structural boundaries before comparing quotations.
Arch profile
A continuous curve, faceted profile and hard change of plane require different drawing and assembly decisions. Define the profile before pricing modules, joints and finishing.
Portal depth
Depth affects display returns, trim, cable routing and maintenance space. Include the finished section in the drawing instead of quoting only the front elevation.
Support and installation
Site access, overhead work, lifting sequence, fixing details and commissioning scope can change the cost. Ask each quote to state installation and handover inclusions separately.
Production drawing review
Review interfaces before fabrication
Use a coordinated drawing review to close the project interfaces before fabrication. This keeps geometry, support, service access, signal planning and commercial scope aligned.
Dimensioned assembly
Confirm overall width and height, finished clear opening, arch profile, portal depth and trim. Mark the active LED area separately from structure and decorative finishes, and identify measurement tolerances.
Module segmentation
Review every joint, radius transition and change of plane on the fabrication drawing. Check that the proposed segmentation can be assembled in sequence and that visible seams land where the design allows.
Structure and fixing
Coordinate the support frame, fixing positions and cable routes with the host structure. Have the responsible project engineer confirm structural requirements for the actual site before production.
Maintenance route
Show how serviceable sections are removed and reinstalled after the arch is finished. Confirm access clearances and ensure no trim, ceiling or adjacent equipment blocks the planned route.
Power and signal
Locate power, data, controller and access points on the drawing. Confirm cable lengths, segregation and the signal path with the project electrician and content team.
Acceptance scope
List included installation, commissioning, mapping, content testing and handover items in the quotation. Define who supplies lifting equipment, site access and any local structural or electrical approvals.
FAQ
Arch LED Display: common project questions
What drawing is needed to quote Arch LED Display?
Send a dimensioned sketch, CAD model or elevation showing clear opening width, clear opening height and the active LED area. A reference image alone is not enough for final engineering.
Which geometry dimension controls Arch LED Display most strongly?
Start with clear opening width and clear opening height. The engineering team also needs arch radius/profile before module segmentation is frozen.
How should pixel mapping be prepared for Arch LED Display?
Map the real active surface rather than forcing a standard 16:9 canvas. The controller map should follow the approved geometry, seams and inactive zones of this walk-through arch project.
What service-access issue is specific to Arch LED Display?
Access must be planned around base/footing positions. Components that become trapped behind the finished geometry should be identified before the support structure is released.
What usually changes the cost of Arch LED Display?
The largest geometry-related variables are clear span, arch profile, portal depth and support and overhead installation. LED pitch and total active area also affect the final quotation.
Internal selection links
Compare Shapes With Different Engineering Intent
An led installation wrapping the sides and/or ceiling of a passage so viewers move through a continuous mapped media environment.
A continuous led wall following a concave, convex or s-shaped viewing surface.
A made-to-drawing led project used when standard cabinet geometry cannot satisfy the required object, surface or installation.
Start your Arch LED Display quote with a dimensioned drawing
Share the clear opening, profile, active LED area, site photos, viewing direction and service-access plan. We can review the inputs and identify what still needs confirmation before a detailed quotation.
Request Engineering Review →