CUSTOM LED DISPLAY · CURVED WALL
Curved LED Display Wall
Plan a continuous curved LED surface around the real radius, viewing position, support structure and content map—not just the shape in a rendering.
DESIGNED AROUND THE INSTALLATION
A curved wall is a display, a structure and a viewing geometry.
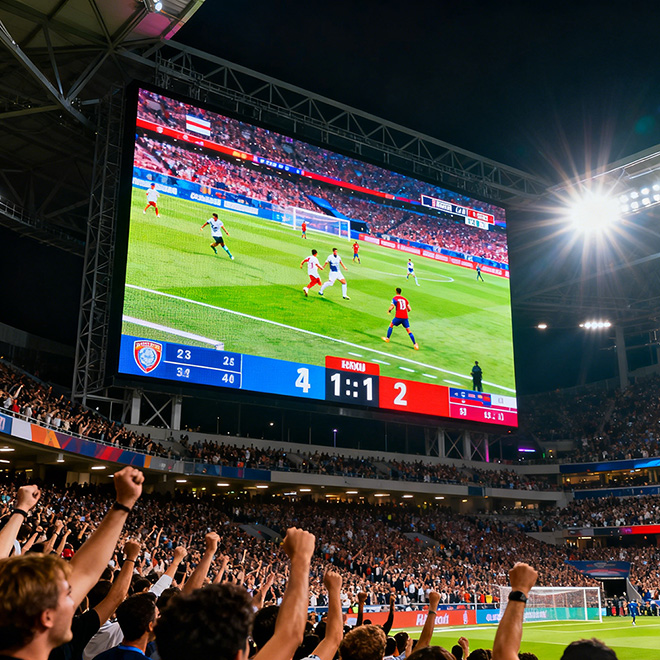
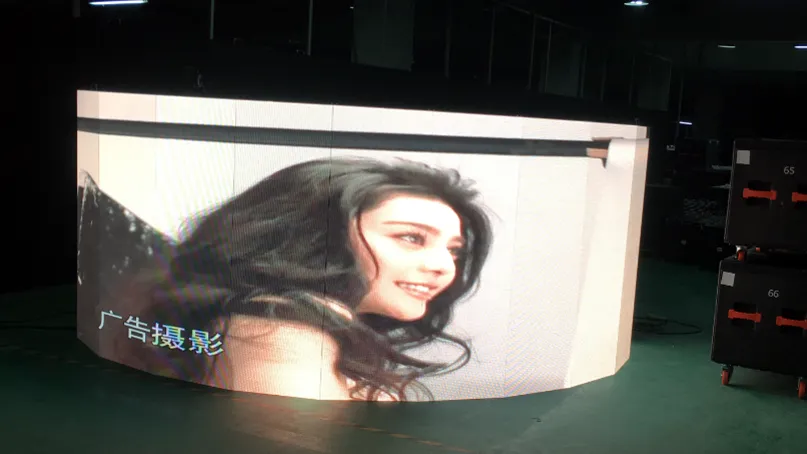
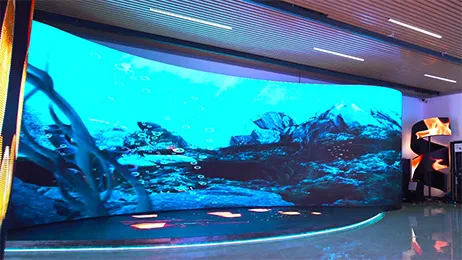
A curved LED display wall follows a concave or convex surface to create a more enveloping image than a flat screen. It can suit lobbies, retail environments, exhibitions, stages and immersive spaces when the curve supports the content and audience sightlines.
The right build depends on radius, total arc, screen dimensions, viewing distance, environment and service access. Those inputs determine whether angled flat cabinets, curved cabinets or flexible modules are suitable.
This is an indoor curved-display example. Confirm product availability, pitch, brightness, protection rating and safe bend limits for the exact model and project.
SELECT A BUILD ROUTE
Three ways to form a curved LED surface.
Compare the visual smoothness, achievable geometry, product limits, support structure and service plan before settling the platform.
ROUTE 01
Faceted arc with flat cabinets
Flat cabinets mounted at successive angles can approximate a broad curve. Review angle per segment, visible joints, alignment tolerance and how content crosses each joint.
ROUTE 02
Curved or adjustable cabinets
Purpose-built curved cabinets or angle-adjustable locks create a repeatable arc, within the selected series' limits. Confirm concave/convex direction, adjustment increments, minimum radius and transitions to flat sections.
ROUTE 03
Flexible modules on a shaped frame
Flexible modules can follow smoother curves when their substrate and bend direction permit it. The frame must hold the approved geometry; confirm the module's safe bend radius, service method and environmental limits.
DRAWING INPUTS
Measure the curve before you set the pixel canvas.
A concept image rarely defines enough geometry for production. Record the display surface and separate active LED area from trim, framing and installation clearances.
R · RADIUS
Specify the measurement datum.
State radius and concave or convex direction. Identify whether the reference is the LED face, cabinet face or support frame so each team uses the same datum.
θ · ARC ANGLE
Define the sweep.
Give the start and end points or central angle. Note whether the curve transitions into flat wings, corners, another radius or a return.
S · ARC LENGTH
Measure the developed face.
For a constant radius, S = R × θ when θ is in radians. This is the curved surface length, not the straight distance across the room.
C · CHORD & DEPTH
Check the wall envelope.
Chord C = 2R sin(θ/2); center depth (sagitta) = R[1 − cos(θ/2)]. These dimensions help coordinate the screen with the room and frame.
GEOMETRY EXAMPLE
A 3 m radius with a 60° arc
Using these formulas: surface arc ≈ 3.14 m, chord ≈ 3.00 m and center depth ≈ 0.40 m. This is a geometry illustration, not a Highcolor product specification. Confirm the measurement datum and finished dimensions on the approved drawing.
CONTENT · PROCESSING · SIGHTLINES
Map the image to the installed curve.
The controller canvas must match the approved cabinet or module layout and total pixel resolution. If the content team works from a flat canvas, identify how the curve changes text, logos, straight lines and motion from the primary viewing position.
Before final content is locked, verify output mapping, screen sections, seams and any inactive areas. A sample still or test pattern can expose alignment issues earlier than a finished video.
Choose pixel pitch using viewing distance, content detail, screen size and budget. Request a model-specific resolution review rather than selecting pitch from screen size alone.
WHAT TO SPECIFY
Match the product to the site conditions.
A curved shape does not define the full specification. Confirm each item against the operating environment and chosen product series.
VIEWING
Pitch and resolution
Share nearest and typical viewing distances, content type and total dimensions. Ask for the resulting pixel resolution and suitability for text or detailed graphics.
ENVIRONMENT
Indoor or outdoor
Define ambient light, rain or dust exposure, temperature, ventilation and operating schedule. Outdoor ratings are model-specific and should be documented.
SURFACE
Bend direction and radius
Confirm concave, convex or compound geometry and reference surface. Never infer a safe radius from a different product.
MAINTENANCE
Access and replacement
Plan front or rear service, tool clearance, module removal, cable access and replacement-part storage before closing the decorative structure.
INSTALLATION PLANNING
Design the frame and maintenance route together.
The support system must preserve the approved curve while allowing installation, alignment and service. Coordinate the frame with the site contractor before production.
01 · DATUMS
Set a shared reference.
Use controlled centerlines, levels, segment references and interface dimensions. Agree tolerances with the fabricator and identify the controlling surface.
02 · FRAME
Match the support geometry.
Specify attachment points, load path and adjustment method with the structural designer. The LED surface should not be forced to correct an inaccurate frame.
03 · ACCESS
Keep a service path.
Confirm front or rear removal space, access panels, cable routing and how a module can be replaced without dismantling adjacent finishes.
04 · SITE SERVICES
Coordinate power and signal.
Reserve routes for power, data, grounding, airflow and maintenance. Final requirements depend on the cabinet and local installation requirements.
WHERE CURVED WALLS ADD VALUE
Choose the curve for the audience experience.
LOBBY & RECEPTION
Frame the arrival point.
A shallow concave wall can create a focal zone while keeping the display legible along approach routes. Confirm the main viewing point, reflections and access to the surrounding finish.
RETAIL & SHOWROOM
Carry a campaign across a feature wall.
Keep key copy and product details within comfortable viewing angles, and account for camera capture if content will be filmed.
EXHIBITION & STAGE
Build a continuous scenic backdrop.
Use the content map and segment layout to keep visible breaks away from titles, faces and motion graphics. Include installation sequence and cable paths.
MUSEUM & IMMERSIVE
Shape the route through a story.
Design around viewer movement, accessibility, dwell time and how content changes across the arc.
FROM BRIEF TO COMMISSIONING
A practical sequence for a custom curved wall.
Keep the screen, structure and content teams on the same drawing revision. These checkpoints expose decisions before they become site changes.
01 · SURVEY
Capture site and brief.
Record dimensions, curve, viewing positions, environment, access and target use.
02 · SELECT
Confirm display route.
Review cabinet/module geometry, pitch, viewing distance, brightness needs, service direction and model limits.
03 · ENGINEER
Approve coordinated drawings.
Check LED face, frame interface, segment layout, active pixel area, cable routes and service clearances.
04 · MAP
Validate the canvas.
Agree total resolution, processor outputs, section mapping and any content compensation.
05 · TEST & HAND OVER
Define evidence and responsibility.
Set inspection steps, packing list, spare modules, installation documents and commissioning contacts.
PROJECT COST
What changes the cost of a curved LED wall?
There is no reliable price from the product name alone. A useful quotation pairs the display configuration with the curve drawing, support scope and delivery assumptions.
DISPLAY PLATFORM
Pitch, cabinet or module type, resolution and component selection determine the display bill of materials.
CURVE COMPLEXITY
Tighter or changing radii, transitions, finished edges and custom support can add engineering or fabrication work.
STRUCTURE & INSTALLATION
Frame design, site tolerance, access constraints, lifting, cable routes and installation location affect coordination and labor.
CONTROL & CONTENT
Processing capacity, mapping, content adjustment, commissioning and spare parts should be included explicitly.
DELIVERY
Packaging, shipping route, destination, insurance, import terms and site schedule change the delivered scope.
For comparable bids, give each supplier the same drawings and request itemized inclusions, exclusions, assumptions and model-specific specifications.
CURVED LED DISPLAY WALL FAQ
Common questions before you request a quote.
What is a curved LED display wall?
It is an LED display installed on a non-flat surface, commonly concave or convex. The curve may come from angled flat cabinets, curved cabinets or flexible modules on a shaped frame.
Can I use a flat LED cabinet on a curve?
Sometimes flat cabinets can approximate a broad arc if the frame and cabinet angles allow it. Whether joints are acceptable depends on viewing distance, content and product hardware.
What is the minimum radius?
There is no universal minimum. It depends on the exact cabinet or module, pitch, bend direction, frame and installation method. Request the limit for the selected model in writing.
Does a curved wall need special content?
The controller must map the installed pixel layout. Depending on the curve and viewing position, text, logos or straight lines may need compensation. Test representative content on the approved map.
Can a curved LED wall be used outdoors?
Outdoor use needs a product rated for the environment, plus suitable structure, drainage, power and maintenance access. Confirm model ratings and local requirements before specifying.
What should I send for an accurate quote?
Send plan/elevation drawings, radius and arc, dimensions, viewing distance, environment, mounting details, content use, service direction, destination and schedule. Photos or a 3D model help explain constraints.
START WITH THE DRAWING
Share the curve, viewing point and site conditions.
Send a plan or elevation with radius, arc, overall dimensions, viewing distance, environment and service-access direction. Highcolor can review the inputs and confirm the product questions needed for a project quotation.