SCENIC DISPLAY · LIVE EVENTS · CAMERA-READY PLANNING
LED Background Screen
Plan a stage or studio LED background around the room, the audience’s closest viewing point, camera use and the content that will run on screen.
Discuss your project →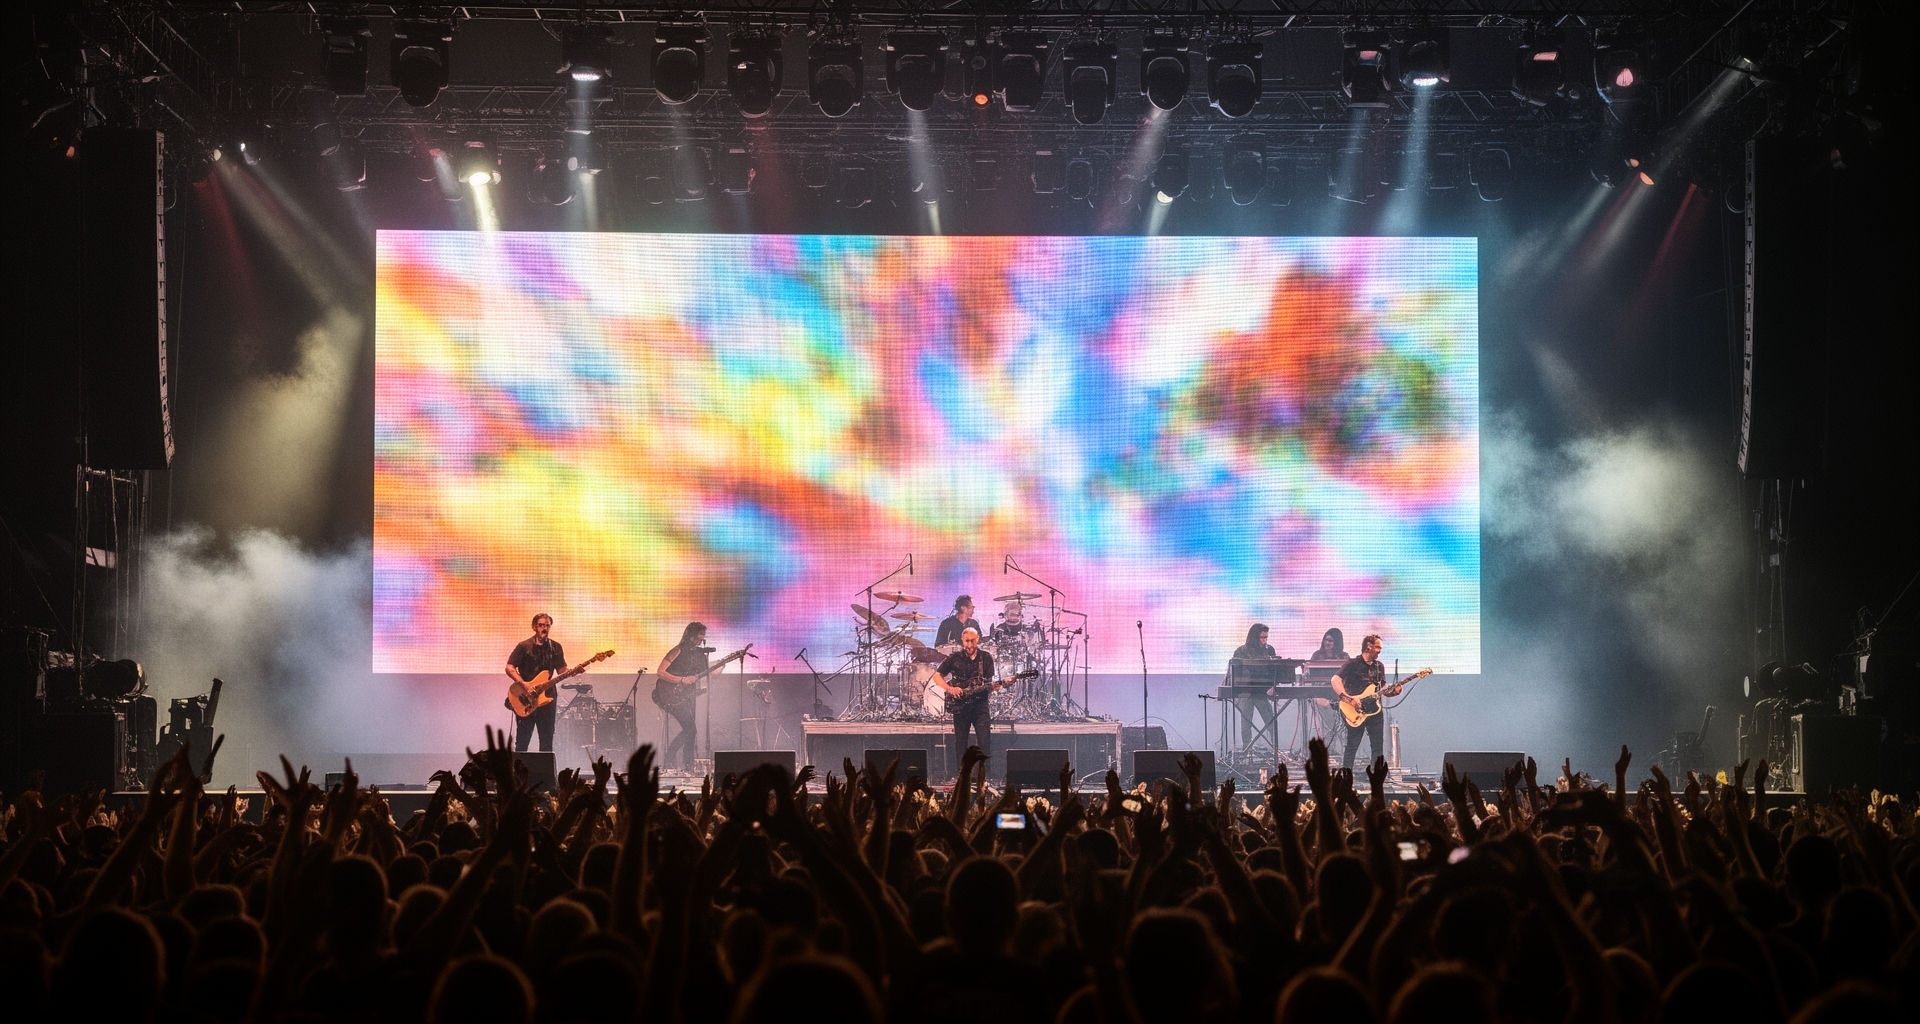
Illustrative event-stage image; not a Highcolor project.
PROJECT CONTEXT
A screen that becomes part of the set.
An LED background screen carries the visual environment behind a speaker, performer, product or camera frame. The right design balances image impact with sightlines, stage dimensions, content format and the technical needs of the production team.
The image is a temporary visual reference only; it is not presented as a Highcolor installation.
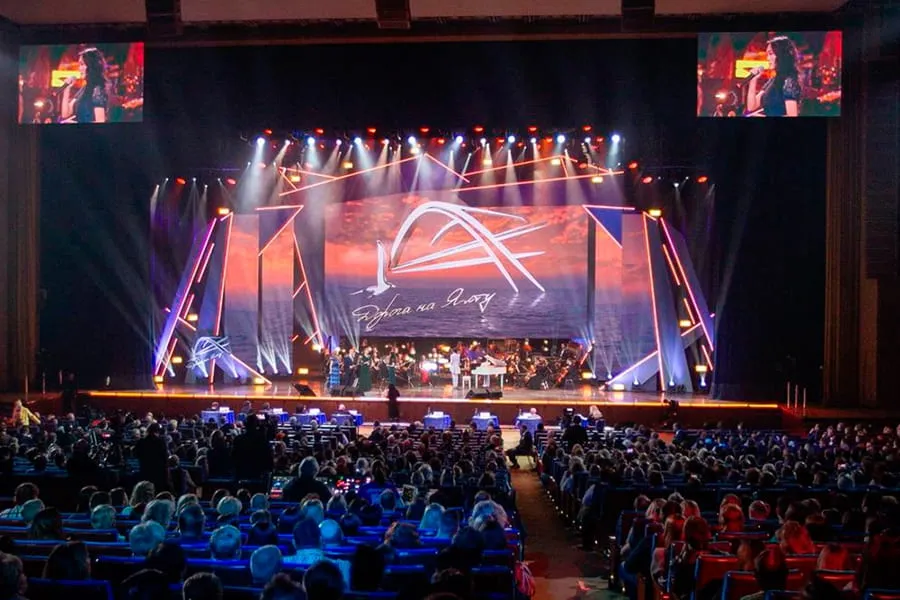
Separate the primary use before choosing the LED configuration. A scenic backdrop optimized for audience impact may not be the right canvas for a close camera shot or a permanent studio.
Choose the job the screen must do.
Live stage backdrop
Build atmosphere and support show content while keeping performers, scenic pieces, lighting and sightlines readable from the audience.
Conference or launch set
Prioritize slides, speaker framing, brand assets and camera IMAG. Reserve safe space for presenter positions and graphics.
Filmed or streamed background
Treat the LED wall as a camera-facing surface. Test it with the actual camera, frame rate, shutter, exposure and content before locking settings.
Measure the room before setting the canvas.
A stage render is not enough for a quote or a content map. Record the viewing and production conditions that determine the usable display area.
Stage and wall envelope
Provide finished stage width and height, ceiling clearance, depth behind the wall, access route and any limits on flown or ground-supported equipment.
Audience distances
Mark the nearest and farthest audience positions, seating rake and side viewing angles. The closest normal viewer is especially important for pixel pitch.
Camera positions
Show lens height, camera distance, movement path and the final crop for each shot. A wide master shot and close-up may need different safe areas.
Obstructions and scenic elements
Mark speakers, lighting truss, set pieces, lecterns, projection surfaces, doors and cable routes so they do not unexpectedly cover pixels or access panels.
For display size, use the active image area rather than the outside frame. Confirm that cabinet increments, content aspect ratio and side screens fit the actual stage plan.
Match pixel detail to the closest viewer and the content.
Pixel pitch is a project selection variable, not a single universal recommendation. A finer pitch can support closer viewing and detailed graphics, while the required processor canvas, cabinet count and budget also change. Ask for the exact cabinet pixel matrix and build the content canvas from the final cabinet layout.
Text and slides
Small text, charts and speaker notes expose pixel structure quickly. Review the smallest expected type size from the nearest seat and confirm the real pixel dimensions.
Video and scenic motion
Abstract motion, color fields and wide scenic imagery may tolerate a different pitch than product details or fine typography. Confirm the primary content, not only the screen diagonal.
Aspect ratio and side screens
Map main wall, wings and IMAG screens as separate output canvases. Decide whether they mirror, extend or carry independent content before programming.
A useful first calculation is pixel width = active display width in millimetres ÷ pixel pitch in millimetres. Treat this as an estimate only; the manufacturer’s cabinet resolution and actual cabinet count determine the final canvas.
IF THE EVENT WILL BE FILMED
Do a camera test before final approval.
Refresh rate alone cannot prove that a display will look clean on every camera. Rolling shutter, scan behavior, shutter angle, frame rate, brightness, gray level and camera-to-wall angle can reveal banding, flicker, moiré or uneven exposure.
Request a test with the intended camera and lens, recording settings, LED processor and typical content. Save the approved settings and capture representative shots for the production crew.

Coordinate the LED surface with the scenic design.
Flat main wall
A rectangular wall is the simplest canvas to map and align. Confirm its width, height, bottom edge, trim, camera crop and distance from performers.
Curved or angled wings
Curves, corners and side wings can wrap the set, but change cabinet orientation, pixel mapping, physical depth and viewing angles. Approve elevations and the content layout together.
Layered or transparent scenic screen
A transparent layer can preserve some view of performers, lighting or set pieces behind it. The actual transparency, content contrast, support and camera use depend on the chosen product.
Permanent studio background
A fixed studio wall needs a repeatable camera reference, service route, ventilation and cable planning. Include the control room and processing position in the signal plan.
Treat the display as part of the production system.
Support and rigging
Confirm cabinet weight, approved hanging or stacking method, connection points, secondary safety and venue rigging limits with the responsible production engineer.
Power distribution
Request model-specific maximum and typical power data. Coordinate circuits, distribution, cable lengths, connector locations and power-up sequence with the venue electrician.
Processor and signal path
Document input sources, output resolution, processor location, cable routes, signal backup and who owns show playback and content scaling.
Access and weather
Keep a safe route for module replacement and cable checks. Outdoor events also need a project-specific weather, wind, rain protection and shutdown plan.
Temporary event structures and electrical work must be reviewed by the qualified production and venue teams for the actual venue and local requirements.
Where an LED background screen is commonly used.
Concerts and festivals
Create a visual scene behind performers, with optional side screens for live camera feeds or separate audience zones.
Corporate events
Present keynote slides, launch films, speaker names and brand visuals while protecting readability and camera framing.
Exhibitions and product launches
Use the background as a controlled visual environment that supports product lighting and keeps the focal object visible.
Broadcast and virtual production
Build a camera-facing LED environment only after camera tests, color pipeline, content tracking needs and studio geometry are defined.
A review sequence that reduces production-day changes.
1 · Capture
Share stage plans, room elevations, seat distances, camera plots, event format, indoor/outdoor conditions and schedule.
2 · Configure
Confirm cabinet family, pitch, dimensions, wall geometry, processor, support method and service access against the venue plan.
3 · Map content
Issue exact pixel canvases for the main wall and every side screen. Supply pixel maps, safe areas, aspect ratios and playback specifications.
4 · Test and sign off
Review structural drawings, power and signal plans, camera samples, content playback, spare strategy and responsibilities before dispatch.
What changes the total project cost?
Compare complete event scopes rather than price per square metre alone. The same display area can require different cabinet types, rigging, processing and crew depending on the venue and production plan.
Display specification
Pitch, brightness target, cabinet format, refresh behavior, protection and spare modules.
Geometry and structure
Non-standard sizes, curves, wings, custom frames, engineering and venue access.
Show system
Processor capacity, signal distribution, backup, playback equipment, content adaptation and camera tests.
Logistics and labor
Transport distance, load-in window, lifting, installation crew, rehearsal time, dismantle and return shipping.
Questions to resolve before requesting a quote.
Can I use one screen for both audience viewing and camera shots?
Often, but the closest viewing point and camera exposure can impose different requirements. Share both the seat plan and camera settings so they can be evaluated together.
What is the right pixel pitch for a stage background?
It depends on the nearest viewer, content detail, camera use, cabinet resolution and budget. Confirm with a sample or test at the intended distance.
Will a high refresh rate prevent camera flicker?
Not by itself. Camera shutter, scan behavior, frame rate, brightness and viewing angle also matter; request a test with the actual camera setup.
What files should I provide for a pixel map?
Provide approved cabinet count and layout, native resolution per cabinet, main and side-screen output plan, content aspect ratio and safe-area requirements.
Can a stage background be used outdoors?
Only if the selected display, support, power protection and operating plan suit the outdoor environment. Venue and production teams must review weather and wind conditions.
What do you need for an accurate quotation?
Stage drawings, dimensions, closest and farthest audience positions, camera plan, indoor/outdoor use, content type, event date, installation window and location.
Compare other display forms in the Creative LED Display range.
Stage-oriented display page for event applications and larger audience environments.
For projects where a continuous curved surface is central to the visual design.
Browse the parent range of shape-led and custom display configurations.
Plan the screen around your stage, camera and content.
Send your stage plan, viewing distances, camera setup, content format and event date. The project team can use these inputs to define the LED canvas and technical scope.
Request a project review →