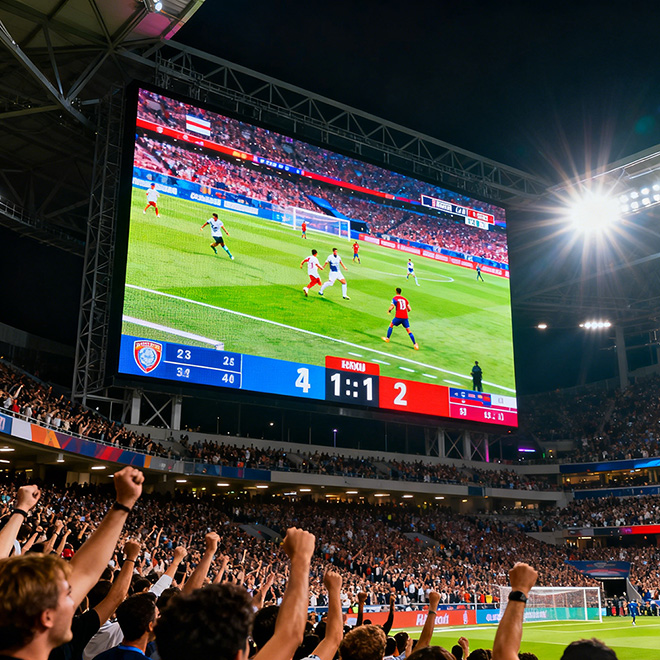
High-Brightness LED Display
Specify for the viewing task—not a brightness number alone.
Choose the display around the real viewing task: direct-sun exposure, audience distance, reflective surroundings, operating hours and content. Then confirm a calibrated brightness range, automatic dimming, power and cooling with the selected model.
Plan an outdoor display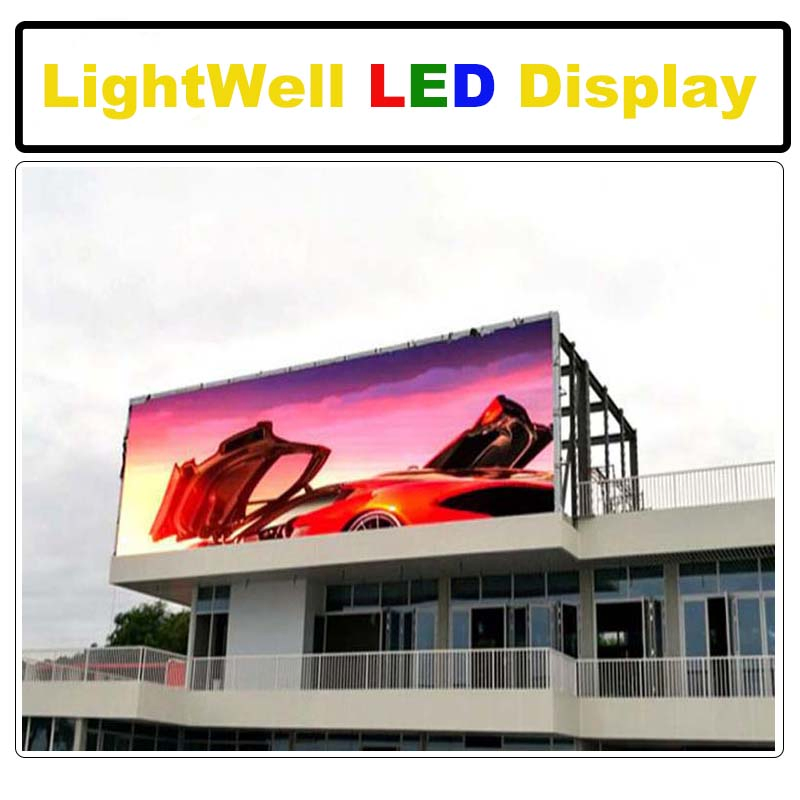
Where high brightness can support outdoor viewing
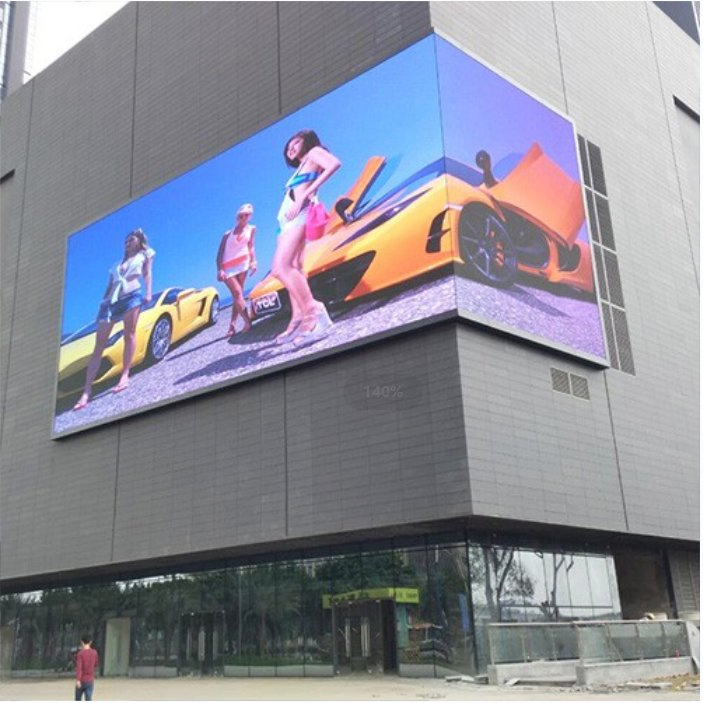
Storefront and roadside
View contrast against a bright sky and reflective glazing.
Elevated roadside display
Review long-distance visibility and structural context.
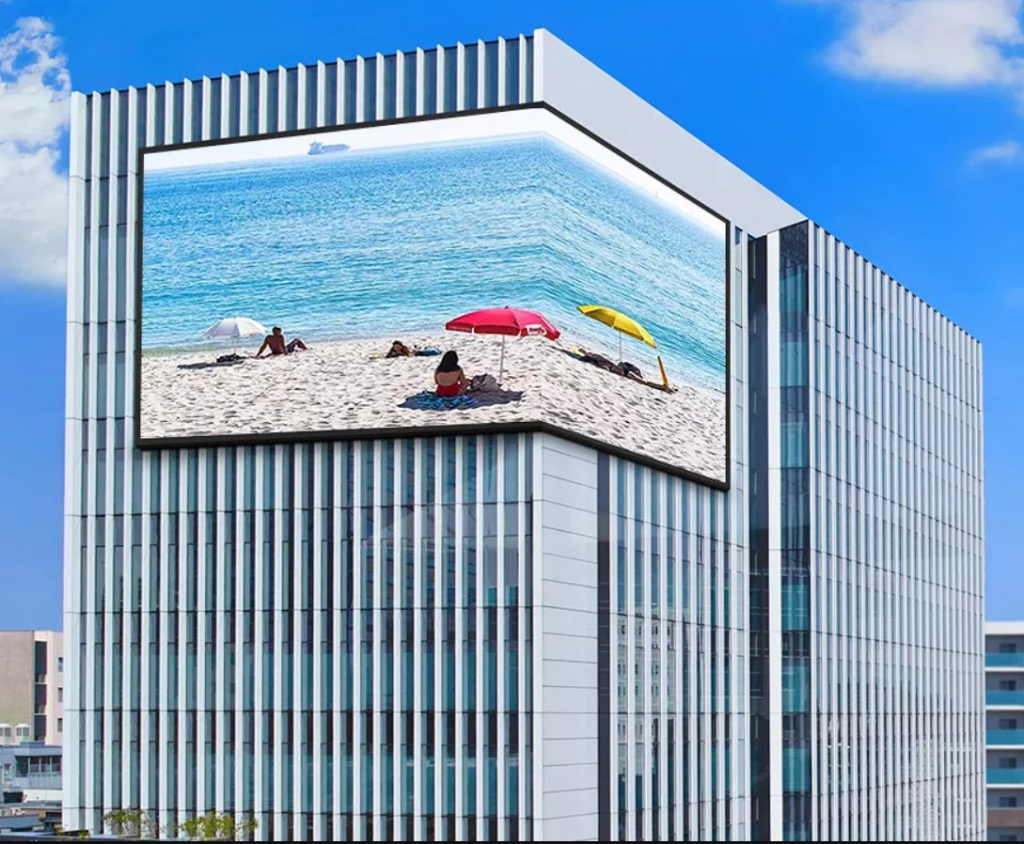
Building-corner display
Check sun exposure from multiple viewing directions.
First assess the light, content and audience
A high peak rating cannot compensate for poor contrast, reflections or unsuitable content. Define the audience and viewing task first, then evaluate the screen with representative artwork at the intended operating level.
Direct sun
Map when direct sun reaches the display and when it reaches the viewer’s eyes. Include seasonal changes, nearby buildings and the full operating schedule; these conditions determine when extra output is useful.
Reflected glare
Inspect glazing, polished façades and nearby lighting from actual viewing positions.
Viewing distance
Record the nearest and farthest viewing positions, approach angles and dwell time. Use these distances to assess pixel pitch, text height and content layout instead of selecting pitch from screen size alone.
Content contrast
Test the smallest labels, prices or calls to action against the actual background. Avoid thin fonts and low-contrast colors, and confirm legibility from the required positions in daylight.
| Condition | Record on site | Design response |
|---|---|---|
| Sun exposure | Hours, direction, seasonal change | Orientation, shading and operating brightness |
| Audience | Distance, angle, movement | Pitch, text size, contrast and layout |
| Surroundings | Windows, reflections, traffic | Glare and sightline review |
| Operating hours | Day, dusk, night, closed periods | Dimming schedule, sensor and override |
Set a useful brightness range throughout the day
The target is readable content at each operating period, with controlled output after sunset. Ask for a calibrated daytime level, a lower evening range and a documented method for changing between them.
Daylight mode
Set a calibrated operating level for the defined bright conditions and confirm visibility with the intended content.
Dusk and night mode
Reduce output as ambient light falls. Review from nearby homes, roads and pedestrian areas.
Sensor and override
Choose time schedules, ambient-light sensing or both. Confirm sensor location and direction, adjustment thresholds, transition speed, manual override, failure behavior and what happens after a power restart.
Commission the sensor at the installed position. A sensor shaded by a canopy or pointed toward the display can misread the surrounding light and leave the screen too bright or too dim for viewers.
Compare measurements at the brightness you will use
Compare calibrated luminance, power and temperature at the proposed operating point—not only at maximum output. Ask how each value was measured and what conditions apply.
| Measure | Ask the supplier to state | Why it matters |
|---|---|---|
| Calibrated brightness | Calibrated luminance, measurement method, viewing angle and operating conditions | Makes competing proposals comparable and sets a testable acceptance target |
| Power | Typical content profile, daytime and night settings, standby and maximum input | Supports circuit sizing, energy estimates and realistic running-cost comparisons |
| Thermal behavior | Temperature limits, ventilation method and performance under sustained operation | Shows whether the cabinet can hold stable output in the local climate |
| Color & uniformity | Uniformity tolerance and the inspection method at the commissioned level | Avoids accepting only a bright center while visible areas vary across cabinets |
| Control range | Minimum and maximum output, dimming steps, sensor support and manual override | Confirms the screen can transition smoothly between site conditions |
Plan a practical normal level
Set the normal level to the lowest output that keeps the required content readable in the defined conditions. Reserve headroom for unusually bright periods only when the product data, thermal design and project use justify it.
Estimate the full schedule
Request power figures for the planned schedule: bright daytime, reduced evening output, content-dependent operation and standby. This gives a more useful energy estimate than multiplying a peak wattage by every operating hour.
Include the site in the brightness design
A high-brightness screen is a system decision. Coordinate the selected operating range with cabinet ventilation, electrical capacity, mounting structure, sensor placement and the service plan.
Structure & wind
Check screen area, mounting height, local wind exposure, fixing points and access loads with the project’s structural professional. The display supplier should provide model-specific cabinet and fixing data.
Power & protection
Confirm supply voltage, distribution, earthing, surge protection, isolation and cable routes against the selected model and local electrical requirements.
Cooling & access
Plan heat removal for the cabinet and site climate, including clear airflow paths and safe access to modules and electronics. Ask how sustained operation at the proposed setting affects thermal limits.
Commissioning
Test the content in daytime, dusk and night conditions. Record the calibrated settings, sensor response, uniformity check and acceptance result so the handover is repeatable.
What to include in your enquiry
Send enough detail to compare a realistic configuration and operating plan.
Site pack
Project location, daylight photos, dimensions, orientation, mounting height, viewing positions, nearby reflective surfaces and operating hours.
Content pack
Sample artwork, smallest text, typical brightness and color, languages, motion and any camera or broadcast requirements.
Operating brief
Day/night schedule, preferred sensor or control method, electrical limits, service access and local maintenance expectations.
High-brightness LED display FAQ
Does every outdoor screen need the highest brightness?
No. The required level depends on direct-sun exposure, orientation, content contrast and viewing task. A calibrated operating range can provide sufficient readability while reducing unnecessary power and light output.
Will a brighter screen always look clearer in sunlight?
No. Reflections, contrast, pixel pitch, viewing angle and content design all affect readability. Evaluate the actual artwork from audience positions, not a brightness figure in isolation.
Can brightness adjust automatically?
Yes, when the display controller supports a compatible ambient-light sensor or schedule. Specify sensor placement, target range, adjustment thresholds, manual override and what the system should do if the sensor fails.
What should change at night?
Usually reduce output as ambient light falls, then verify readability and glare from nearby roads, homes and pedestrian areas. Use project requirements and local rules to set the night profile.
Does high brightness affect power and heat?
Yes. Higher output can increase power demand and heat, depending on the model and operating conditions. Request model-specific figures for the intended schedule, along with cooling and thermal information.
Can brightness be tuned after installation?
Often, if the controller and commissioning process allow it. Agree the permitted range, sensor behavior, calibration responsibility and handover settings before installation.
Specify the operating scene—not just a peak number
Send the site location, daylight and night photos, screen dimensions, viewing distances, sample content and operating hours. Highcolor can then review brightness control, pixel pitch, power, cooling and installation requirements together.
Request an outdoor display review