INDOOR / PERMANENT INSTALLATION
Indoor Fixed LED Display
A video wall designed to stay in place. Plan a wall-mounted or built-in LED display around your room, your content and the people who need to see it.
Compare pixel pitches, understand front-service access and build a complete installation brief for your Highcolor project.

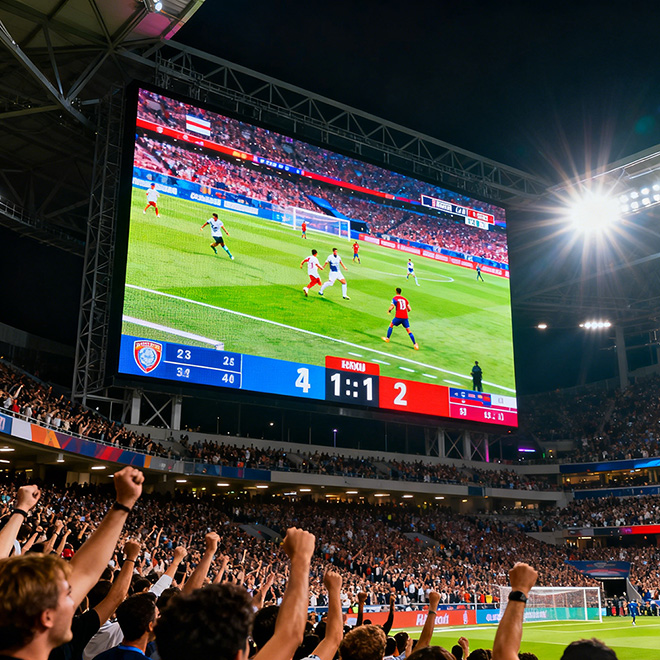
Permanent indoor installation • application image
Fixed in place
Mounted to an approved wall or supporting structure.
Sized for the room
Cabinet layout defines the finished screen dimensions.
Service planned in
Access, cable routes and ventilation are designed before installation.
01 / CHOOSE FOR THE CONTENT
The right pitch starts with what people need to read.
A smaller pixel pitch puts more pixels into the same screen area. It can improve close-up detail, but the best choice also depends on text size, source resolution, viewing position and budget. Test the content that will actually run on the wall.
DETAIL FIRST
Presentations & dashboards
Start with the smallest spreadsheet labels, charts and shared desktop text. Compare the finer reference pitches first, then check the image from the nearest seat. Video-only demos can hide a readability problem.
IMAGE FIRST
Lobbies & showrooms
Balance visual impact with comfortable brightness and natural skin tones. Choose pitch after checking nearby walkways and the actual content layout; a larger wall does not automatically need the smallest pitch.
OPERATIONS FIRST
Control & monitoring rooms
Verify multi-window readability, signal routing and the required operating schedule. Include service access and any specified power or signal redundancy in the system design.
Same wall size. Different native resolution.
Illustrative layout: 6 × 4 cabinets at 640 × 480 mm gives a 3.84 × 1.92 m screen. Using the reference module matrices below, P1.25 provides 3,072 × 1,536 pixels; P2.0 provides 1,920 × 960; P2.5 provides 1,536 × 768. These are planning calculations, not confirmed Highcolor configurations.
That wall is 2:1, not 16:9. Agree the content canvas before ordering; a 4K input does not make a lower-resolution wall native 4K.
02 / COMPARE CONFIGURATIONS
One cabinet format. Five reference pitch options.
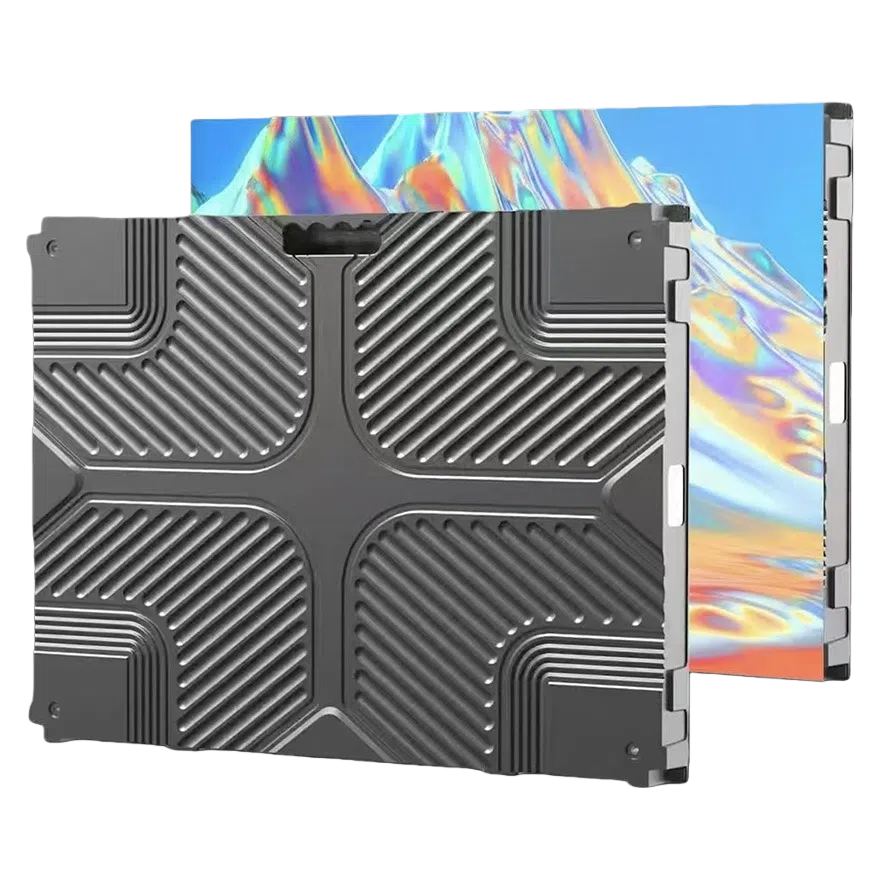
Reference cabinet image — replace with the approved Highcolor product image before publication.
Compare the complete configuration
The reference platform uses a 640 × 480 mm cabinet, 320 × 160 mm modules and front maintenance. The matrix helps compare pixel count while keeping the cabinet format consistent.
Module compatibility, driver configuration, power supply and receiving-card settings must be checked together. Matching cabinet dimensions alone does not establish interchangeability.
REFERENCE DATA — REVIEW BEFORE PUBLICATION
The values below come from one publicly listed manufacturer series. They are a provisional comparison baseline, not a verified Highcolor specification or performance guarantee.
| Reference pitch | P1.25 | P1.53 | P1.86 | P2.0 | P2.5 |
|---|---|---|---|---|---|
| Module pixels (W × H) | 256 × 128 | 208 × 104 | 172 × 86 | 160 × 80 | 128 × 64 |
| Cabinet pixels* (W × H) | 512 × 384 | 416 × 312 | 344 × 258 | 320 × 240 | 256 × 192 |
| Module size | 320 × 160 mm | 320 × 160 mm | 320 × 160 mm | 320 × 160 mm | 320 × 160 mm |
| Cabinet size (W × H × D) | 640 × 480 × 48 mm | 640 × 480 × 48 mm | 640 × 480 × 48 mm | 640 × 480 × 48 mm | 640 × 480 × 48 mm |
| Brightness range | 600–1,200 nits | 600–1,200 nits | 600–1,200 nits | 600–1,200 nits | 600–1,200 nits |
| Refresh-rate range | 3,840–7,680 Hz | 3,840–7,680 Hz | 3,840–7,680 Hz | 3,840–7,680 Hz | 3,840–7,680 Hz |
| Cabinet material | Die-cast aluminum | Die-cast aluminum | Die-cast aluminum | Die-cast aluminum | Die-cast aluminum |
| Reference cabinet weight | 6 kg | 6 kg | 6 kg | 6 kg | 6 kg |
| Input power | 100–240 VAC, 50/60 Hz | 100–240 VAC, 50/60 Hz | 100–240 VAC, 50/60 Hz | 100–240 VAC, 50/60 Hz | 100–240 VAC, 50/60 Hz |
| Maximum power density | 600 W/m² | 600 W/m² | 600 W/m² | 600 W/m² | 600 W/m² |
| Maintenance | Front | Front | Front | Front | Front |
*Cabinet pixel counts are calculated from 2 × 3 modules. Pitch labels follow the reference supplier’s naming; verify exact pitch and matrix in the approved drawing. Brightness and refresh are series ranges, not independently selectable guarantees. Scroll the table horizontally on smaller screens.
03 / BUILD IT INTO THE SPACE
Plan the wall behind the image.
A permanent display is a building integration project. Decide the structure, finished depth and service route before the screen opening or decorative surround is completed.
01
Wall-mounted installation
Confirm the substrate, load path and fixing design with the responsible installer. Allow for the supporting frame, leveling and cable routes; cabinet depth alone is not the installed wall depth.
02
Recessed or flush finish
Coordinate the opening, edge trim and ventilation path with the interior contractor. A clean flush finish must still leave enough clearance to remove modules and reach service parts.
03
Permanent structural mounting
For a wall supported by a floor-fixed or other dedicated structure, approve the load, anchoring and access arrangements. Any overhead installation needs a project-specific structural design.
What does “front service” include?
Ask for a demonstration of module removal, power-supply replacement and receiving-card access. A front-removable module does not by itself prove that every component can be serviced from the room side.
Keep extraction clearance in front of the wall. Place external distribution equipment and processors where a technician can safely reach them, and retain the configuration and calibration files.
Power, data and room conditions
Specify electrical circuits from the confirmed maximum load and local installation requirements. Route power and data so they remain accessible after the wall is closed.
Check ventilation, room temperature, reflections and acoustic expectations. For camera-facing use, test the intended camera settings with the complete LED configuration; refresh rate alone is not a filming guarantee.
04 / MATCH THE ROOM
Different rooms need different acceptance tests.
Exhibition halls & brand spaces
Review the full content canvas from nearby visitor routes. Look for consistent color across the wall and check how daylight or spotlights affect the surface. Agree brightness presets for the actual opening hours.
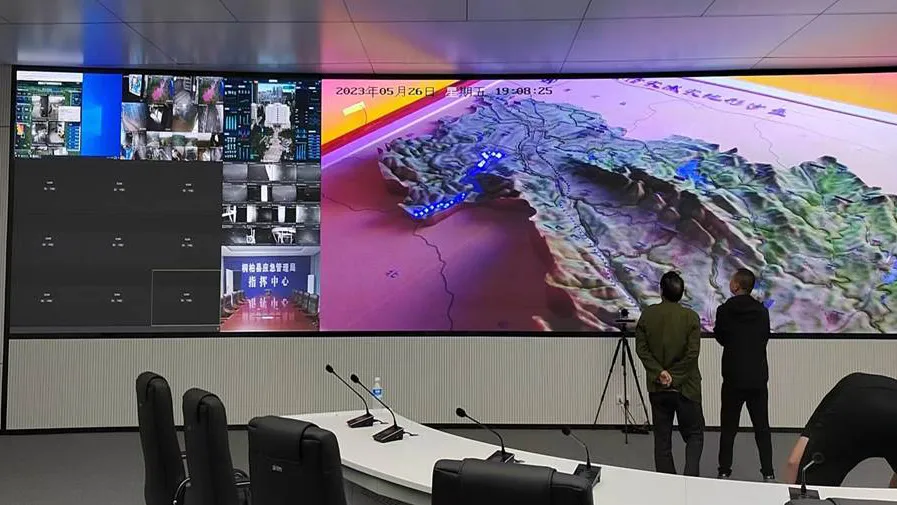
Meeting & monitoring spaces
Test real dashboards, meeting layouts and the smallest labels from the nearest and farthest seats. Confirm source switching, scaling and any multi-window layout before signing off the system.
Images are application references for this draft; project ownership, model details and final photography will be verified before publication.
05 / BUDGET THE COMPLETE SYSTEM
Compare installed scope, not only the screen price.
A price per square metre is useful only when the configuration and supply boundary are the same. Ask each supplier to quote the same screen size, pixel pitch, cabinet platform, service method and required deliverables.
DISPLAY
LED wall & spare parts
Separate the screen, matching spare modules, power supplies and receiving cards. Confirm calibration, packing and the spare-parts quantities included in the quotation.
SYSTEM
Processing & integration
Include the sending system or video processor, source interfaces, cables and distribution equipment. Multi-window processing and redundancy should be explicit line items when required.
DELIVERY
Structure & project services
Identify who supplies the frame, who installs and commissions the wall, and which party covers freight, duties and local works. Record exclusions before comparing totals.
Power cost: use operating data, not the maximum rating
Estimate energy from confirmed average power per square metre × screen area × operating hours. The reference maximum rating is for an initial load discussion, not a running-cost estimate. Actual consumption depends on brightness, content and the selected electronics.
06 / FROM BRIEF TO HANDOVER
Make the approval package part of the order.
01
Confirm the brief
Approve dimensions, content, viewing positions, installation conditions and the required operating schedule.
02
Approve the configuration
Review the exact model sheet, cabinet layout, native resolution, service arrangement and itemized supply scope.
03
Check before shipment
Agree image uniformity checks, source tests, spare-parts list and packing. Request applicable product documentation for the destination.
04
Hand over the system
Retain wiring and layout drawings, controller settings, calibration files and service instructions. Define warranty coverage and support contacts in the order.
QUESTIONS BEFORE YOU ORDER
Indoor fixed LED display FAQ
Is this screen intended to be moved?
No. This page covers displays installed permanently on an approved wall or fixed structure. It does not describe a wheeled poster screen or a system intended for repeated event assembly.
Which pixel pitch should I choose?
Start with screen dimensions, the nearest viewer and the smallest important content. Compare native pixel counts and test real material. Viewing distance is one input; it is not a universal one-number selection rule.
Can the screen be built to my exact wall size?
The active area is assembled from module and cabinet increments. Request a layout drawing showing the achievable dimensions, resolution, border and service clearance before finalizing the architectural opening.
Does a 4K input give me a 4K LED wall?
No. Native resolution is the total pixel matrix of the assembled screen. The processor can accept a 4K signal and scale it, but the wall must contain the required pixels to display that detail natively.
Can a front-service display be installed against a wall?
It may remove the need for a rear service corridor, but it does not remove structural, ventilation, cabling or extraction-clearance requirements. Confirm access to every component for the selected cabinet.
What do you need to prepare a quotation?
Send the desired width and height, location, room photos, closest viewing distance, content type and target schedule. Include wall or structural drawings and any specified control-system or certification requirements.
YOUR ROOM. YOUR CONTENT. YOUR CONFIGURATION.
Start with a wall plan, not a guess.
Share your target screen size, room photos, nearest viewing position and content type. Ask for a cabinet layout, pixel-pitch comparison and itemized quotation for your permanent indoor installation.
Include your project country, target installation date and any required drawings or tender documents.