Commercial corners
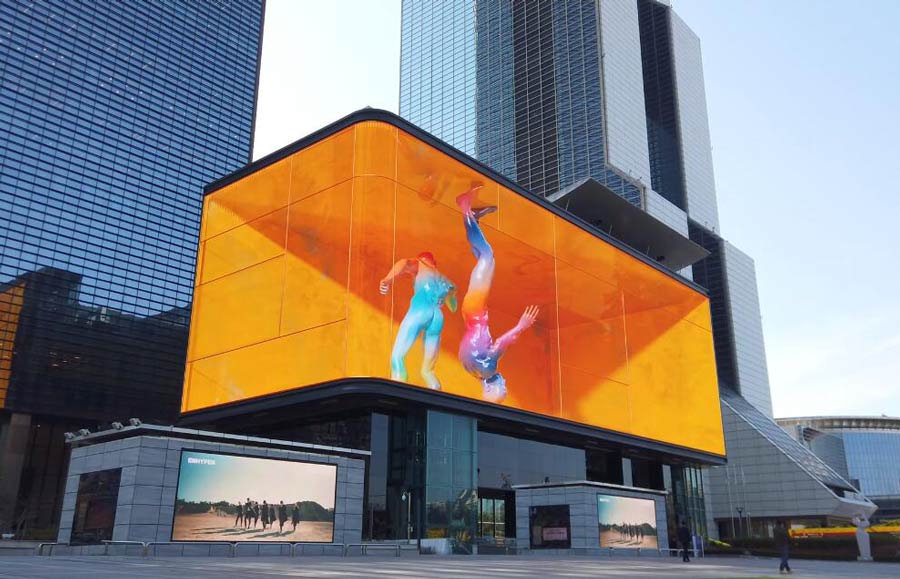
Align two facades with the main pedestrian approach and a practical corner detail.
Define firstFace A / Face B, installation height and the primary viewing position.

Create a sense of depth on a building facade, retail corner or public square. Start with the screen geometry, the audience viewpoint and a site-ready outdoor system.
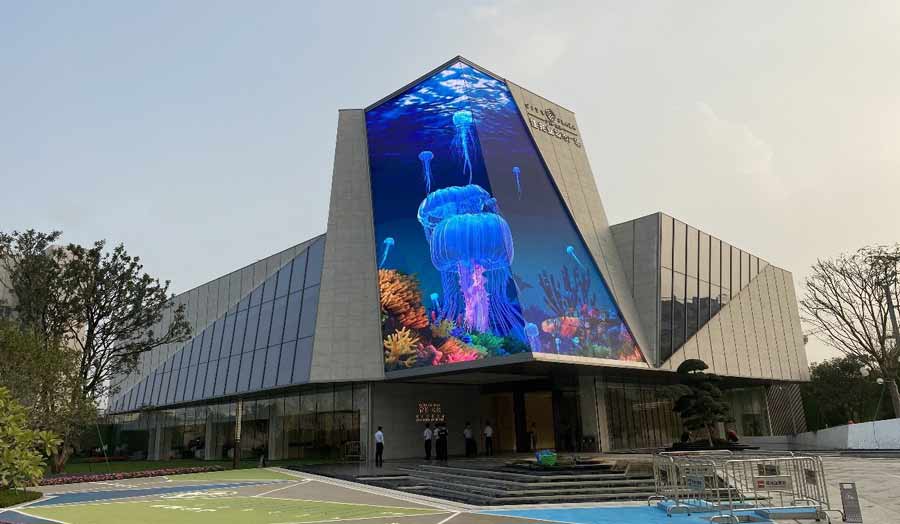
The strongest concept fits the building and the way people actually move through the space.
Align two facades with the main pedestrian approach and a practical corner detail.
Define firstFace A / Face B, installation height and the primary viewing position.
Build an exterior canvas for launches, seasonal campaigns and everyday media.
Define firstCampaign schedule, daylight exposure and nearby occupied spaces.
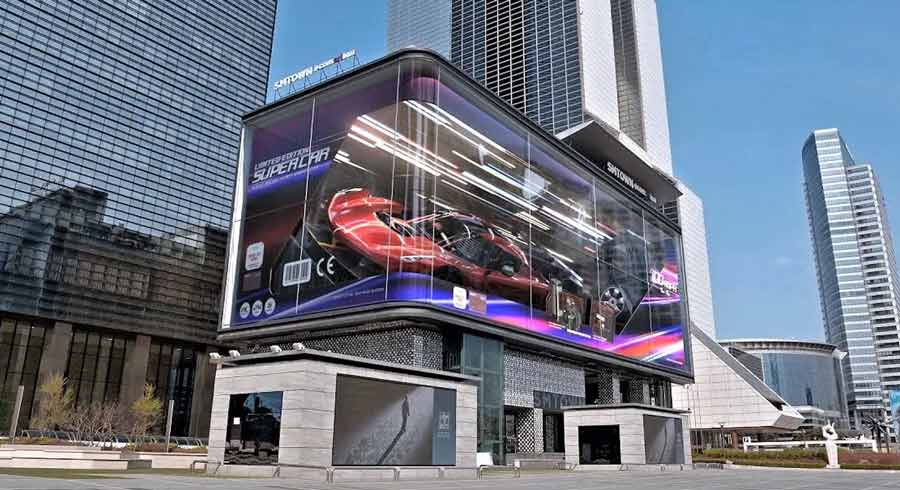
Coordinate a recognizable screen shape with content created for its exact canvas.
Define firstViewing routes, creative perspective and the long-term content plan.

Balance creative campaigns with public information and scheduled programming.
Define firstAudience dwell areas, operating hours and the approved media use.
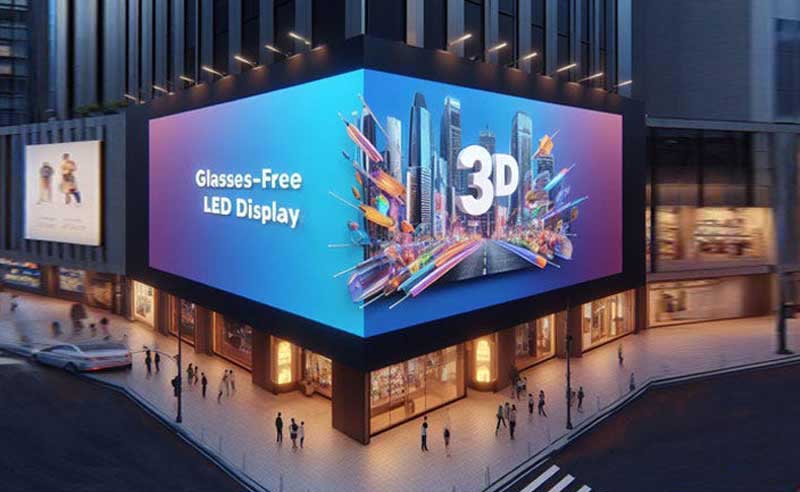
An anamorphic outdoor 3D LED billboard displays a two-dimensional animation rendered for a chosen viewing position. Perspective, scale and shadows create the impression of objects extending beyond the screen.
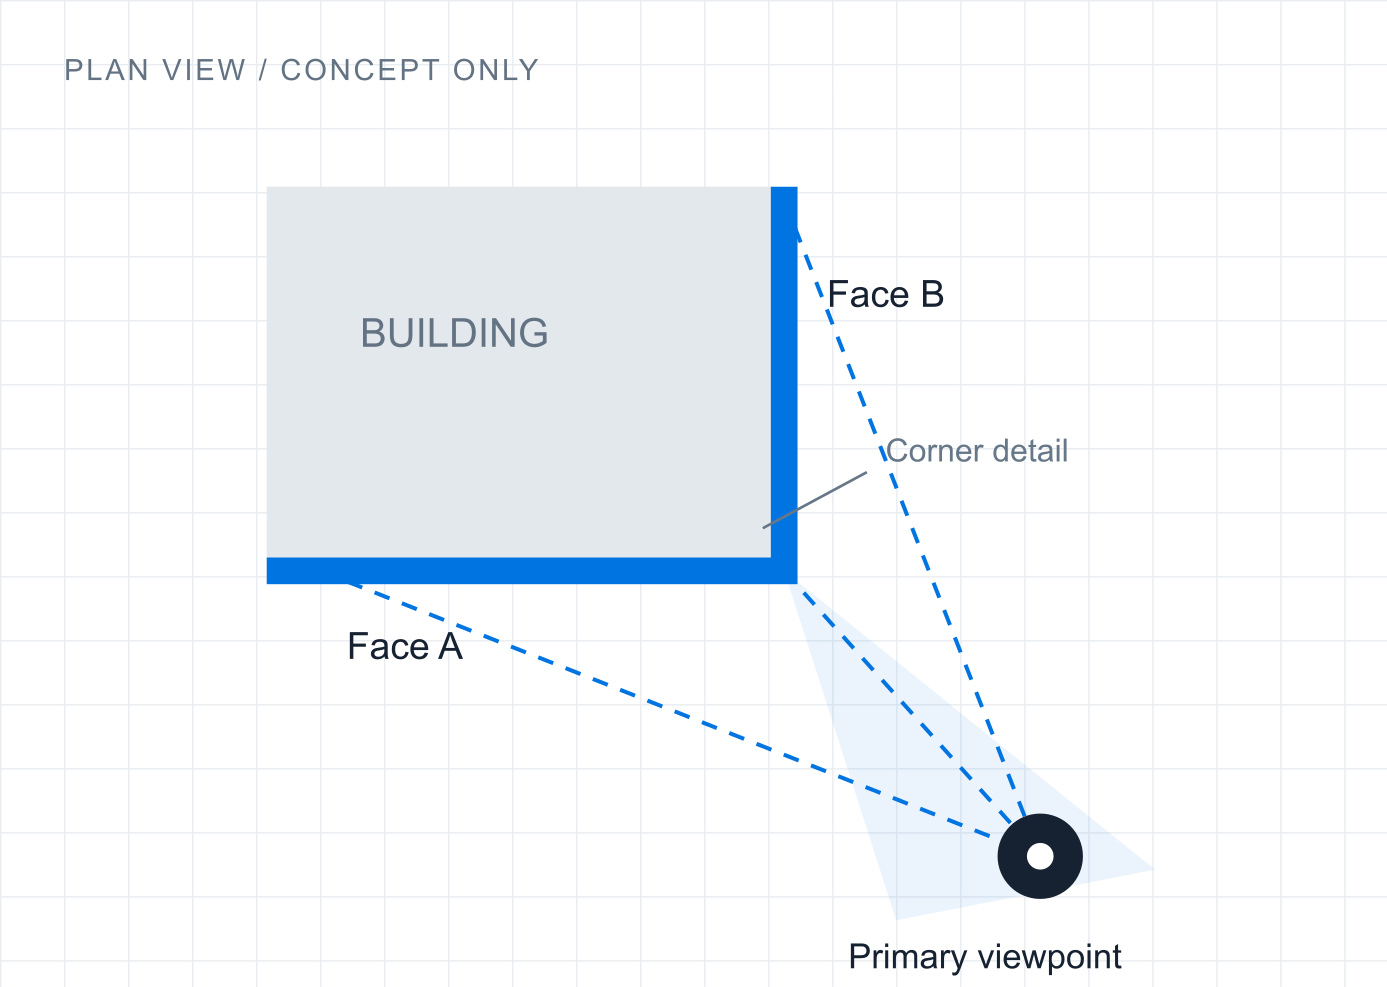
The creative viewing zone is defined by the perspective design. The LED module's optical viewing angle does not describe the area of convincing 3D depth.
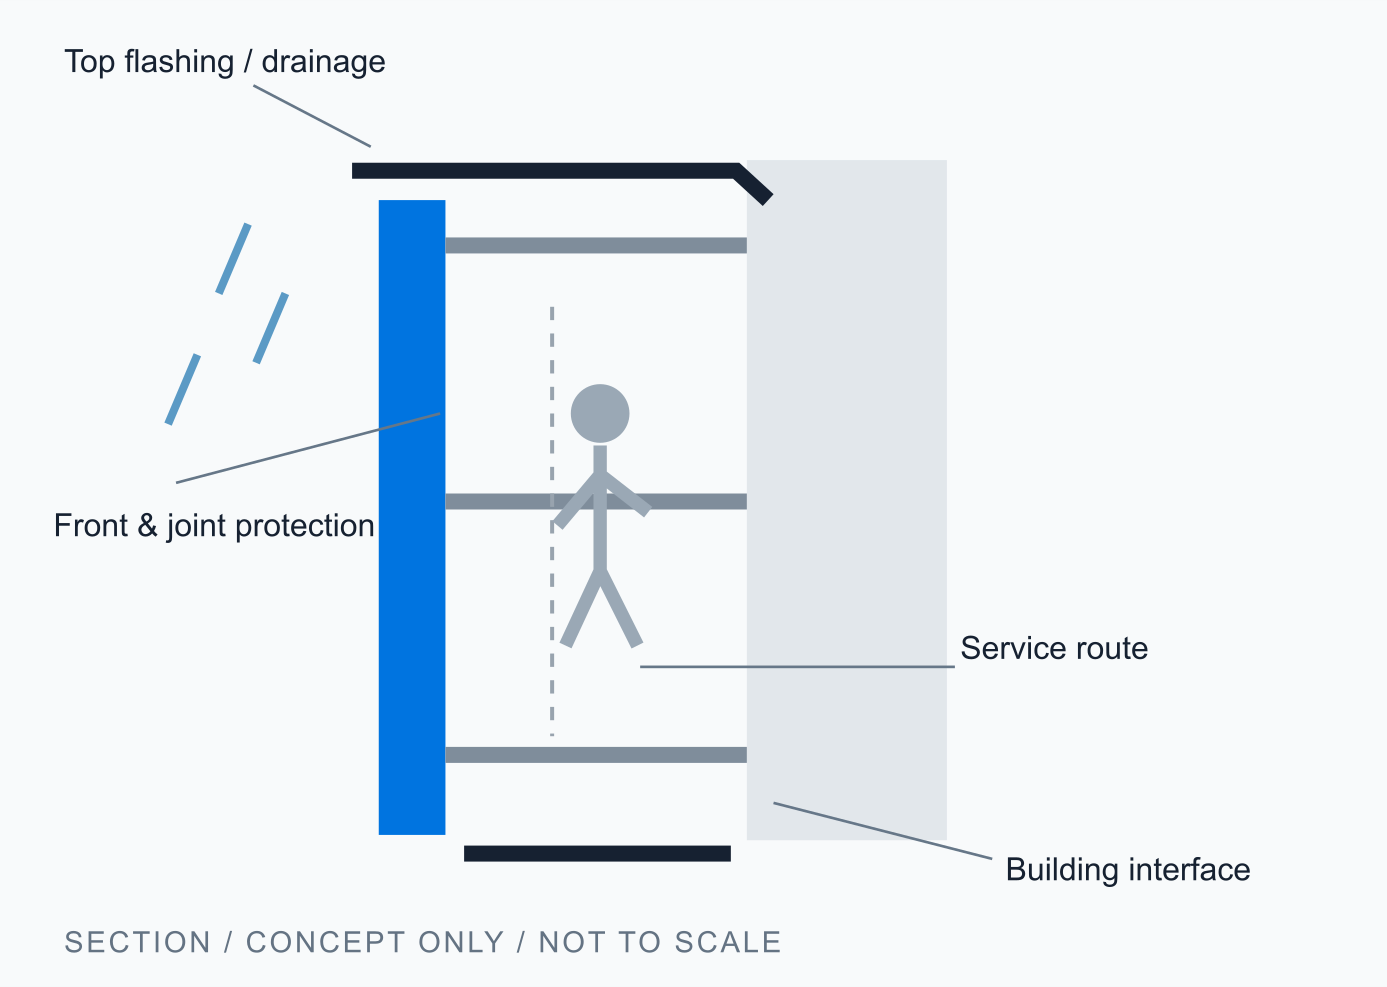
Front or rear service depends on the selected cabinet. Confirm actual clearances, weather details, drainage and structural interfaces in project drawings.

Two faces follow a building corner.
ResolveJoint alignment, visible seam and content continuity.

A transition surface softens the edge.
ResolveRadius, module arrangement and mapped transition pixels.

A continuous canvas follows the architecture.
ResolveActual curvature, support structure and perspective model.

Depth cues can be designed for a flat face.
ResolveCreative limitations and the selected viewing position.
For a close-view interior, compare indoor room and image-quality requirements. Geometry concepts are subject to cabinet compatibility and site engineering. A rounded corner is an option, rather than a universal requirement for an anamorphic effect.
Use Highcolor's published outdoor LED module data to begin the discussion. A 3D facade also needs an approved cabinet layout, corner detail, control system and site-specific protection plan.
| Pixel pitch | Module size mm | Module pixels W × H | Brightness cd/m² | Max. power W/m² | Avg. power* W/m² | Optical angle H / V |
|---|---|---|---|---|---|---|
| P4 | 320 × 160 | 80 × 40 | ≥6,000 | ≤600 | 180 | 140° / 120° |
| P5 | 320 × 160 | 64 × 32 | ≥6,000 | ≤550 | 160 | 140° / 120° |
| P6 | 192 × 192 | 32 × 32 | ≥6,000 | ≤550 | 160 | 140° / 120° |
| P8 | 256 × 128 | 32 × 16 | ≥6,000 | ≤500 | 150 | 140° / 120° |
*The published source does not state the test conditions for average power. These figures are module reference data, not guaranteed consumption, a final system datasheet or confirmation of corner-cabinet availability. Confirm the selected bill of materials and test conditions in the proposal.
View source specifications ↗Use this worked layout to discuss screen size, control capacity and project scope. It is a sizing reference based on published modules, rather than a preconfigured system or a completed installation.
| Screen faces | 9.60 m + 4.80 m × 5.76 m high |
|---|---|
| Published module reference | P6 · 192 × 192 mm · 32 × 32 px |
| Flat-grid module layout | Face A: 50 × 30; Face B: 25 × 30 |
| Total active area / module count | 82.944 m² / 2,250 modules |
| Unfolded content canvas | 2,400 × 960 px · 2.304 million pixels |
| Published maximum-power ceiling | ≤45.62 kW for the display area only |
Module counts assume rectangular faces, the listed module orientation and no extra corner-transition surface. Cabinet grouping, spares, mechanical compatibility and final mapping require confirmation. Power excludes controllers, cooling and distribution losses; it is not a feeder design or a typical-use estimate.
A facade installation needs a coordinated screen, building and operations brief. Record these eight items before finalizing the configuration.
Document orientation, direct sun, nearby windows and expected operating hours.
Review exposure on both sides, connectors, cable entry, top flashing and drainage.
Provide facade drawings, fixing locations, screen mass and local design inputs.
Assess the climate, solar loading, enclosure space and ventilation paths.
Confirm display load, auxiliary equipment, cable routes, isolation and surge protection.
Decide front or rear service and check safe access to every replaceable component.
Record salt exposure, humidity, pollution and cleaning conditions.
Plan remote access, playback schedules, monitoring and recovery after interruption.
Estimate a two-face, right-angle canvas and check whether each face fits the published module grid.
Widths are measured along the active screen faces. This tool assumes two rectangular faces of equal height, standard module orientation and no extra transition surface.
Power excludes controllers, distribution losses, cooling and other equipment. It is a reference ceiling from the published table, not an electrical design or an energy-use estimate. Final cabinet counts, mapping and supply capacity require project confirmation.
A generic video does not automatically become an anamorphic campaign. Agree the screen map, perspective and playback chain before producing final animation.
Approve active dimensions, corner geometry, installation height and the primary audience position.
Create the unfolded pixel map and a scene model. Review a perspective preview from the chosen position.
Agree canvas size, frame rate, codec and loop length. Check player and processor capacity for the full canvas.
Check synchronization, edge alignment, color, day/night settings and recovery. Test camera capture when it matters.
Request the approved screen map, playback files and specifications, settings backup, content rights, revision scope, operator instructions and the agreed spare parts list.
Assess documented outdoor delivery experience alongside the requirements of your proposed facade.
The project page identifies Nationstar 3535RS LEDs and MBI5253 driver ICs. These details belong to that installation, not every outdoor configuration. This is related outdoor LED experience, not a claimed 3D campaign.
Read the published Pingshan project ↗An outdoor 3D LED display price depends on more than screen area. Separate the equipment, site work and creative deliverables to make quotations easier to evaluate.
Record approach paths, mounting height, obstructions and realistic stopping locations. Request a screen-specific preview from each priority position, then agree which position governs the main perspective. Treat secondary-route readability as a separate acceptance check.
Show both active faces, the actual joint or radius, support interfaces, finished edges and any transition modules. Coordinate top flashing, drainage and cable entry around that detail. The physical drawing and pixel map should describe the same assembly.
Record facade orientation, direct sun, surrounding light and nearby occupied windows. Confirm rated output for the selected model, then agree operating presets, scheduling or sensor control, and test them on site. Module-rated brightness is not the operating level for every hour.
An equipment rating does not describe every installation interface. Review front and rear exposure, joints, connectors, cable entries, flashing and drainage. Confirm the rating and installation details for the actual cabinet assembly in the proposal.
Provide its model and condition, face dimensions, cabinet arrangement, pixel map, control equipment, maintenance access and site photographs. Include support drawings and local building requirements so the teams can assess the screen, creative and installation interfaces together.
Include salt exposure, humidity, cleaning conditions and the rear enclosure in the site brief. Review cabinet materials, coatings, fasteners and connectors, plus documented suitability and maintenance requirements for the selected assembly.
Name the parties responsible for site survey, structural assessment, local approvals, fixing design and access equipment. Provide the selected screen mass and proposed interfaces to the project structural team. A screen quotation alone does not define these responsibilities.
Keep the approved screen map and playback requirements under version control. Agree adaptation checks, media rights, scheduling, approval responsibility and a fallback playlist for each campaign. Include representative day/night playback and intended camera capture in the acceptance process.
Start with what you know. A site photo, rough dimensions and the audience approach are useful even before a complete drawing package is available.
Send drawings and site photos with your email.
sales@highcolorled.com