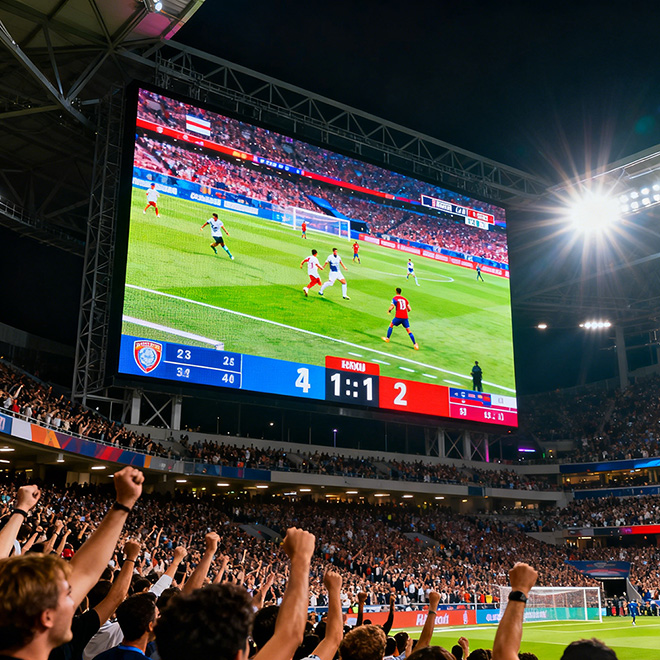
Elige la posición del público
Localiza el punto de parada y la ruta de acceso. Mantén despejadas las entradas y las vías de circulación.

La experiencia 3D en interiores
Una pantalla LED 3D anamórfica para interiores crea una ilusión de profundidad mediante imágenes diseñadas para una pantalla física y una posición de visualización específica.
Un objeto renderizado puede parecer que se extiende más allá de una esquina o que se encuentra dentro de un espacio virtual profundo. El público no necesita lentes para este formato basado en la perspectiva, pero la profundidad aparente cambia a medida que las personas se alejan del punto de vista previsto.
En el interior, los visitantes pueden acercarse a la superficie. La visibilidad de los píxeles, la calidad de la imagen con bajo brillo, los bordes de la pantalla y la forma en que la instalación se integra en el espacio forman parte del resultado.
Localiza el punto de parada y la ruta de acceso. Mantén despejadas las entradas y las vías de circulación.
Compara el paso de píxeles, la geometría y la profundidad de servicio con el interior real.
Utiliza las dimensiones de pantalla y el mapa de píxeles aprobados para la toma creativa y el renderizado final.
Incluye esquemas en 2D fáciles de entender, ajustes preestablecidos de brillo e instrucciones de uso sencillas.
Elige el propósito
La pantalla para interiores adecuada comienza con un caso de uso. Considera qué es lo que los visitantes deben notar, cuánto tiempo se quedarán y cómo la pantalla se integra en el espacio entre campañas.
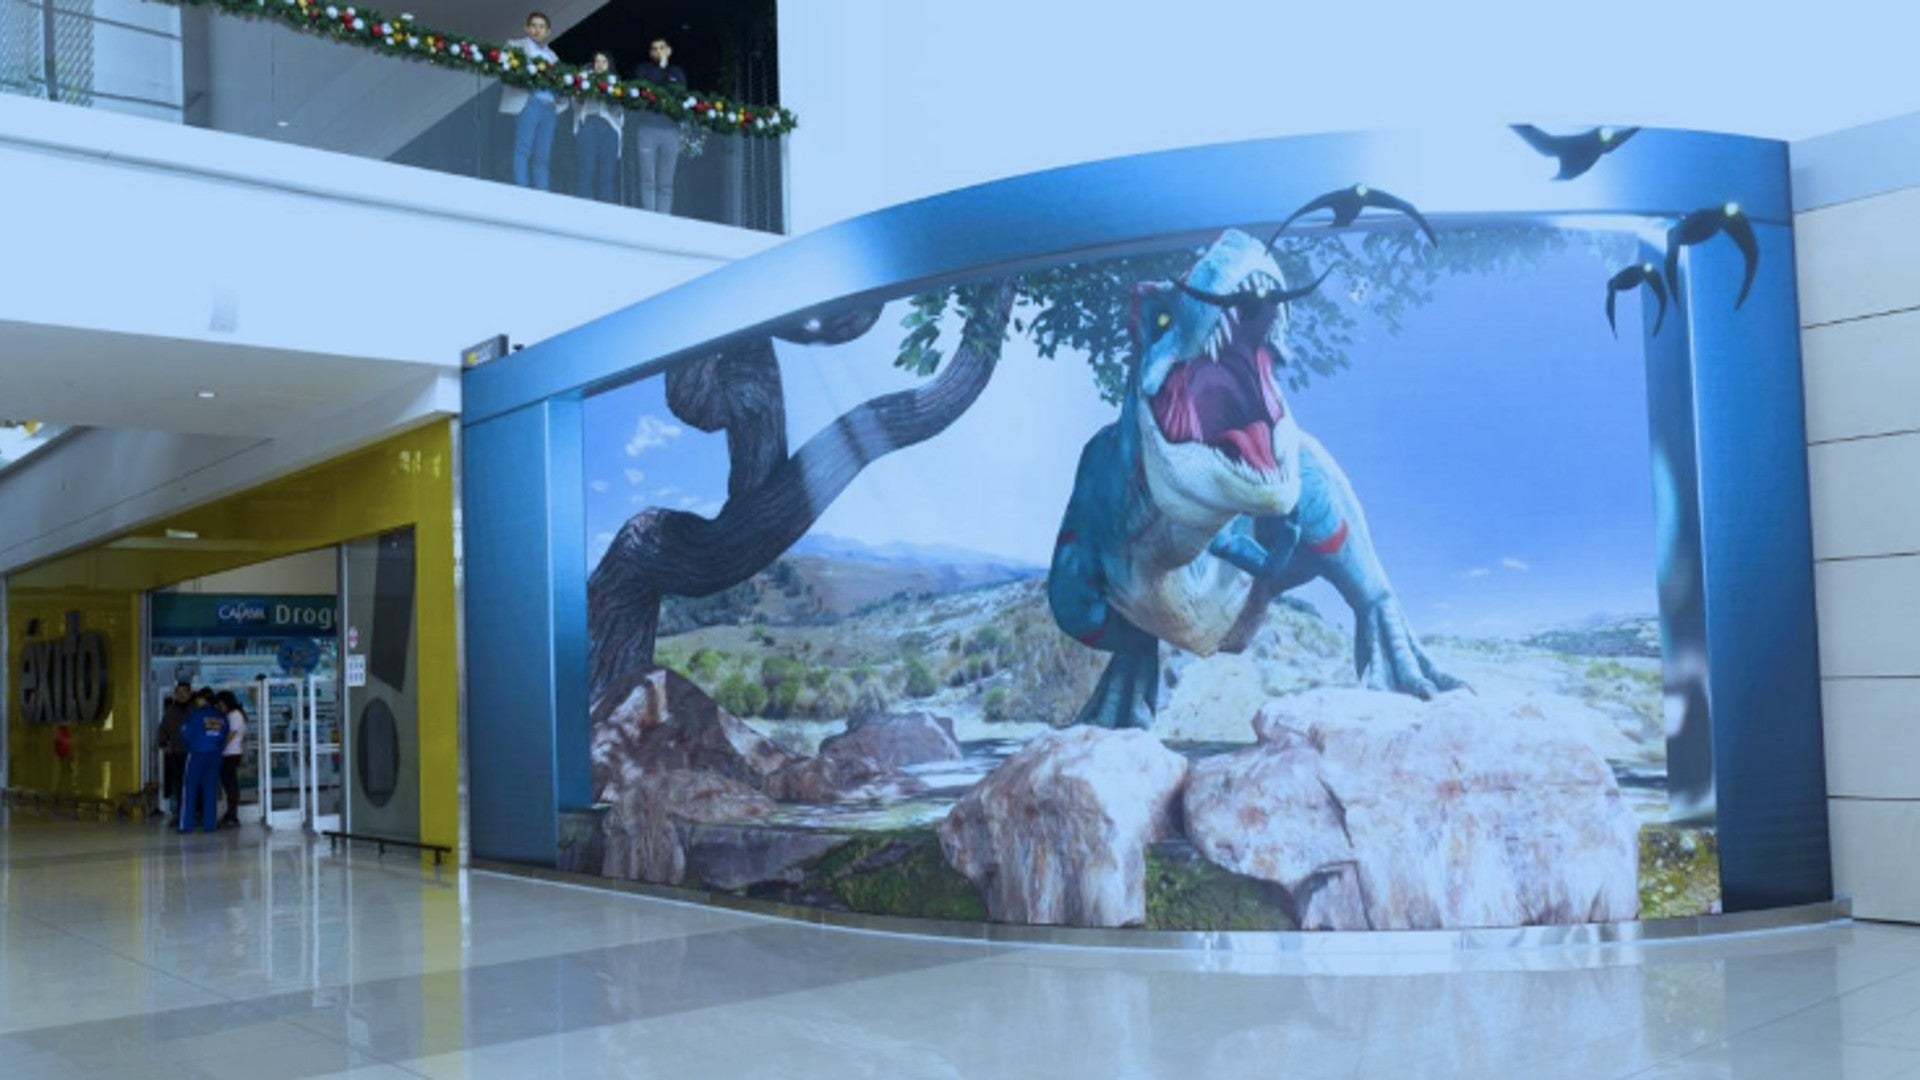
Crea un punto de atracción visual cerca de un escaparate, una zona de exhibición o un atrio. Asegura un lugar estratégico para observar sin obstruir la entrada de la tienda.
Enfoque de diseño: distancia de visualización, luz natural que entra por los vidrios, logotipos legibles y un ciclo de contenido corto.
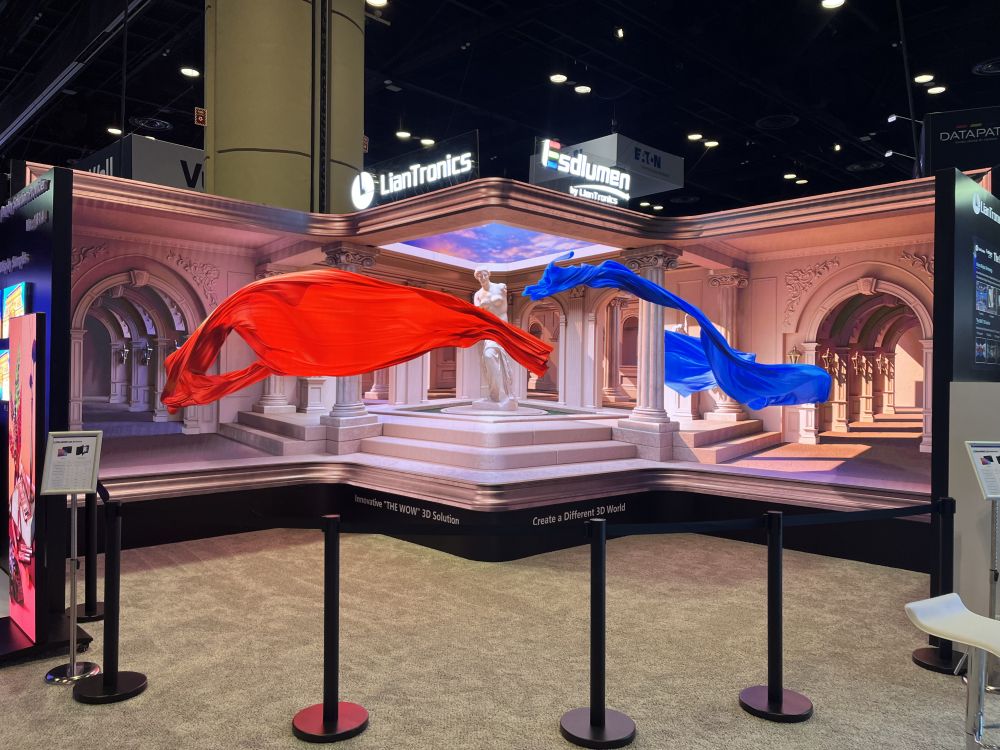
Utiliza una escena con luces LED para mostrar un producto, explicar un proceso o presentar una marca. Coordina la pantalla con el ritmo de la presentación y el recorrido de los visitantes.
Enfoque de diseño: los detalles precisos, el control de la iluminación, la integración del audio y las limitaciones en el montaje de los cabinas.
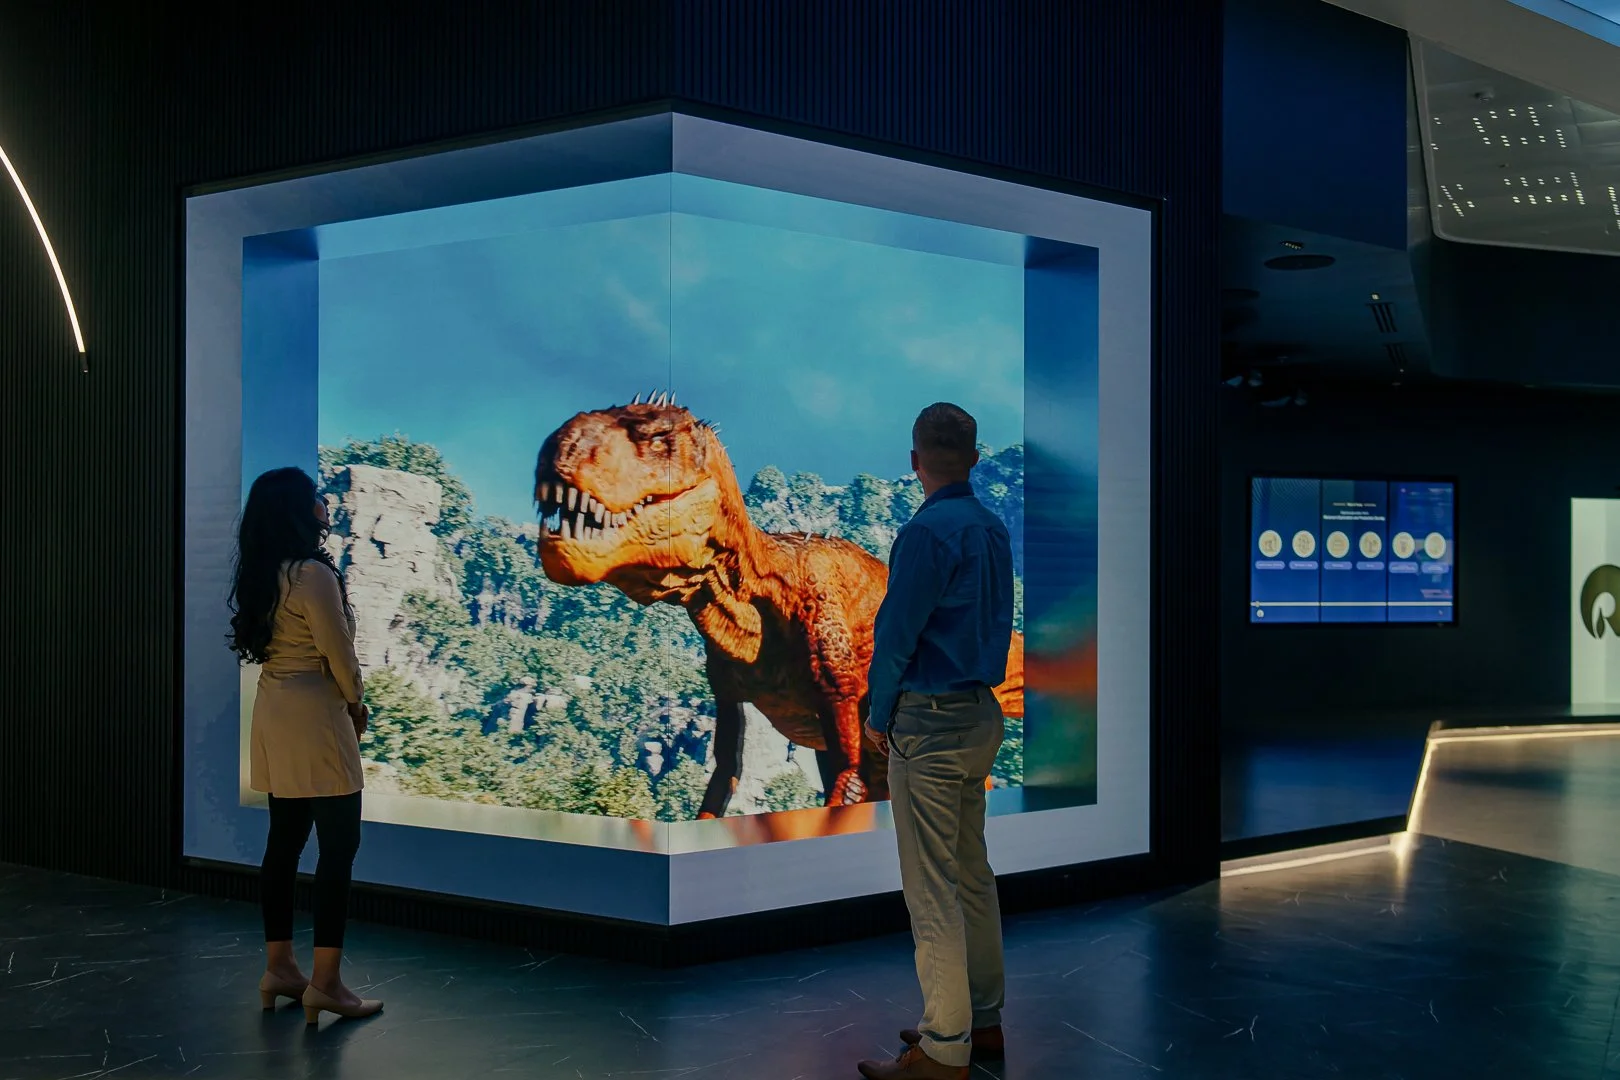
Crea un elemento de bienvenida distintivo que se integre con la arquitectura del salón. Equilibra el efecto visual con las necesidades de los invitados y del personal que utiliza el espacio.
Enfoque de diseño: rendimiento óptimo, ruido del equipo, generación de calor y acceso discreto para el mantenimiento.
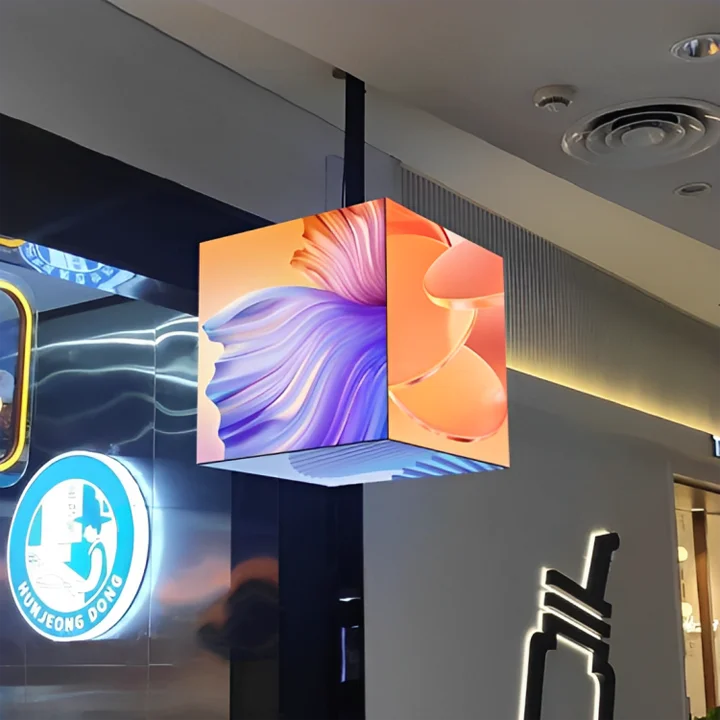
Use a cube or other multi-face arrangement where the physical object belongs in the design. Plan the content on each face and the path from which it will be seen.
Enfoque de diseño: physical form versus depth illusion, face mapping, cable routing and support details.
Formatos de pantalla
Compare these layout directions early. Geometry, module choice and installation feasibility need to be reviewed together.
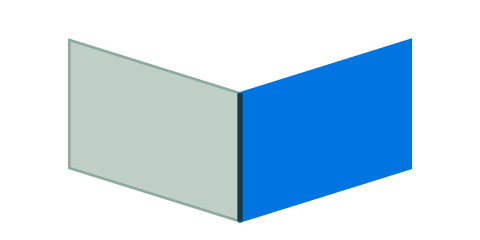
Use two faces to build a virtual box or a product reveal around the screen edge.
Review: corner joint + design viewpoint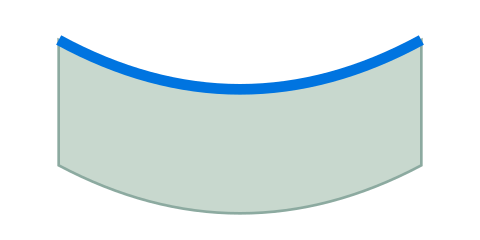
Follow an interior curve or soften the transition between connected screen faces.
Review: radius + module orientation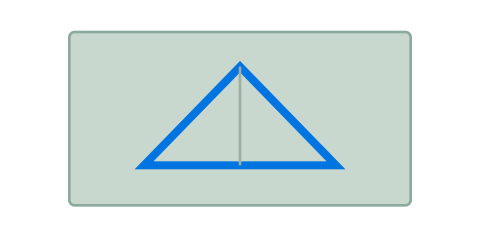
Use perspective, framing and content depth cues where a corner is not practical.
Review: creative preview + sightline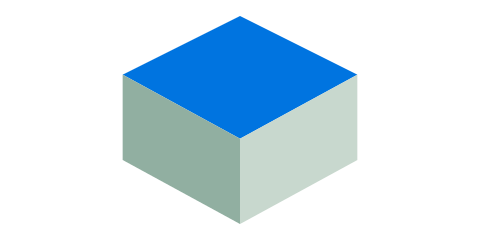
Build a visible LED object for a window, product zone or exhibition centerpiece.
Review: support + face-by-face contentA physical cube or curved screen is not automatically an anamorphic 3D display. The desired depth effect still needs suitable content and a defined viewing position.
Start with real LED options
These module-level options are published in Highcolor's indoor LED range. They provide a starting point for selection; corner parts, curved geometry and complete-system performance are specified for each project.
| Distancia entre píxeles | Tamaño del módulo | Resolución de módulos | Densidad de píxeles | Potencia máxima | Listed average | Listed brightness |
|---|---|---|---|---|---|---|
| P2 | 320 × 160 mm | 160 × 80 px | 250,000 px/m² | ≤600 W/m² | 180 W/m² | ≥600 cd/m² |
| P2.5 | 320 × 160 mm | 128 × 64 px | 160,000 px/m² | ≤600 W/m² | 180 W/m² | ≥600 cd/m² |
| P3 | 192 × 192 mm | 64 × 64 px | 111,111 px/m² | ≤550 W/m² | 160 W/m² | ≥600 cd/m² |
| P4 | 256 × 256 mm | 64 × 64 px | 62,500 px/m² | ≤550 W/m² | 160 W/m² | ≥600 cd/m² |
Source: Highcolor Indoor LED Display specifications ↗. A module's listed brightness is not the recommended operating brightness for every interior. Ask for samples at the output level you intend to use.
Utiliza este esquema de trabajo para analizar el tamaño de la pantalla, la capacidad de control y el alcance del proyecto. Se trata de una referencia de dimensionamiento basada en módulos publicados, y no en un sistema preconfigurado ni en una instalación ya terminada.
| Caras de la pantalla | 3.84 m + 1.92 m × 2.40 m high |
|---|---|
| Referencia del módulo publicado | P2.5 · 320 × 160 mm · 128 × 64 px |
| Disposición de módulos en rejilla plana | Face A: 12 × 15; Face B: 6 × 15 |
| Área activa total / número de módulos | 13.824 m² / 270 modules |
| Área de contenido desplegada | 2,304 × 960 px · 2.212 million pixels |
| Límite máximo de potencia publicado | ≤8.30 kW for the display area only |
Los recuentos de módulos se basan en caras rectangulares, la orientación de los módulos indicada y la ausencia de superficies adicionales de transición en las esquinas. Es necesario confirmar la agrupación de gabinetes, las piezas de repuesto, la compatibilidad mecánica y la asignación final. La potencia no incluye los controladores, ni las pérdidas por enfriamiento ni por distribución; no se trata de un diseño de alimentador ni de una estimación de uso típico.
Interior engineering
Resolve the space around the display as carefully as the display itself. The most useful drawing includes audience position, maintenance access and the route for power and signal.
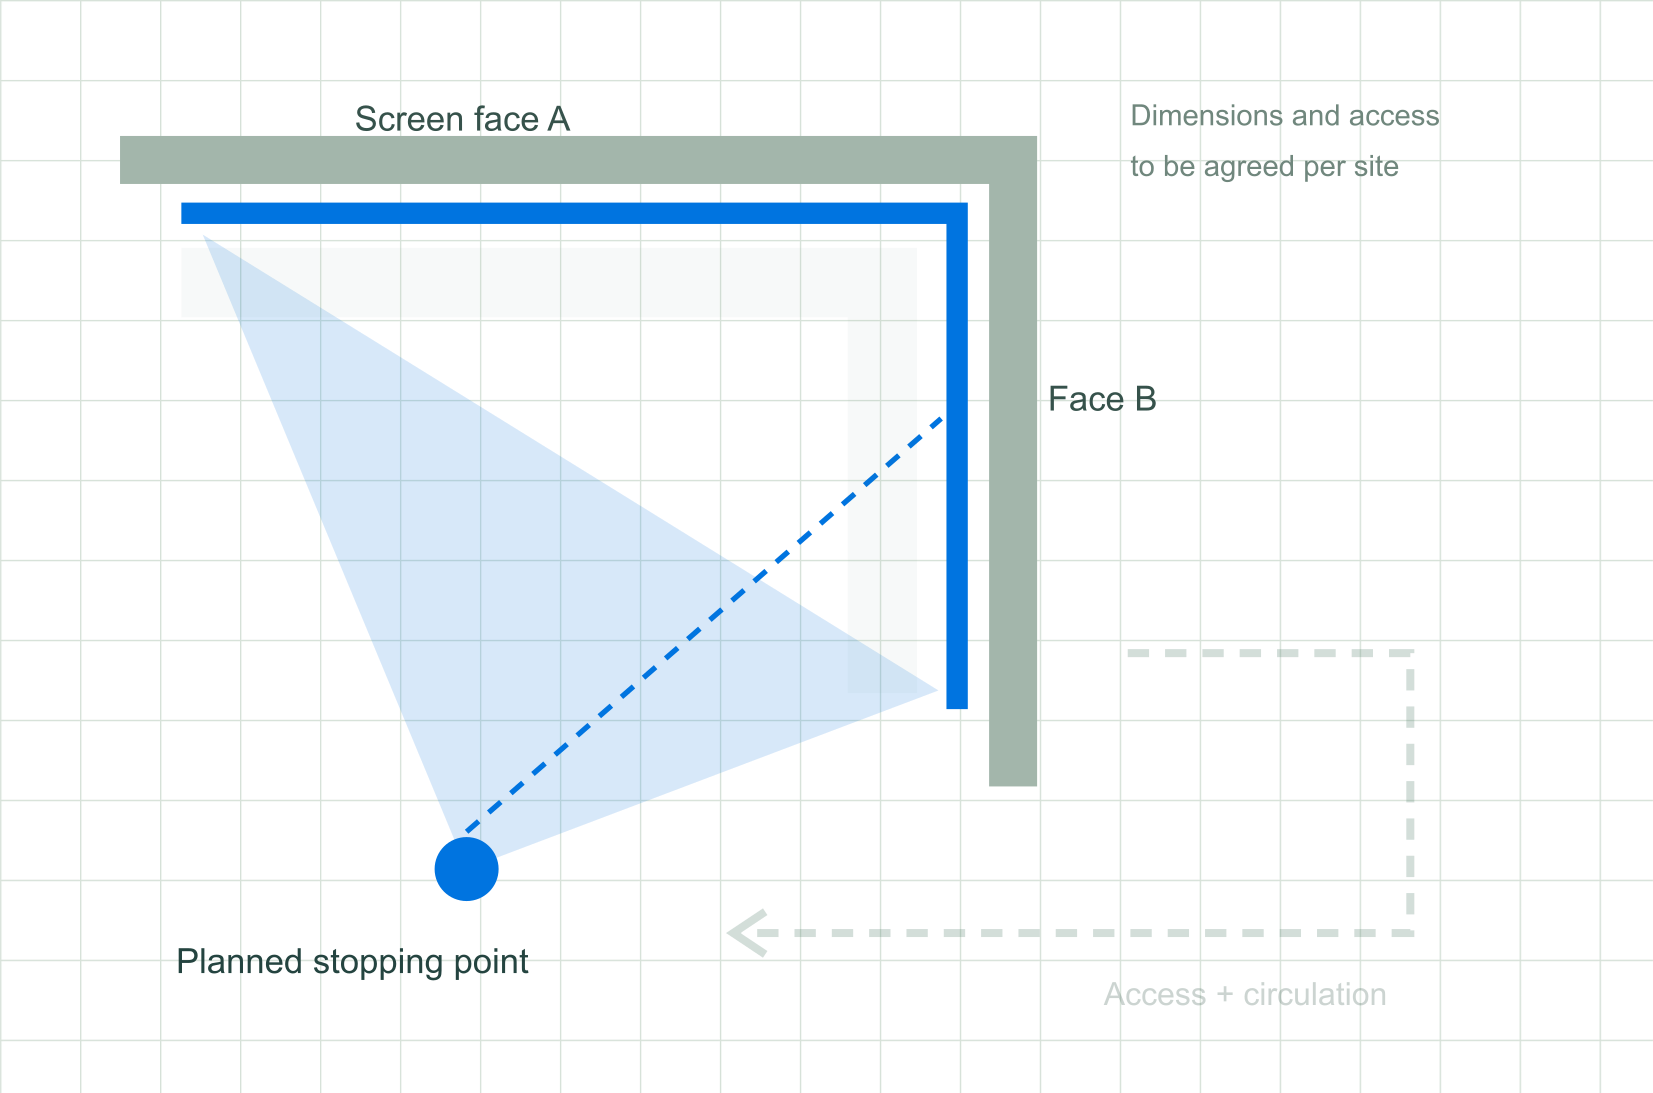
Locate a stopping point where the designed perspective can be appreciated. Check the creative from the actual approach route. The highlighted area is conceptual, not a calculated viewing zone.
Judge pixel structure and the smallest content details from the closest intended viewing position. Avoid choosing pitch from a distance rule alone.
Review daylight, reflections and dark content at the planned brightness. Check grayscale and uniformity at that setting.
Allow space for cabinets, power/control parts, ventilation and removing modules. Front service still requires working clearance.
Review the whole installation's heat output and equipment noise. Include power supplies, processing hardware and ventilation.
Resolve visible corner edges, surface alignment and any curve before the content camera and final pixel map are approved.
Agree who updates content, how playback is scheduled and how the system returns to a safe operating preset after a restart.
Planning a facade or a sun-exposed exterior installation? Compare outdoor exposure and building requirements ↗
Make the canvas tangible
A smaller pitch increases pixel count at the same physical size. The control system and content workflow need to support the resulting canvas.
Using the listed 320 × 160 mm P2.5 module as a flat-grid reference, the two faces are 12 and 6 modules wide, each 15 modules high. A corner assembly needs its own mechanical and mapping review.
This is a sizing example, not a completed project or a preconfigured product. It does not determine the best viewing distance.
Content & system delivery
A video made for a large outdoor corner rarely transfers unchanged to an indoor installation. Screen proportion, viewpoint, loop timing and brand scale all need attention.
Define the story, audience position, loop duration, supplied assets and how the display fits the interior or event.
Approve screen faces, camera position and a concept preview before detailed animation and final hardware mapping.
Confirm canvas resolution, frame rate, codec, face boundaries and playback requirements with the content supplier.
Review edges, alignment, colors and comfort. Handover brightness presets, content schedules and configuration backups.
Define creative responsibilities: original animation, supplied footage, source files, media rights, revision rounds, audio and sensor-based interaction should be identified separately in the quotation.
Discuss content scopeCost & quotation
An indoor 3D LED display quote should separate display equipment from the structure, interior work and creative production.
A smaller screen with a finer pitch can carry more pixels than a larger screen with a coarser pitch. Screen area alone does not describe control requirements or the cost of a finished installation.
Request a scoped proposalLED modules, cabinets, power supplies, processing, receiving cards, distribution and agreed spare parts.
Support design, mounting, corner or curve details, finishing, cable routes and access to replace components.
Concept development, modeling, screen-specific rendering, revisions, media rights and campaign updates.
Freight, access hours, assembly, commissioning, staff training and the ongoing operating schedule.
Send your room layout and dimensions for a quotation. Any price comparison should use the same equipment scope, content scope and delivery terms.
Use a relevant engineering reference and a room-specific review to assess the proposed installation.
Highcolor's project page describes a curved installation with single-point brightness and chromaticity correction. It provides related curved-display experience; it is not presented as an anamorphic 3D campaign.
Read the published Yunnan project ↗Indoor project questions
Questions about fitting an anamorphic LED experience into an occupied interior, beyond the basic definition of 3D.
Talk through your layoutThere is no single minimum distance for every installation. Pixel pitch affects visible pixel structure, while the content's design viewpoint affects the depth illusion. Review both using a sample or preview at the intended scale and keep the planned stopping point clear of visitor circulation.
Record daylight at different operating times, reflections and the background behind the audience. Review the display under representative light, and agree operating presets for both daytime and evening use. High rated output alone does not establish the best indoor setting.
Not necessarily. The complete assembly needs space for its support, ventilation, power/control parts and component removal. Check maintenance paths and finished depth in the installation drawing. A front-service label does not remove those physical requirements.
Compare the specific products rather than treating an encapsulation name as a complete specification. Consider accessible screen surfaces, impact exposure, cleaning, heat, repair methods, contrast and the needed geometry. Request a sample and maintenance demonstration for the proposed version.
Assess the actual content at the planned operating level. Ask for calibration details and check gradients, low-level grayscale and uniformity on the selected equipment. Do not assess image quality only with bright promotional footage at maximum output.
Yes, when the playback system and layouts are planned for both. Create an everyday 2D layout with readable text and safe content areas on each face, and a separate mapped 3D sequence. Test transitions and schedules during commissioning.
Review the venue's access window, available power, assembly method, packaging, support structure and reconfiguration plans. If the physical screen changes between events, the pixel map and the 3D content may also need revision.
Define whether the experience needs audio, sensors or an operator trigger. Review noise limits, event timing, network access and the behavior when the trigger is unavailable. Confirm the required equipment and integration scope separately; an LED surface alone does not provide these functions.
Tell us about your space
Send the interior layout and the visual experience you have in mind. Discuss the LED hardware, room integration and content requirements in one coordinated brief.